Showing posts with label Memory Frames. Show all posts

Friday, March 18, 2016

Keren's Projects with Courtship Lane Collection


Hello Everyone!!
Its Keren here with two projects for Blue Fern Studios!
I usually create two layouts but this time I wanted to create something different with the Courtship Lane collection.

"Home Sweet Home Memories"


I really love the vintage house images on the Courtship Lane papers so I fussy cut them to fit into my three part shadow box frame.
I cut three different houses to fit each of the boxes as they measured 3,4 and 5 inches squared respectively. The houses were cut out of the West Plaza, East Plaza and Calling cards papers.


The middle box was framed with one of the graduated squares. The right box was framed with the Memory frame. Finally I placed the Iron Signage chipboard on the top corner of the left shadow box.
All three chipboard pieces were embossed in both Oatmeal and Sage embossing powders.
Then I added a "Home Sweet Home" phrase out of the Calling Cards paper to add to the sign.

I added some matching  Courtship flowers and other vines to embellish around the frames as well as the Evening Lamp Post  chipboard which was simply painted with acrylic paint.


<<<<<<>>>>>

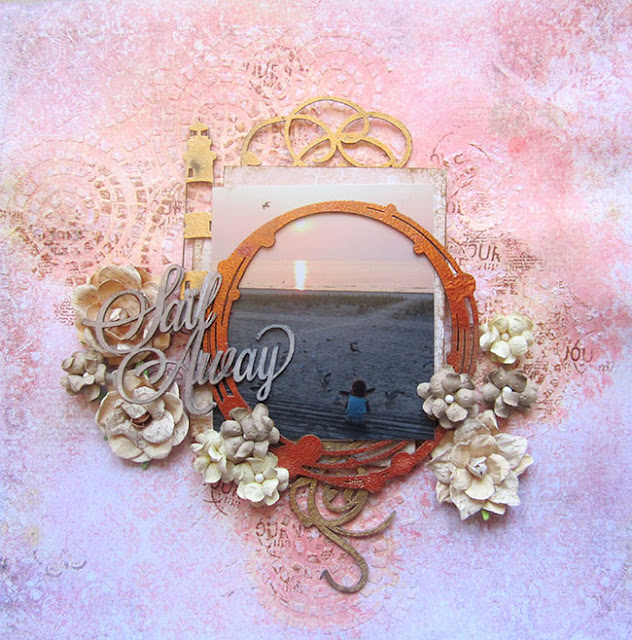
"Sail Away"

For my second project, I used the Town Gossip paper from the Courtship Lane  for the background.


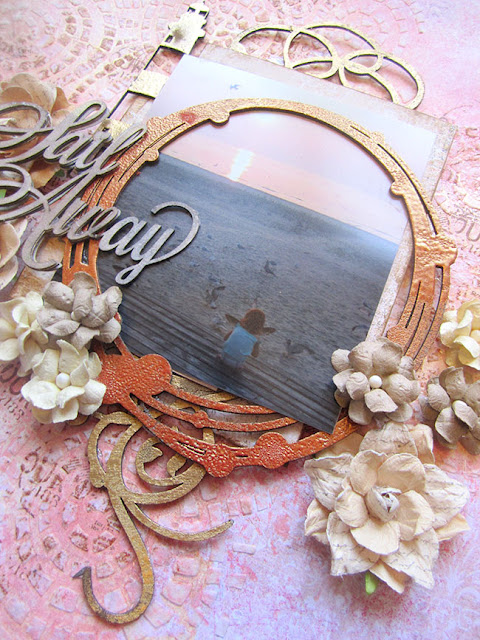
I framed the photo in one of the Beaded Strings chipboard which was embossed with Tangerine embossing powder. I also added the swirly doodle under the photo. I cut it in half so it would show under both ends of the photo. Both the light house chipboard piece from the "By the Sea" set, were embossed in Ginger embossing powder


The sail away title was sprayed in brown to match the Courtship Lane flowers.
I also used the Journey stamp to create some texture in the background with brown ink.


Thank you so much for visiting the Blue Fern Studios Blog

Have a wonderful day!!

Keren


Sunday, February 7, 2016

My February projects by Marie-Eve Bernard

Hello ladies,

It's Marie-Eve Bernard.  I'm here to present you my projects for February. This month, I had fun with the beautiful and girly Blush Collection.

Smile


For my title, I use the Smile chipboard from the Laughter, Happy, Smile set. I paint it with white Gesso and I emboss it with the Imagine Ink Cotton Candy powder.


Under my picture, I use the Damask Flourish chipboard.  It come in set of two pieces.  I emboss it with the Imagine Ink  Fern embossing powder. I use the Vintage Edges Stamps in my background.


In my flowers cluster, I had the Layering Stems chipboards set.   I simply paint them with White Gesso. 

Blue Fern Studios Products used:

Papers
- Blush Enamored
 - Blush Celebration

Chipboards
- Laughter, Happy, Smile
- Layering Stems
- Damask Flourish

Imagine Ink Embossing Powder
- Cotton Candy
- Fern

Stamps set:
-  Vintage Edges


 Happy


For my title, I use the Happy chipboard from the Laughter, Happy, Smile set. I paint it with white Gesso and I stamp with the Texture Circles stamp set in pink ink.  


To create my background, I cut pieces in the Tangier Page Panel. I paint those pieces with white gesso and glue it to the background paper.  I use the Celebration paper from the Blush Collection.  Then I slash different pink ink on it.  When the ink where dry, I stamp it randomly with the Texture Circles stamp set.  


Blue Fern Studios Products used:

Papers
 - Blush Celebration

Chipboards
- Laughter, Happy, Smile
- Tangier Page Panel

Stamps set:
-  Texture Circles

My layout for the Sketch challenge: Cherish

In the beginning of the month, I present this layout for the February sketch challenge.  I use the Timeless Collection.  I invite you to participate in the sketch challenge.  


For my title, i use the Cherish chipboard from the Adore, Love, Cherish set.  I paint it with gesso and use spray ink to color it.


For my frame (from the Memory Frames set) and my chipboard flowers (for the Bohemian Flowers set), It all begins with a coat of White Gesso.  Then I use a pink gelato to give some color.  Finally, I distress the edges with a dark brown ink.


List of Blue Fern Studios supplies:

Papiers / Papers
-Timeless Papillons
-Timeless Freedom

Chipboards
- Bohemian Flowers
- Memory Frames
- Adore, Love, Cherish

 Stamps
-Postal Textures

I hope that you enjoy my creations.
Have a nice day.

Marie-Eve Bernard


Tuesday, January 19, 2016

My first projects for Blue Fern Studios - Karolina Czajkowska

Hi everyone! I am so excited to be here today with my first projects for Blue Fern Studios. 
Such an honor and a pleasure to be able to be a part of this fantastic team!


First, let me introduce myself. It's the most difficult moment, because I'm not really good in talking about myself. My name is Karolina Czajkowska and I live in Poland in one of the biggest city Łódź. I'm 26 and I'm an architect. I finished my study 1,5 year ago. 

I started my scrapbooking adventure 4 years ago and definitely it was a love at the first sight ;)
Scrapbooking is a huge part of my life, and it is more than a hobby by now. I can't imagine my day without scrapping and I am very sad when life and obligations do not allow me to go to my crafty space. One year ago I started to lead classes in Poland and abroad and I do love it! I think I'm mixed media girl. I'm pretty sure that this is the best way for me to find myself and my own style. And what my style is?
I still don't know, but defenitely it's not a clean&simple style ;)

You can find me on:

I created 2 layouts and a winter canvas to share with you today:


Layout "Delightful love"

My first layout is very soft and girly, I think. In the picture you can see two little ladies - my goddaugters. They are so cute, aren't they?


This page based on paper from the Love Story collection. I started my work of covering the entire background under my composition with using clear gesso. Then I made a composition using papers from Déjà Vu collection and of course I added some chipboard pieces.


I chose three chipboards - this one which you can see in the background its's a smaller piece of the Quatrefoil panel. First I used it like a stencil and then I covered it using mists and water paints in pink, lavender and warm beige colors.


I covered two smaller chipboards, a frame with "Love" inscription and "Delightful", using two embossing powders - very soft Cotton Candy and more contrasty Mystic Plum.


In the next step I added some flowers and embellishments of course, to make my projects and a composition richer. Then I added some color mists with paintbrush around my composition. Finally I decided to stamp a background a little bit.

Blue Fern Studios Products Used:

Papers: Love Story collection - The Grand Ball, Déjà Vu collection - Petites Cartes and La Plume

Chipboard: Quatrefoil Panel, The optimist word set, Memory frames

Embossing Powders: Cotton Candy, Mystic Plum

Stamps: Essential Texture 


Layout "Happy Way"

My second layout is defenitely more colorful with a lot of my favourite turquoise. I like to treat layouts a little bit like art journal pages - I mean: telling some story, capturing thoughts and feelings, not only pictures and memories.


I really like to create layouts on the dark background - this makes the colors "explode". This time I chose a beautiful paper in the deep navy blue color from the Sanctuary collection. I love a pattern of this paper. I prepared a photo and then I knew which colors I had to use. I have combined papers from two different collections - Ombre Dreams and Frolic and when I decided where my composition will be, I covered this area with gesso. I also used a modeling paste and stencils. In the next step I reached for a stamp with text and a pearl embossing powder. I wanted to connect it to the pattern from a basic paper.


On my layout you can find two chipboard pieces - the smallest circle from Beaded Strings set and beautiful Ironworks medley. Both of them I covered with a lot of different embossing powders to make a colorful embellishments, matching to my vision of this project. Then I added some light turquoise paint on all gaps.


After adding flowers and color mists around my composition, I stamped again using two stamps sets - this time with a black ink.


Blue Fern Studios Products Used:

Papers: Sanctuary collection: Bountiful, Frolic collection - Petits Moments and Friendship, Ombre Dreams collection - Dream Cards
Chipboard: Beaded strings, Ironworks medley
Embossing Powders: Garnet, Heavenly, Fern, Azure, Mystic Plum, Iris, Honey,
Glitter: Caribbean
Stamps: Essential Texture, Halftone

"Winter time"

My third project, which I would like to share with you today is a winter canvas. I know that Christmas time is gone, but we still have winter and maybe it's not my favourite season, but I really like winter projects!


In the background you can see old book pages. I really like this vintage effect. The next layer is a little piece from the Mini rings panel. I sprayed it with a dark brown mist and arranged it in such a way as to stick out from both sides of my composition. Next I built a very dimensional composition with papers from three different collections Déjà Vu, Autumn Anthology, Paisley & Vine and chipboard frame.


On the close-ups you can see all shades of my frame. First I covered frame with gesso and next I mixed gesso with a blue pigment and with using sponge I started to dabbed on blue accents.
I also added some stamps.


Smaller flakes I covered with white acrylic ink to make a very shiny surface. Then I added some translucent glitter. As a result, my project is more sparkling.


In the background you can also find some stamps and little black dots.


And finally a deer - this handsome gentelman would be a main point of my canvas. First I treated a chipboard with white gesso and then I distressed the edges.

Blue Fern Studios Products Used:

Papers: Déjà Vu collection - La Plume, Autumn Anthology collection - Mercantile, Paisley & Vine collection - Vineland
Chipboard: Winter Deer, Snowflake frame, Shabby flakes, Mini rings panel
Stamps: Essential Texture


I hope I have inspired you today. See you next time :)

Hugs,
Karolina

Wednesday, November 11, 2015

A desk calendar with tutorial by Elena Morgun
Hello everyone!
Today Elena Morgun is here. I am happy to share my newest creation - a desk calendar. I also made with a video tutorial.
Everything is quite easy, but the result is quite impressive!
New Blue Fern Glitter is just wonderful! I glued it with Sticky Embossing Powder. This is one of the most convenient ways to me. You need to try it out, if yo haven't done so yet.
The clip helps to swap the months. I like it when home decor is not only pleasing to the eye, but also useful!
Enjoy the video!

Blue Fern Studios product used
  • Autumn Anthology: Balcony
  • Vintage Christmas: Wonderland
  • Stamp: Essential Textures
  • Stamp: Postal Textures
  • Chipboard: Floral Lattice Bits
  • Chipboard: Roman Clock Set - Small
  • Chipboard: Memory Frames 
  • Imagine Ink: Embossing powder - Fern
  • Imagine Ink: Glitter - Pyrite
Also I would like to share a CD envelope today. In October I created a video tutorial to show ow I make them. Today I used two types of fabric and made it more boy-ish.


Blue Fern Studios product used
  • Montage papers
  • Chipboard: Directions
  • Chipboard: Arrow Words
  • Chipboard: Seeing Stars

  • Imagine Ink: Embossing powder - Fern
Have a great creative time, friends!
Elena

Tuesday, October 13, 2015

A layout and a micro-album by Marie-Josée

Hello folks!

Today, I have two projects to show you, each featuring a different collection.

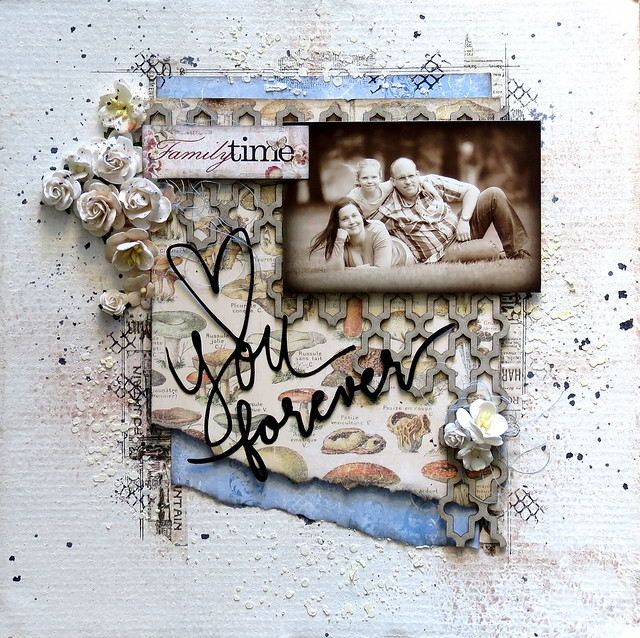
"Love You Forever" layout

I created this layout with the Autumn Anthology collection.

I created my background with gesso, on a piece of cardboard that I recycled (I bought tiles for a backsplash and they were backed with cardboard, so I kept all the pieces to use as background).

I used two different Autumn Anthology papers, Calling Cards and Robin.


I used a piece of the Turkish Panel for my background.


I also used two stamps from the Essential Textures set. I also used a piece of the Calling Cards paper beside my photo.


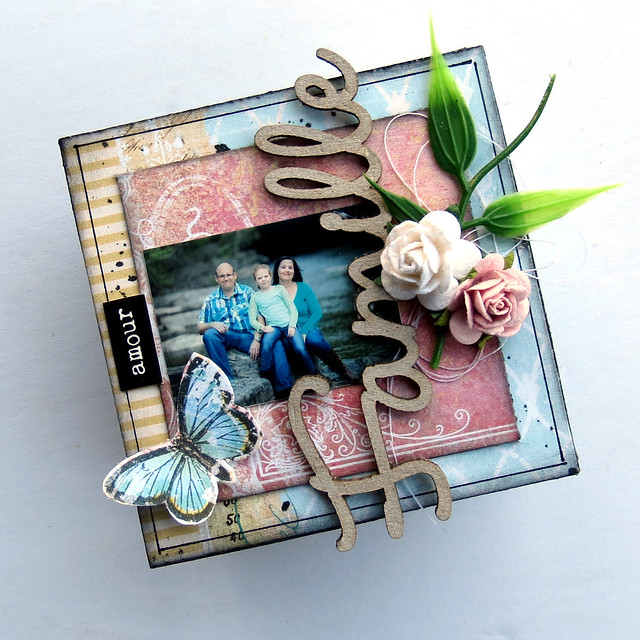
"Famille" micro-album

This teeny tiny album, created with the Frolic collection, measures 2 1/2" x 2 1/2", and the covers measure 2 3/4" x 2 3/4".

I used chipboard under my covers to make the album more sturdy.

I used both sides of the album.

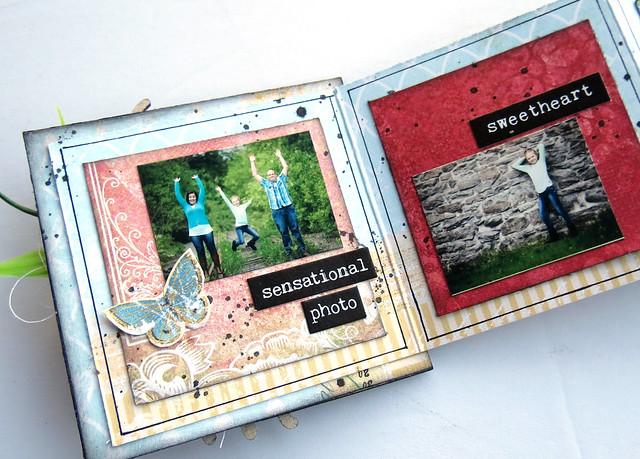
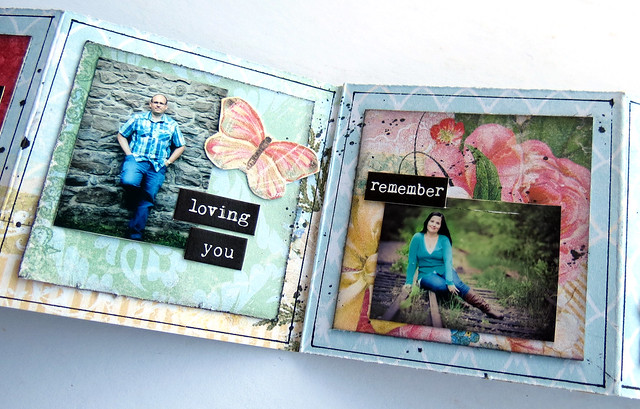
The chipboards I used are from the French Words set and the Memory Frames set.