Showing posts with label Circle Flourish Frame Small. Show all posts

Thursday, January 8, 2015

January Design Team Projects by Melinda Thompson

Hello!

I am so excited to share with you my very first projects as a designer for Blue Fern Studios.


My name is Melinda Thompson and I am from Australia and live in a growing country town called Emerald right in the heart of Central Queensland.  Its dry and its hot and our summers last for around 8-9 months of the year and we only have an odd week or two where we experience cold weather. And even then its not cold compared to what others experience...we may only need to pull out the ugg boots and jumpers!

I am married to my best friend for nearly 15 years and have 3 adorable, but full of life, boys who are the centre of my life and who I mainly scrap about.

I started scrapbooking when I took maternity leave from my job to have my first baby and it just grew from there.

A bit about my scrapbooking style:

- Even though I have 3 boys which means I am constantly surrounded by cars, trucks and lego and all things noisy and dirty, my pages are super girly and feminine.  I will nearly always use flowers and usually alot!

- I am inspired by colour and will even scrap using pink on a boys page...after all its my art :)

- I love texture so my pages are very dimensional they never fit into albums.

- The backgrounds to my layouts are always created using lots of mixed media techniques and products.

Looking forward to joining the Blue Fern Studios team for 2015!

You can find more of my work and follow me on my blog:
www.minseverydaymoments.blogspot.com


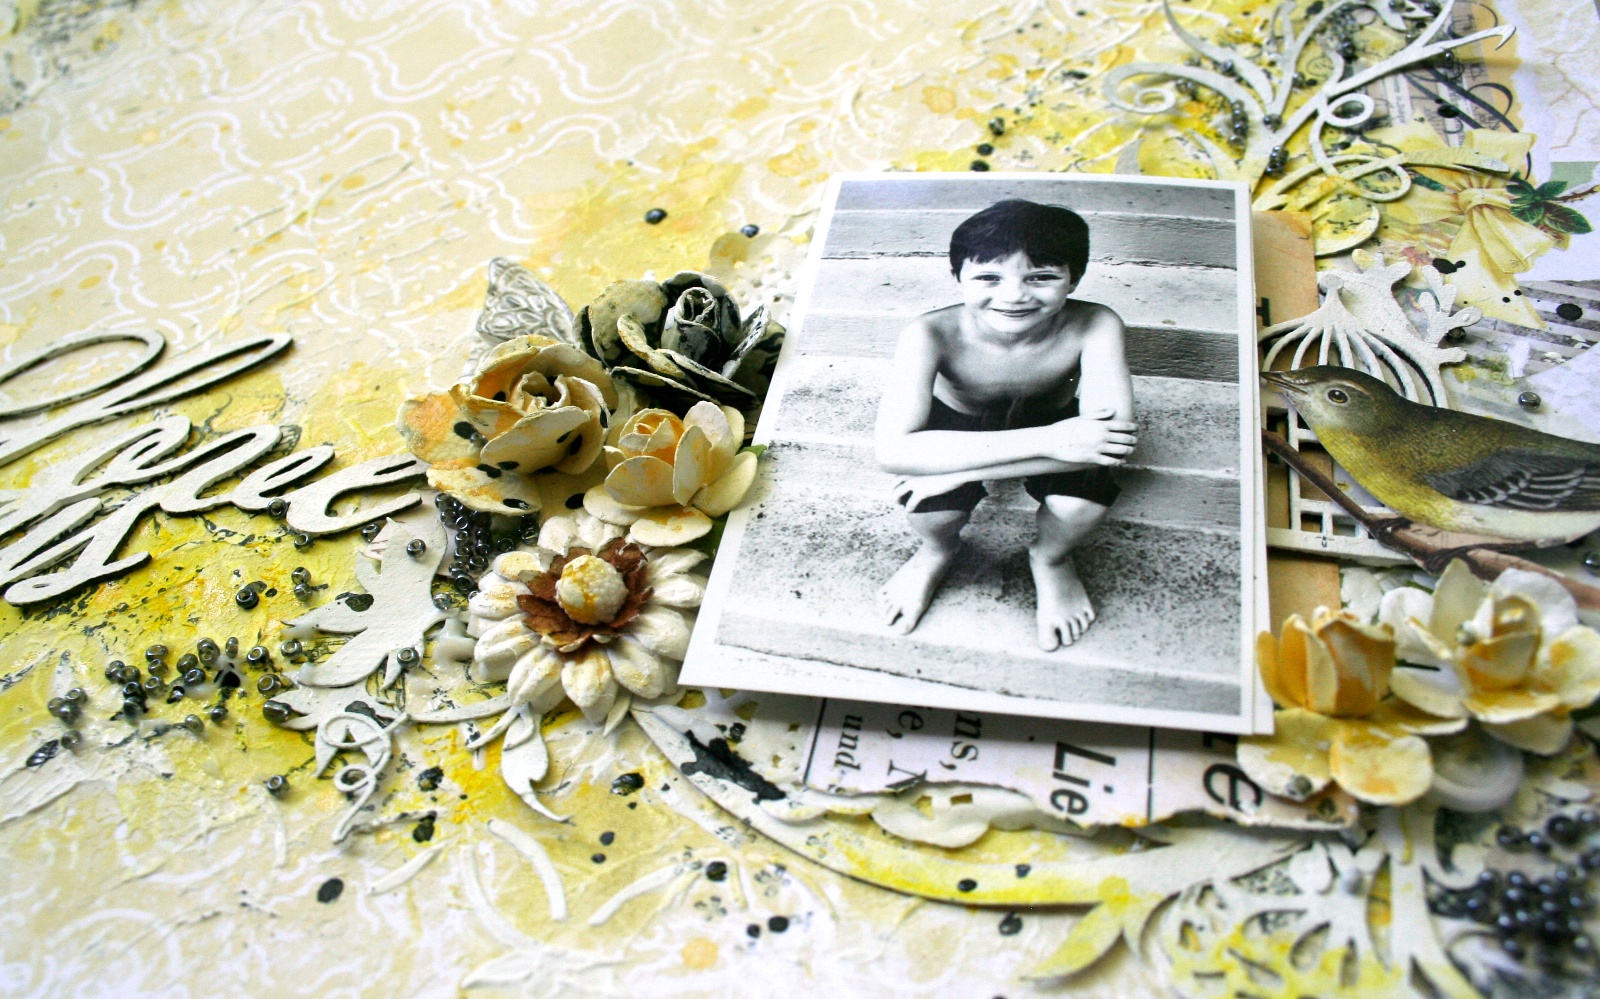
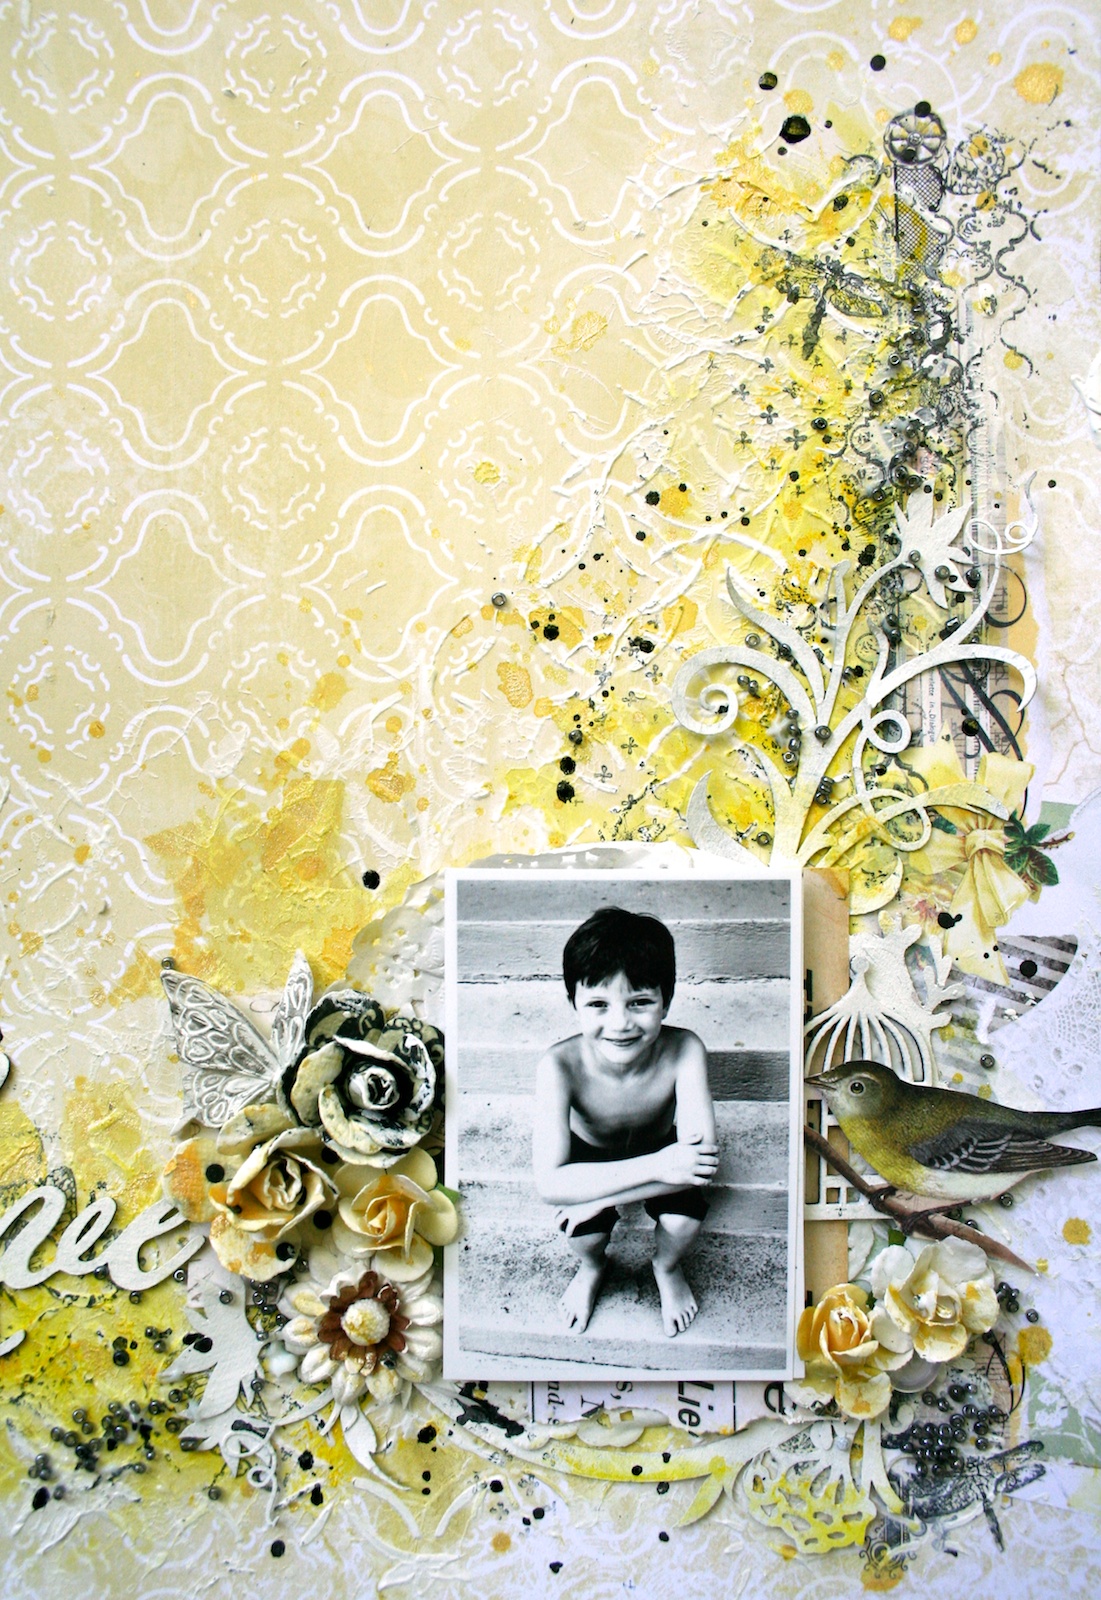
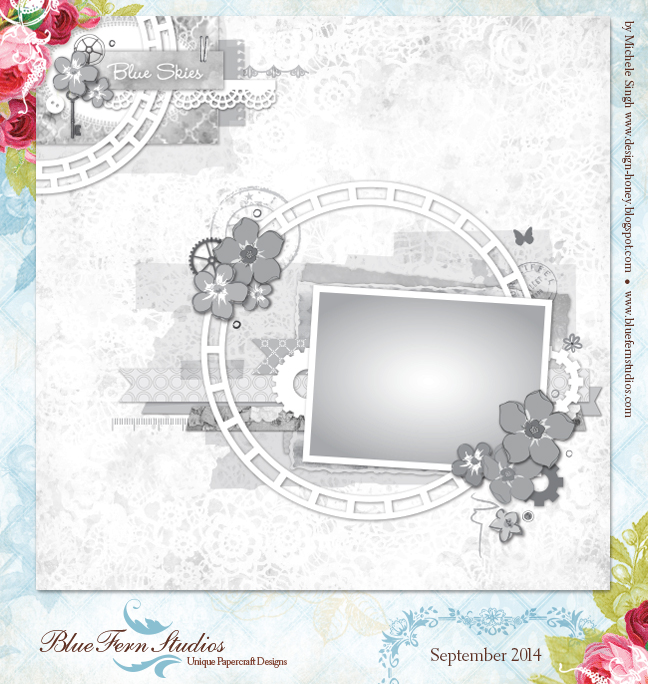
My 1st project was using the January sketch.  For the background of this layout I have used the paper Garden Plaza from the Sanctuary Collection and created some layers behind my photo using the Calling Cards also from the Sanctuary Collection.


I have used a stunning Tattered Butterfly, the Notebook Edges and the word Laughter from the Laughter Happy Smile pack.  With each of my chipboard pieces I coat them with Gesso first and then in this instance I have given them a light covering with some paint and mist.


Paper: Sanctuary Collection: Garden Plaza & Calling Cards
Chipboard:  Notebook Edges, Tattered Butterfly, Laughter


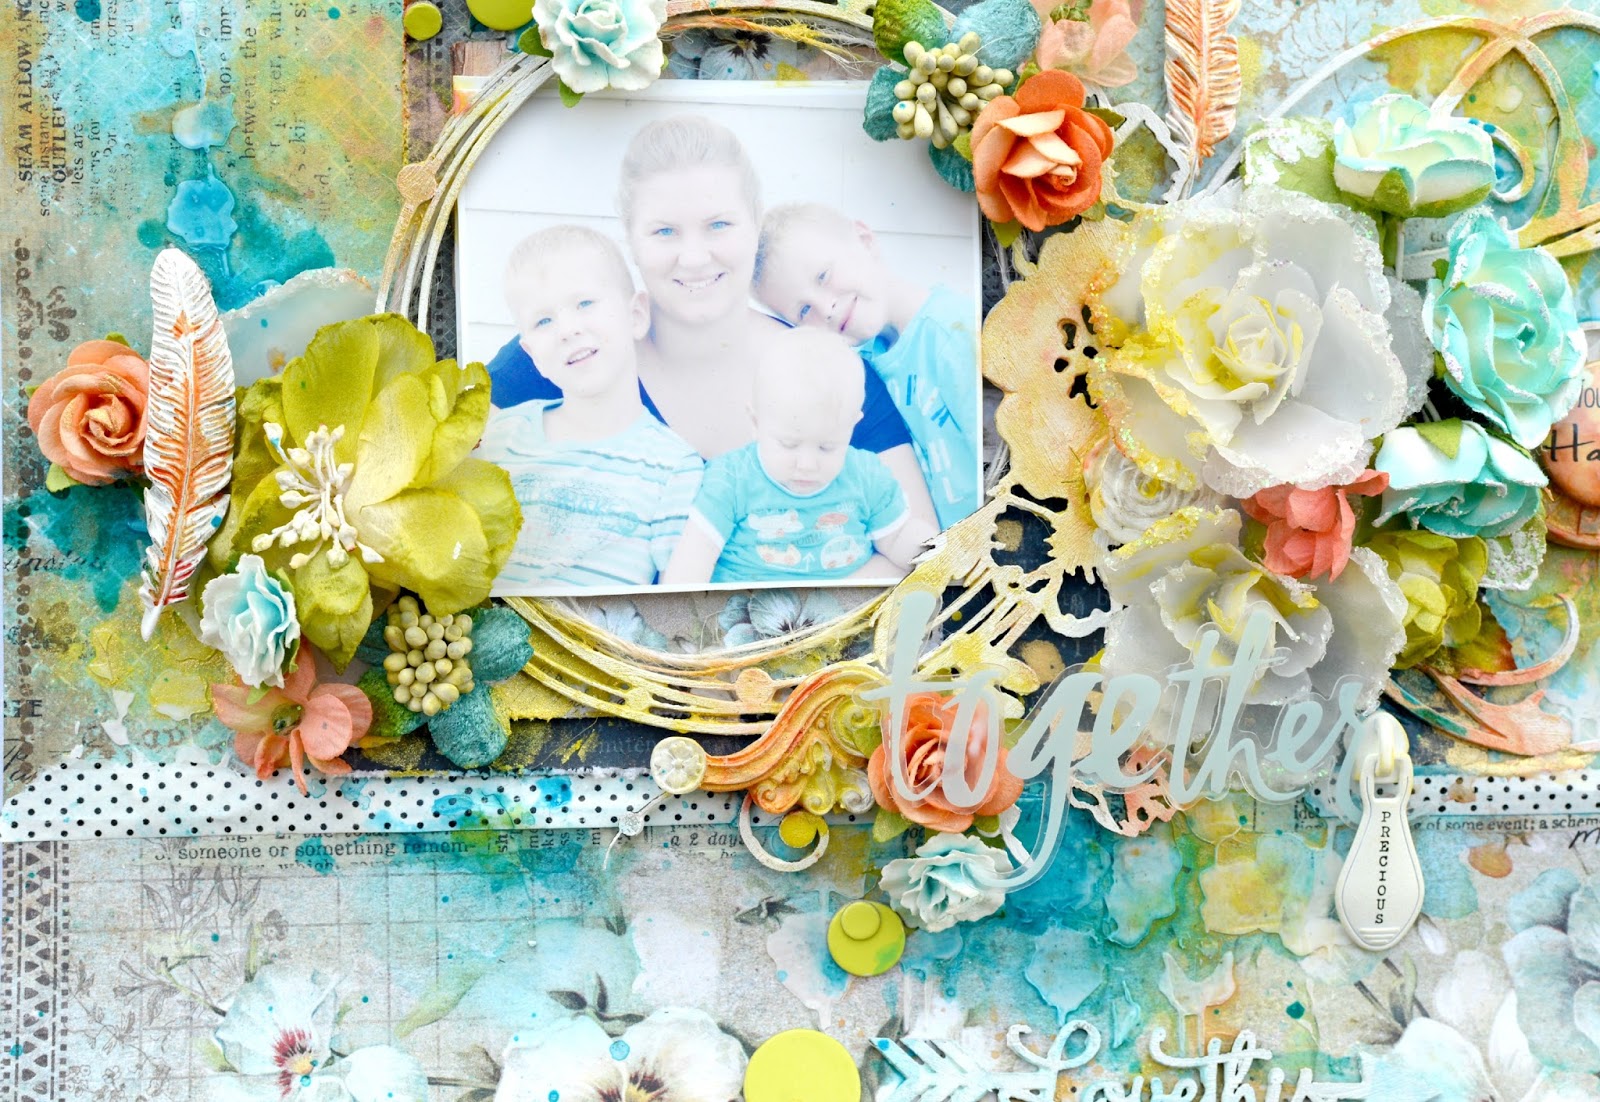
My 2nd project I used the Ombre Dreams: Gingers Dreams paper for my background.


I have used a couple of pieces of Graduated Circles...love these! I have tucked them in an around my layers behind my photo and covered them with mist and paint. The stunning La Plum chipboard piece was lightly painted and then dipped in glitter.


I have also used a piece from the Nested Circle pack, cut it in half and placed at the top and bottom sides of my layout.


Paper: Ombre Dreams: Ginger Dreams & Dream Cards
Chipboard: Graduated Circles, Nested Circle, La Plume


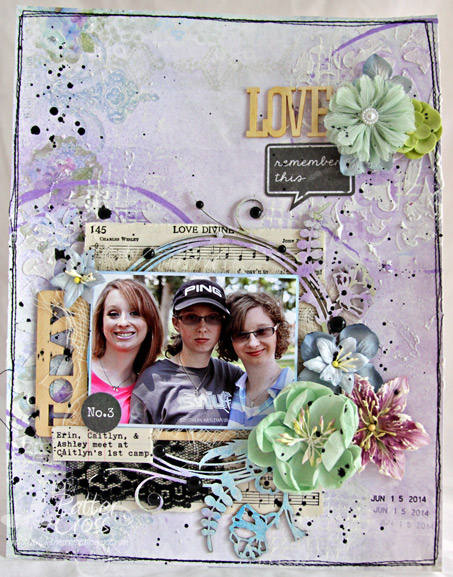
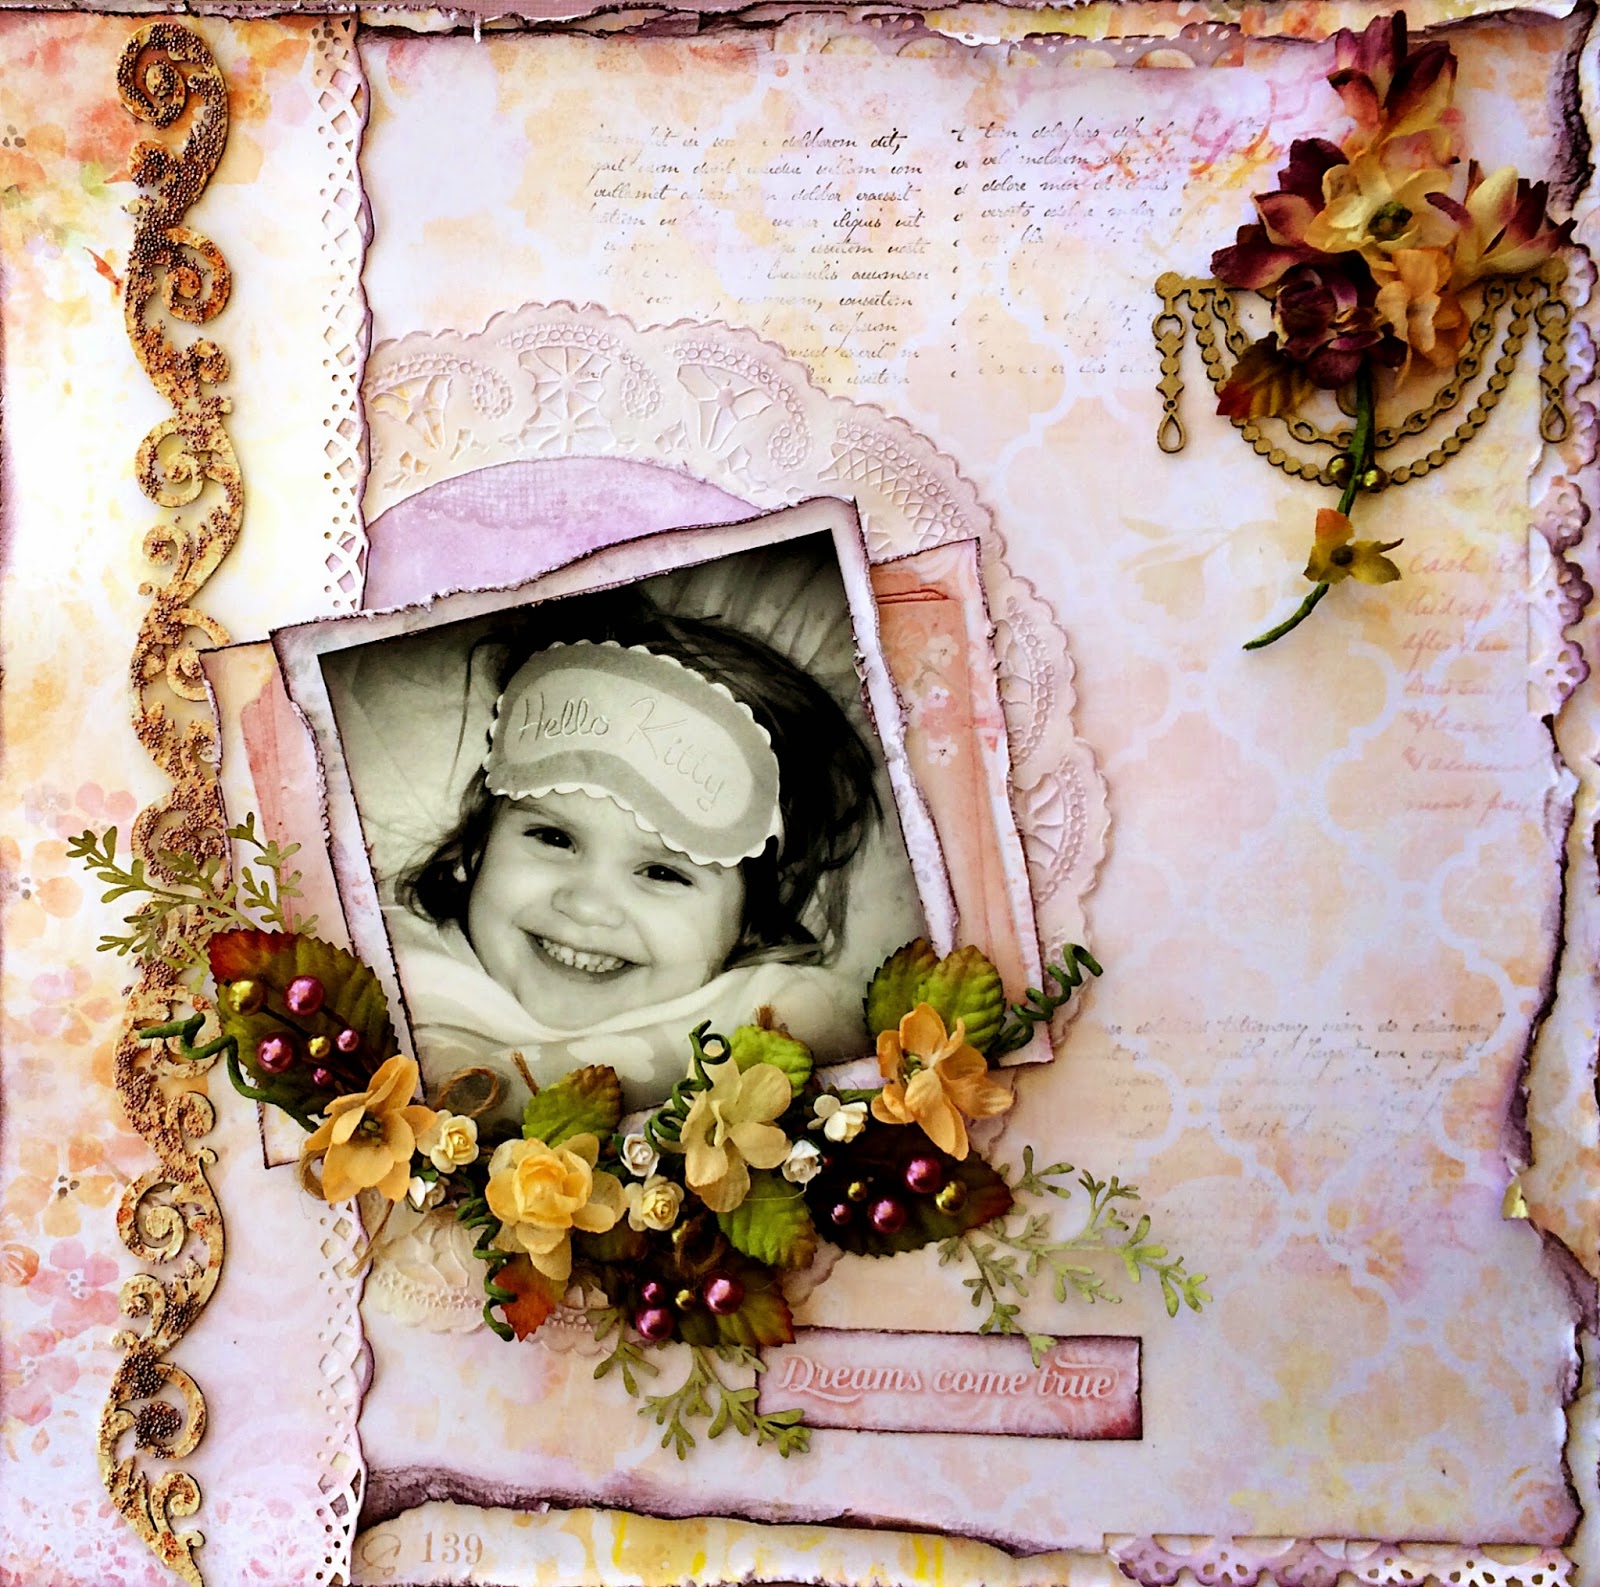
For my 3rd project I was drawn to the gorgeous vintage background of the Meadows of Time paper in the Sanctuary Collection.  But in my usual style I brightened things up!


I cut the bottom section off and turned it over to reveal the beautiful flower pattern that was on the reverse side.  I have used the Small Circle Flower Flourish as well as one of the Corner Flourish.  Down the bottom edge of my layout I have included one of the Arrow Words "Love This".


Paper: Sanctuary Collection - Meadows of Time, Bountiful
Chipboard: Arrow Word, Small Circle Flower Flourish, Corner Flourish


Thank you so much for visiting, I hope you enjoyed my projects...see you next month!

Melinda

Monday, December 22, 2014

'Mommy's Boy' by Lisa Griffith

Hello Blue Fern Studio friends....

I hope everyone is having fun getting ready for the holidays! 
This will be my last blog post for Blue Fern Studios...I was so pleased to work with 
so many beautiful products alongside a super talented group of ladies! 
Thank you so very much for the amazing opportunity of being on this team, 
I have enjoyed it so much.

'Mommy's Boy'


Here I started with the paper 'Bountiful' and did a lot of masking with gesso and then layered on washi tape, paints, gems, silver micro beads, flowers and stamping.


My son and I get our portrait taken together every Christmas, it's our tradition since he was a baby,
and I love to see how much he changes year to year. This title chipboard piece
'Mommy's Boy' was so perfect for this photo! I painted it white and then 
embossed it lightly with silver embossing powder.


I also used a piece called 'Circle Flourish' and few 'Shabby Flakes' 
which I treated the same way as the title piece.


My second project is a tag I created with a winter theme.


Here I have used 'Meadows of Time' as my base, and layered on some lace,
flowers and silver glass glitter.


I really love the 'Shabby Flakes' chipboards, they have made it on to almost every winter project
 I've done lately :) Here I tucked a few into my flower cluster. I painted white and then added white glitter to a piece of the 'Let it Snow' set.


My last project is a layout I created using the beautiful sketch for December.


I loved the vertical lines in the sketch. You still have time to enter the challenge this month....


I used the paper 'Birdsong Melody' as my base and then added paints, flowers, 
silver and black trims and pieces of the 'Shabby Flakes' and 'Holiday Vine'.

I hope I have inspired you a little today..

Take care,
 Lisa Griffith


Monday, September 22, 2014

'Love Always' by Lisa Griffith

Hello everyone!

By now you've all seen the beautiful new collection 'Montage' by Blue Fern Studios,
such lovely papers to work with. Here I chose the paper 'Society'.


I did a lot of masking and stamping in the background and then added the following chipboard pieces that I kept simple with a coat of white acrylic paint, 'Love Always', 'Circle Flourish', 'Veranda Cage Set', and 'Wild Flourish Frame'.


My second project is a card I made with the paper 'Julianna's Dream' as my base,
and then added lots of masking, misting and stamping.


I added two pieces of the small 'Roman Clock Set' which I painted white, 
then added some flowers and some paint splashes.

And finally, the layout I created for the September sketch challenge, 
which you still have plenty of time to enter before the end of the month!

Here is the gorgeous sketch designed by Michele Singh:


Remember, you don't have to use the exact chipboard that is in the sketch,
but you must use Blue Fern Studios products.

Here is my layout using the September sketch:


I had so much fun creating this, experimenting with my new gelatos, and I love the bright sweet colors, a perfect addition to the beautiful 'Shannon's Dream' paper from the 'Ombre Dreams' collection. I used several pieces from the 'Roman Clock Set' again and also a piece called 'Circle Flourish' that I painted white and then painted with my gelatos to match my background.

I hope I inspired you a little today!
Until next time....Lisa xo


Friday, July 18, 2014

Round & Round Circular Designs- by Keren Tamir


Keren here and its my turn today on the Blue Fern Studios blog. I have an all around theme this month which is "Circles". I have used different circular designs this month to create each of my layouts. I hope they inspire you to create with circles and love them just as much as I do!!!

First up is:

"Good Vibes"

I used the Ombré Dreams- Leslie's Dream paper as a background for this layout.


I just love using circular designs on my layouts and I tried to incorporate different circle motifs in each of these layouts. I also used stencils and stamps to create different textured circles in the background.


I framed this cute photo of my daughter picking strawberries in the field with the treasured floral chipboard frame. I primed it with gesso and then colored it with markers.


Then I added circles from the Circle Group set which were coloured in yellow marker. finally I added the Good Vibes title on the side because she's truly just so happy here!!


<<<<<<<<<<<<<<>>>>>>>>>>>>>>

"Joy"


For this layout I used the Techno rings to frame the photo of my daughter painting and one of the words from the Ombré Dreams- Dream Cards paper.  First I primed them with gesso, Then I painted them with gelatos and added some stickles glitter. I also stamped them with a circular stitched stamp (which is the same stamp used on the background). Finally I created white lines on them with a white acrylic marker.


I used the Ombré Dreams- Joyce's dream and matched all the embellishments and inks to it.


my daughter had so much fun using the dropper to create splatters on the page. It gave me so much joy watching her and so I used the Joy title from the Good Vibes chipboard word set.


<<<<<<<<<<<<<<<<<>>>>>>>>>>>>>>>>

"Natural"

I used the Ombré Dreams- Susan's Dream as the background for this layout and added some layers with the Dream Cards paper.


Finally I want to show you the layout I created for the July sketch challenge. I also happened to use a circular motif so I thought I'd share the design.


The small circle flourish chipboard frame was perfect to frame this natural looking photo of my daughter.


I also used the bohemian flowers, little birds and a frame trinket to to add to the natural look. Finally I added the natural title from the All Natural word set.


Thank you so much for visiting the Blue Fern Studios blog today. You can still enter the July sketch Challenge Here

Have a wonderful day!!

Keren

Sunday, June 29, 2014

Layouts of Love with Patter

Hello Blue Fern Studio fans! It's the 29th so it's time for me to share my June creations with you.

I Love You More
For my first 8 1/2 x 11 layout, I used a photo of two of my daughters that I took while we were on vacation in May. As a family, we say "I Love You More" a lot to each other. I felt that this photograph looked like a time they would be saying that to each other. The Blue Fern chipboard title "I Love You More" was perfect for the page. I also used the Blue Fern Garden Parlour papers.

To color the chipboard, I coated it in white gesso. While it was still wet, I spritz on several different mist colors then let dry. Some of the color pooled in some areas but I liked that because of the effect it gave the chipboard.

And notice below how I left the branding strip on at the bottom of the patterned paper. The branding strip contains the paper name, UPC code, etc. Sometimes I cut them off, sometimes I leave them on the paper as I did here, and sometimes I use the strips on cards and layouts. On the far left hand side, you can still kind of see the word "garden" at the bottom. I covered it mostly in modeling paste but still some showed through which is fine. Don't be afraid to keep those branding strips on your pages! Have fun with them.
Blue Fern Studios products used:
Blue Fern Garden Parlour paper
I Love You More chipboard

Love Remember
For this 8 1/2 x 11 layout, I used the new Ombre Dreams Joyce's Dream paper. I also used the beautiful chipboard piece called Circle Flourish Small.

To color the chipboard, I coated it in white gesso and let it dry. I then used a paint brush to paint on several different mist colors. By using a paint brush I was able to control where the colors went and how dark they appeared.
Blue Fern Studios products used:
Ombre Dreams Joyce's Dream paper
Circle Flourish Small chipboard

Sketch Layout
And this is my 8 1/2 x 11 layout I created using the June sketch challenge. If you haven't joined in the fun yet, there still is time. Click here to see the details and join in!

This layout is of myself and my oldest daughter (by a minute) and uses Ombre Dreams Shannon's Dream and Julianna's Dream papers. I also used the Heart Borders and Techno Rings chipboard pieces.

To color these chipboard pieces, I again painted each piece with gesso. After the chipboard was dry, I used mists and acrylic paints to achieve the various effects.

Blue Fern Studios products used:
Ombre Dreams Shannon's Dream paper
Ombre Dreams Julianna's Dream paper
Heart Borders chipboard
Techno Rings chipboard

Thanks for joining me today! See you again in July! Blessings,

Friday, June 20, 2014

Ombre Dreams projects with Rae

Hello all! It's Rae sharing some projects I've made using the amazing new paper line, Ombre Dreams. I have to say that I LOVE this paper so much!


"Dreams Come True" Layout


This is my layout based on the June sketch. 


I used the "Dream Cards" paper to make the title. I wanted to use this piece of the "Layering Stems" set  in this flower cluster, but I only had ONE! What's a girl to do? Well, I soaked that piece in water for a few minutes, then peeled the layers, and got three pieces out of it! This is a great way to get a lighter look with chipboard, and let it flow and give a little different kind of dimension. After the pieces dried, I painted them with green paint and added some darker green ink for a realistic look.


I primed the "Renaissance Border" with gesso, and added some purple microbeads while the gesso was still wet. The beads only stuck in some places, and gives it a unique look. After the gesso was dry, I misted the whole piece with some peach colored mist.


I added a a "Royal Page Bauble" that I painted gold using distress stain.


 "Wonder" Layout


 I adore cemetery statues! I found this picture on Reddit, and there was no photographer listed to give credit to, but MAN! What an amazing photo! I printed it out some time ago, and it seemed to fit so well with the "Ginger's Dream" paper. 


I painted the "Ginger's Poppies" pieces with gesso, then added some green watercolor for the leaves and stems, then added some watered down Izink to the flowers, which resisted in some spots- AWESOME!
 Here's the other poppy.


One of the layers behind the photo is the "Grand Garden Gate." I used a combination of distress stains, distress inks, and chalk inks to get this patina look. 


"All You Need is Love" Layout


This is one of my favorite pictures of me and my son. I've made a few layouts with this picture before, but my family has taken them! This one is just for me. 


Again, I primed the "Small Circle Flourish" with gesso and painted the leaves and flowers with some green and purple mists to give a watercolor look. Then, I added some flowers. See that heart lock? I cut that from one of the "Romantic Page Dangles" and colored it with silver Izink and grey chalk ink.


Here I cut up more "Romantic Page Dangles" so I could use the chains to accent the larger chain which is from the "Page Chains" set, and used the same products I did on the heart lock. 

The key is from the "Vintage Keys" set. I lightly scraped black archival ink over the key. 

Thanks for having a look at my pages using Ombre Dreams! Have a great day!


Rae