Hello friends! Thank you for dropping by :)
Today I'm in to share three projects I created for Blue Fern Studios, featuring the new paper collection Ombre Dreams and some fantastic chipboard pieces.
"Count the Ways"
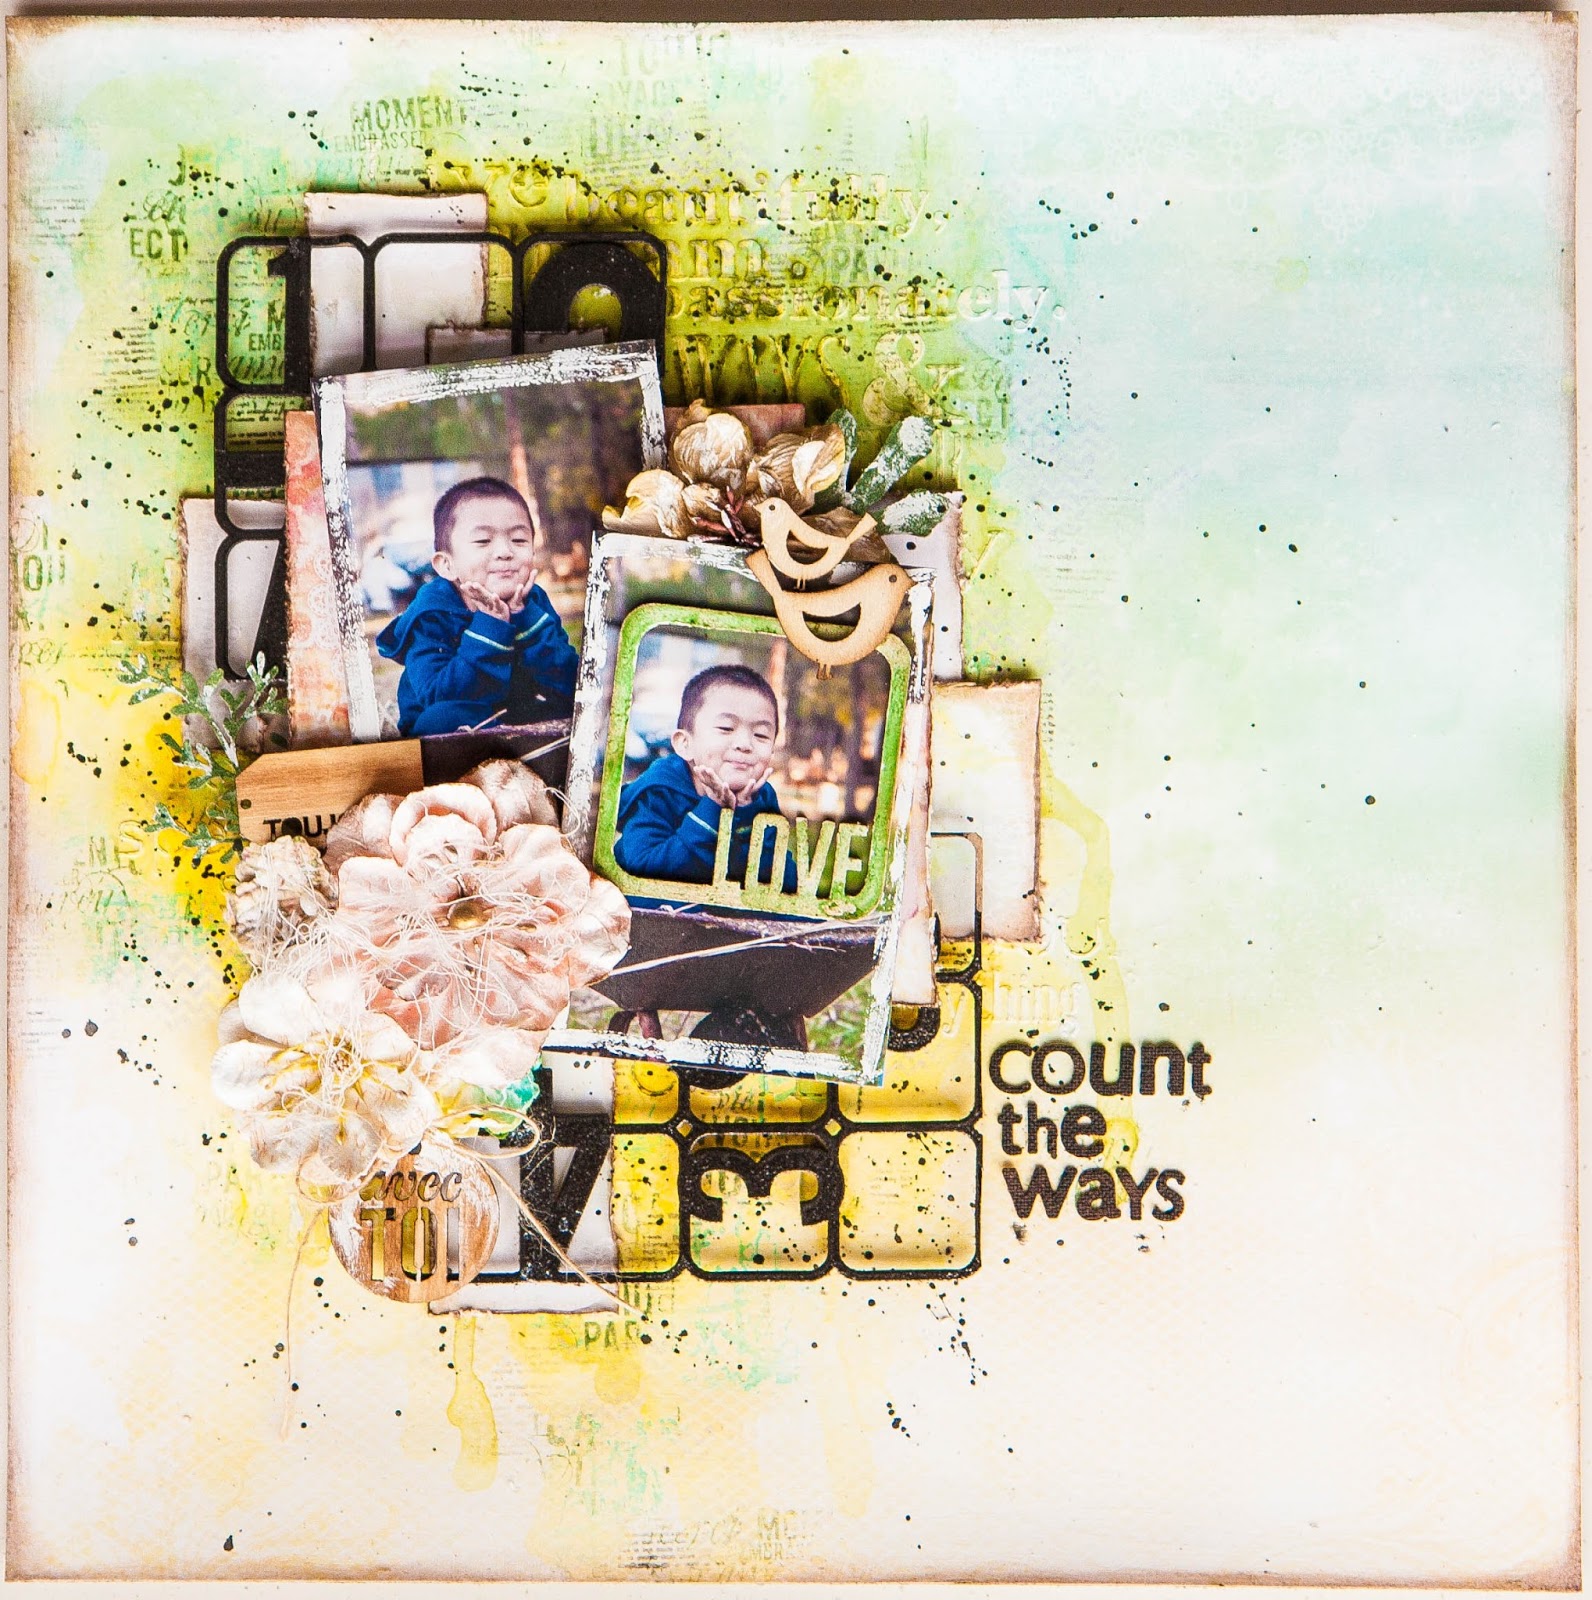
The first is a layout I made of my big boy, with papers from Ombre Dreams collection. The title came from one of the most popular love poems around - Sonnet 43 by Elizabeth Browning but I used it here to describe my love for my sweet and wonderful child.
Some close ups:

A frame from the Memory Frame set which I misted green.

Counting the ways with the number grid chipboard panel, which I covered with black EP.

A piece of Layering Stem. Gosh, I love these! Just perfect for tucking into any little corner of my floral cluster.
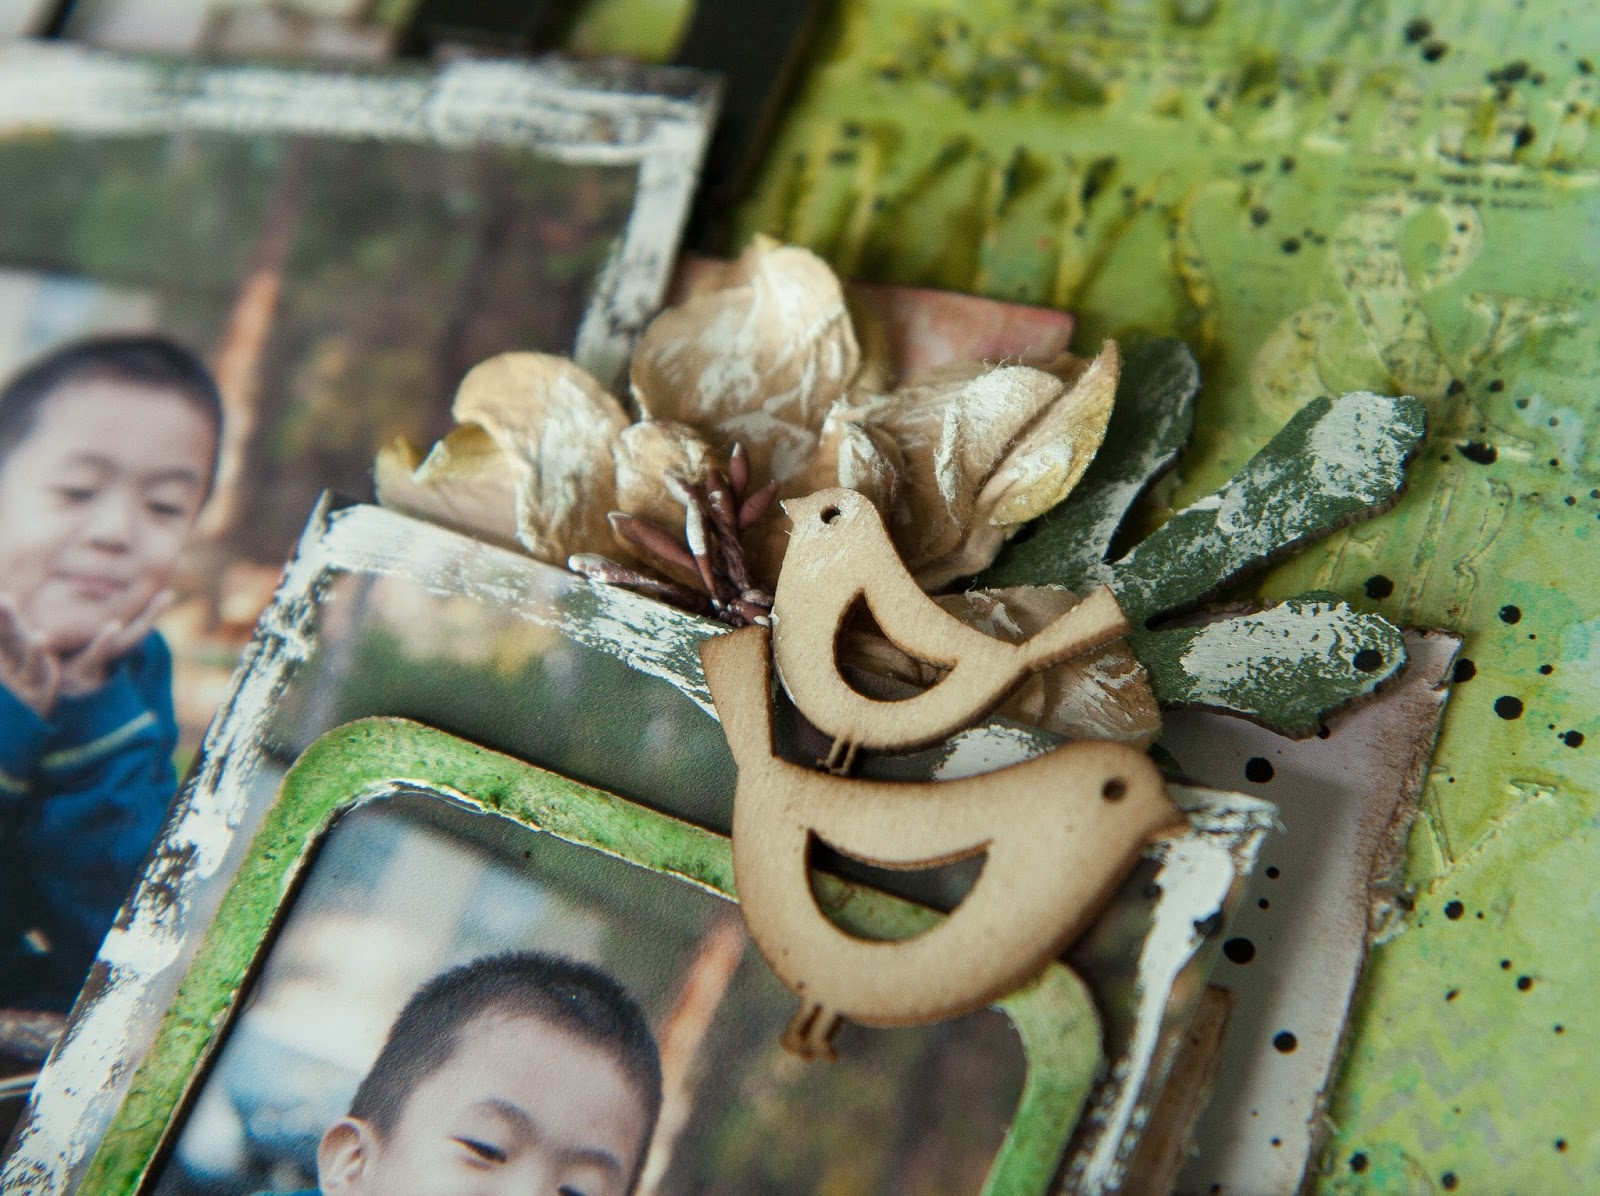
A piece from Fall Foliage, also misted with green and gesso brushed on randomly.
Blue Fern products used:
Ginger's Dream
Shannon's Dream
Number Grid - Large
Memory Frame Set
Layering Stems
Fall Foliage
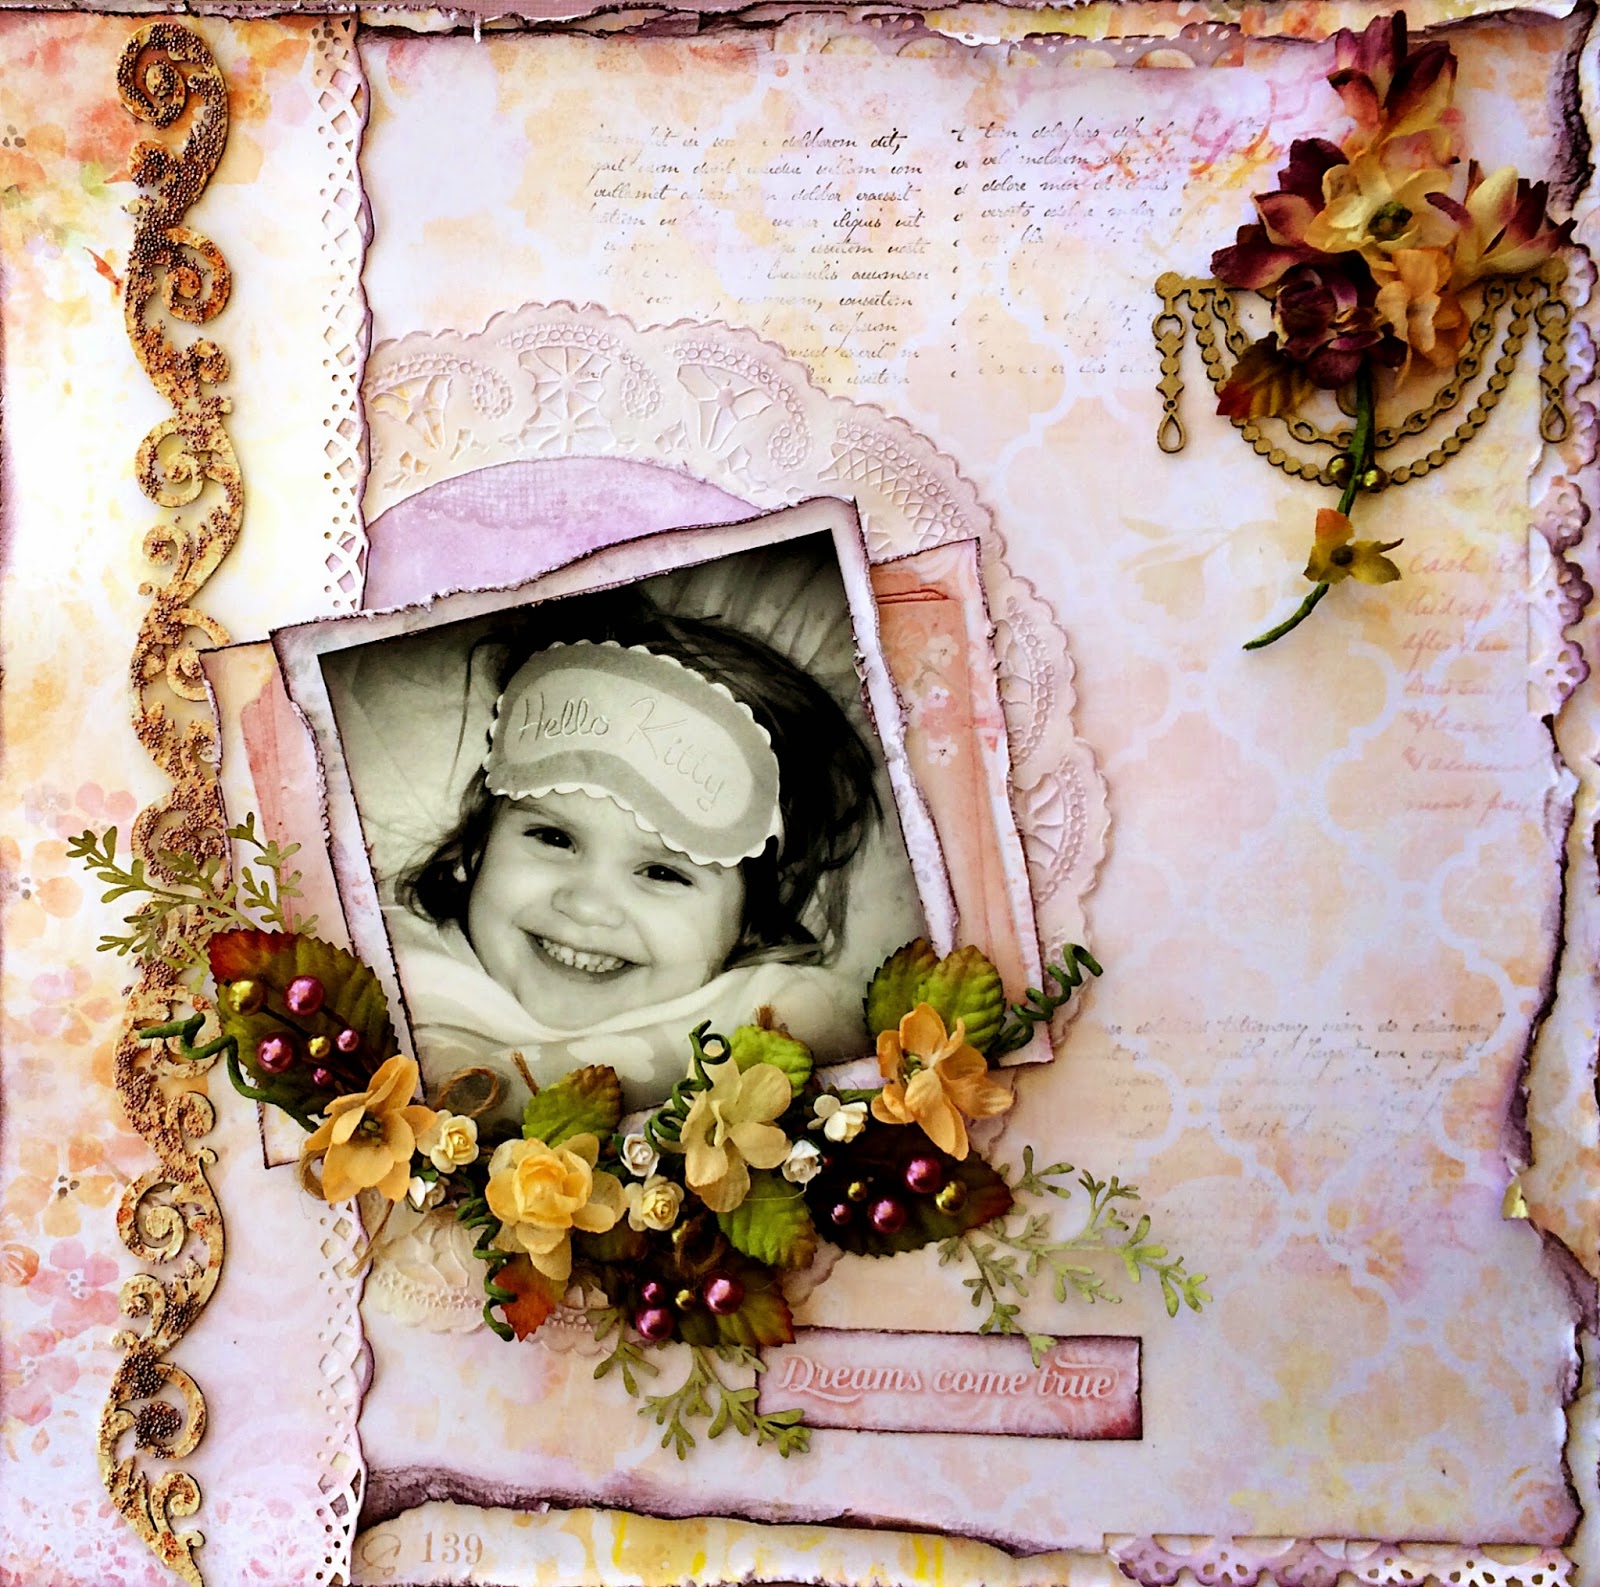
"Follow Your Bliss"

My second project is a simple little card. In fact, I made a card instead of my usual LO because I wanted to use the chipboards as the main features. I layered sheets from the Ombre Dreams collection and layered water colours in pastel tones, careful not to hide the lovely details the papers have.
Some close-ups:
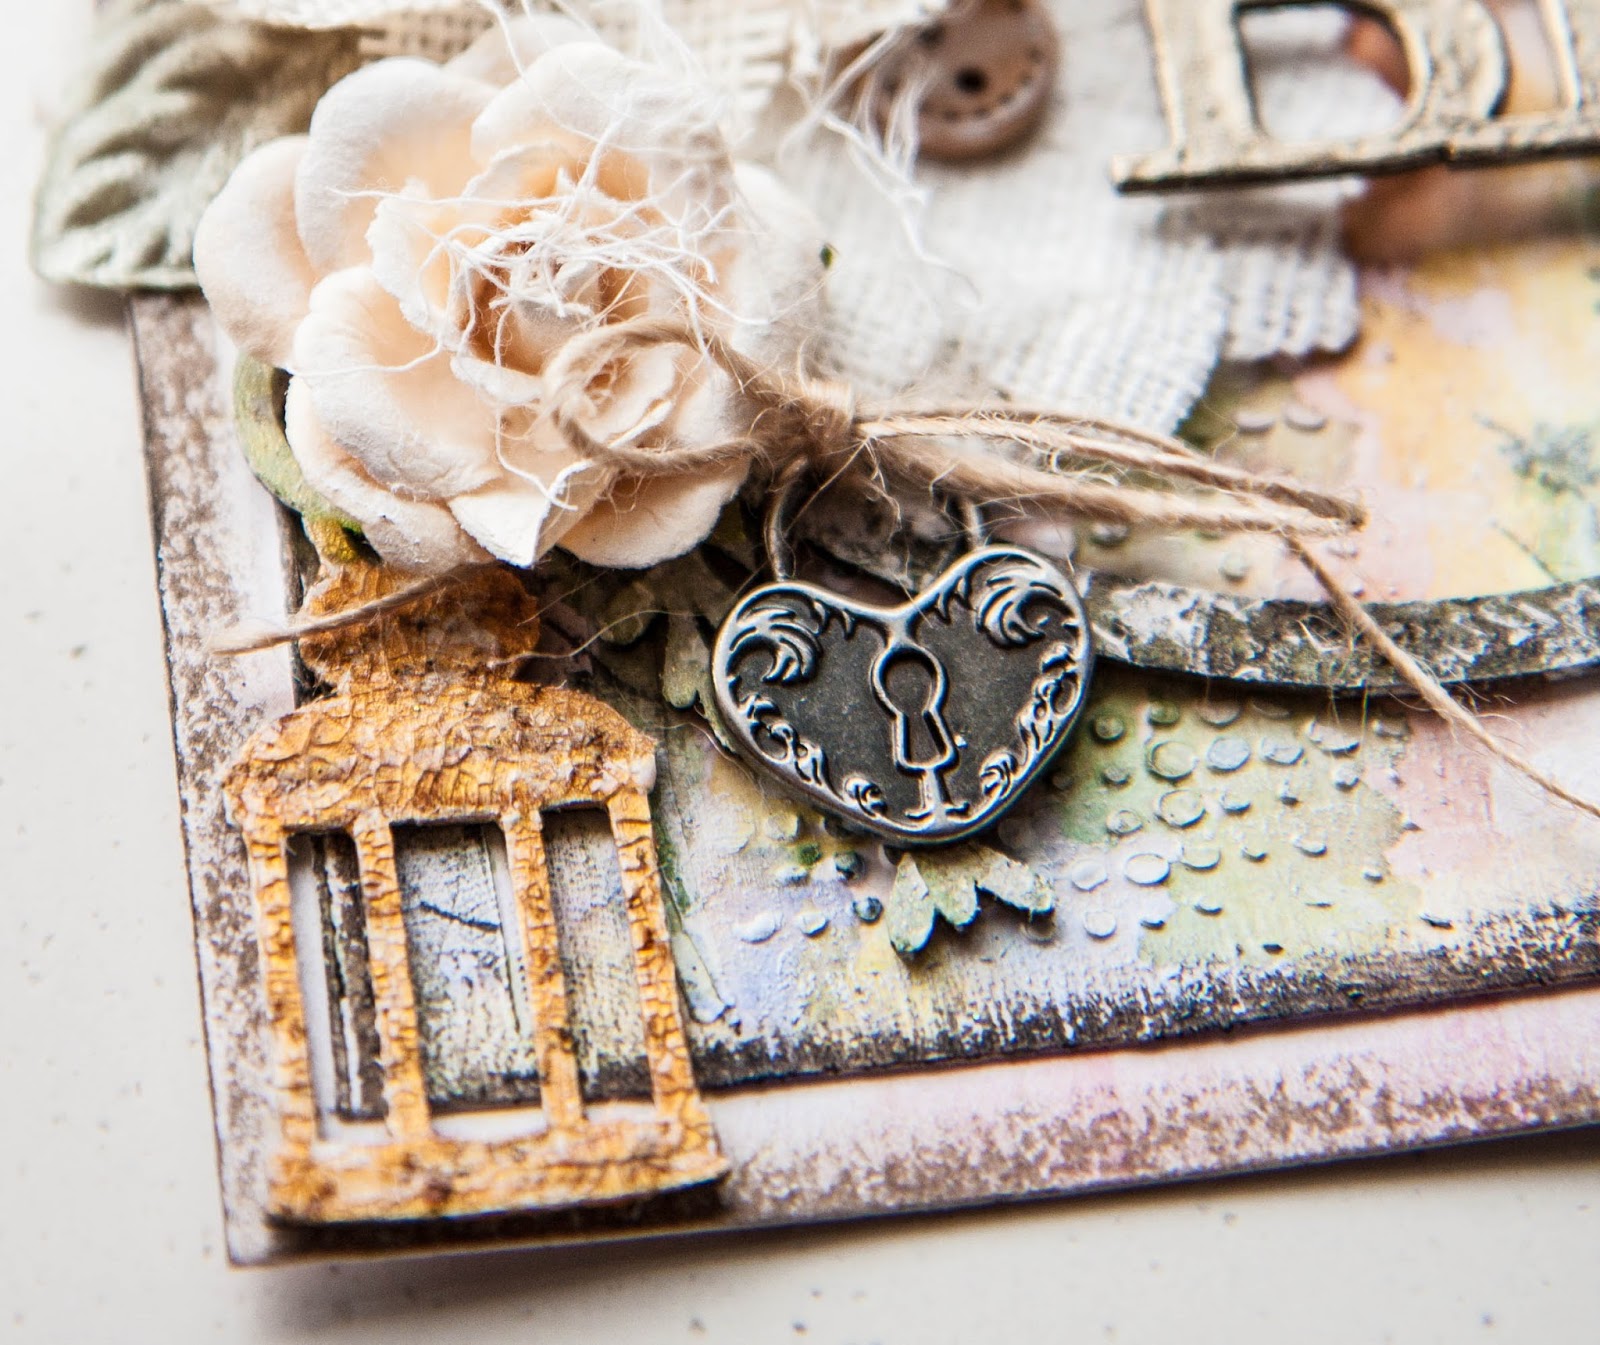
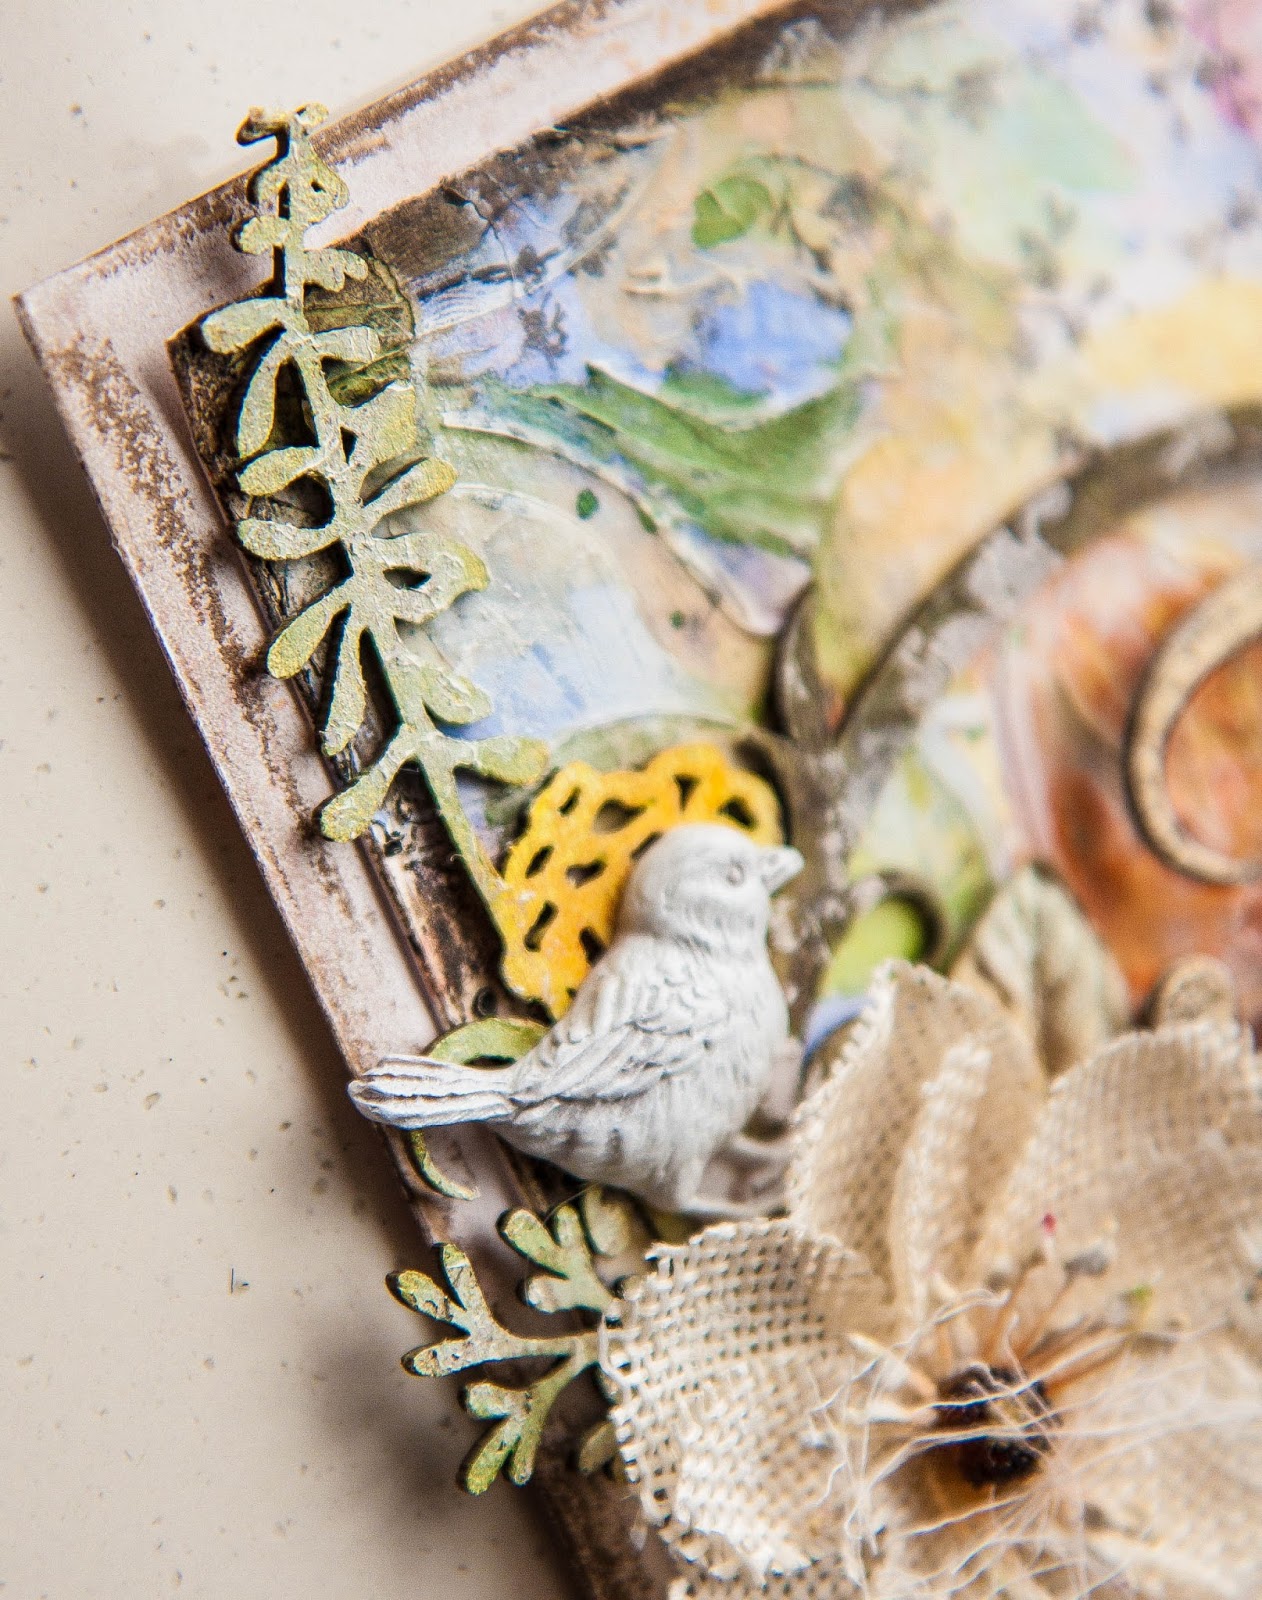
The Twilight Garden Frame. What a lovely piece! I used gold paint on the lamp and added a layer of crackle. For the rest of the frame, I coloured with gelatos.
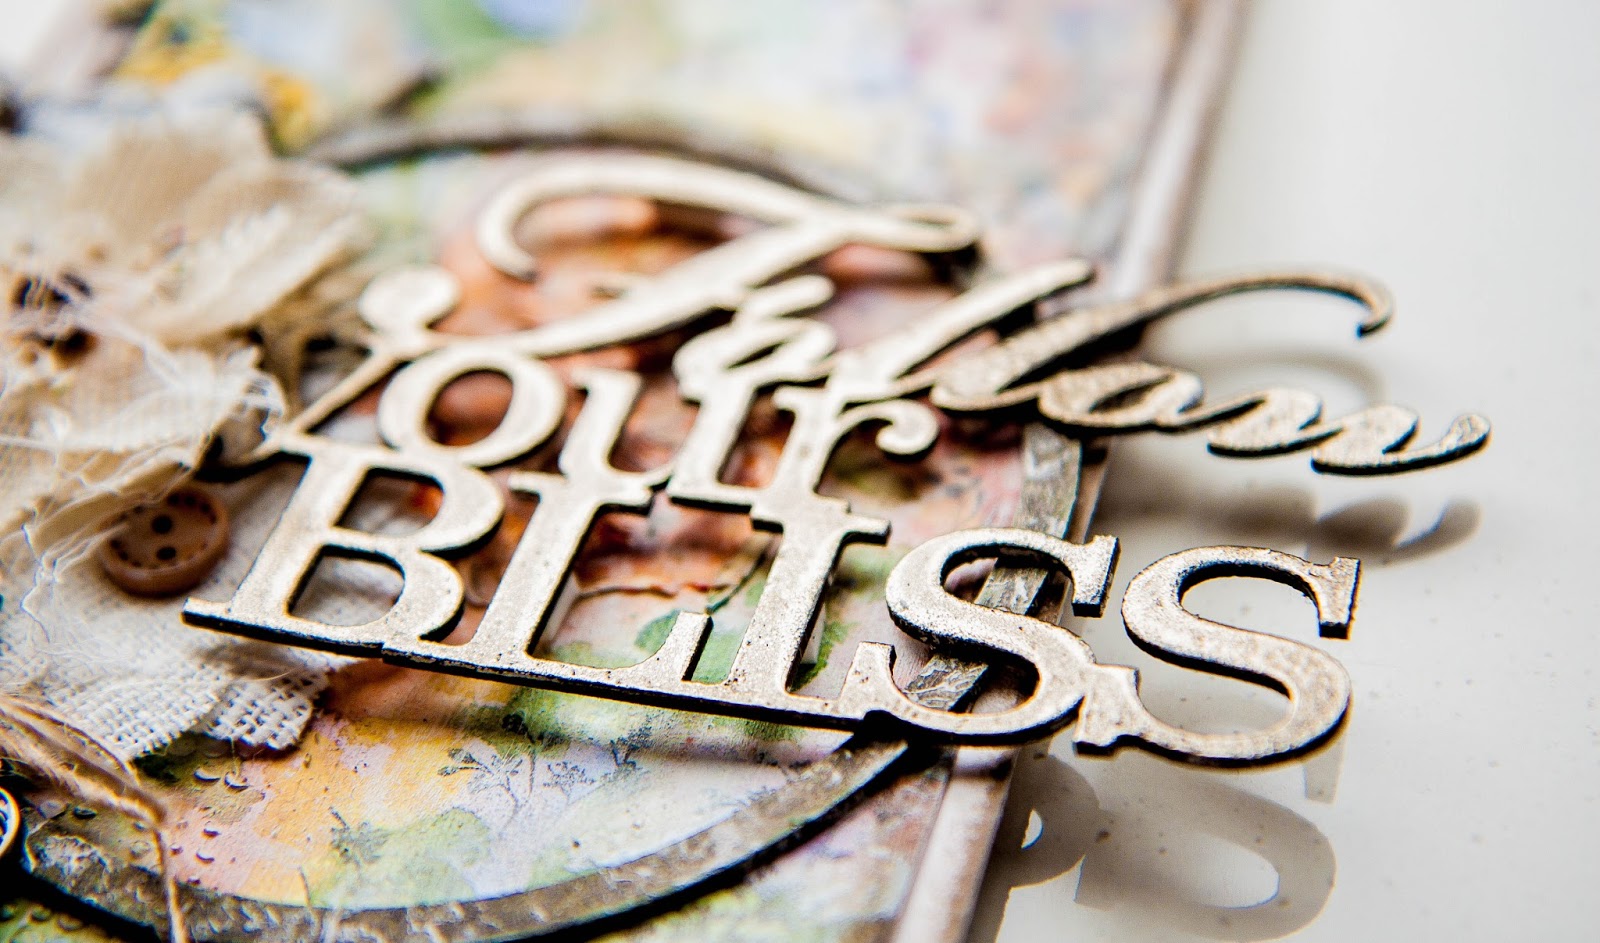
I used "Follow your Bliss" word as my card sentiment, which I covered with some bronze embossing powder.
Blue Fern products used:
Leslie's Dream
Twilight Garden Frame
Follow Your Bliss
"Blue Skies"
My third project is a layout I created for this month's sketch challenge. If you havn't seen it, do take a look because Michelle has come up with another fabulous sketch. And to win a pack of gorgeous Blue Fern products, just create a project based on the sketch and link it up. It's that easy!
Here is the sketch again:
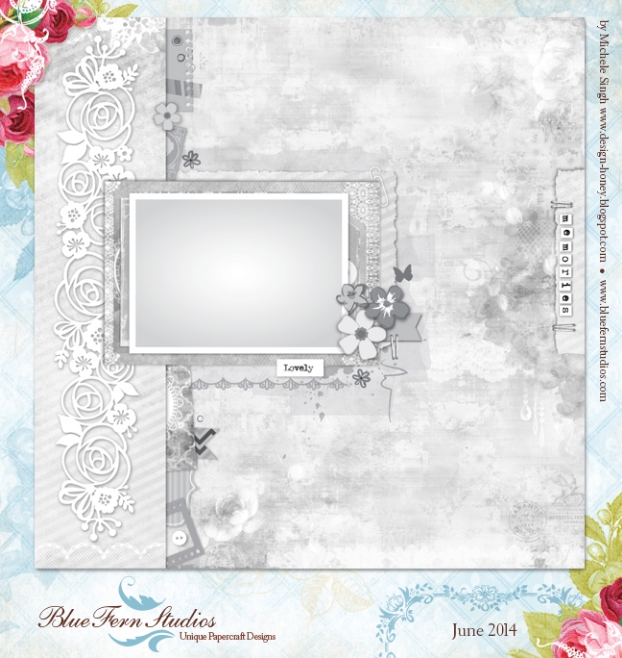
And my take on it:

I used "Susan's Dream" for my background. It has the most calming tones of blues and greens, with a tinge of orange which I have used to highlight certain elements of the page. I like to use a lot of mediums and thinner papers tend to warp with so much fluid sitting on it. But the BFS papers are so much heavier (and sturdier), my LO remained pretty much the same shape even when I was adding quite a fair bit of water to bleed the colours. If you love playing with mediums like me, you'll find the quality of BFS papers just perfect.
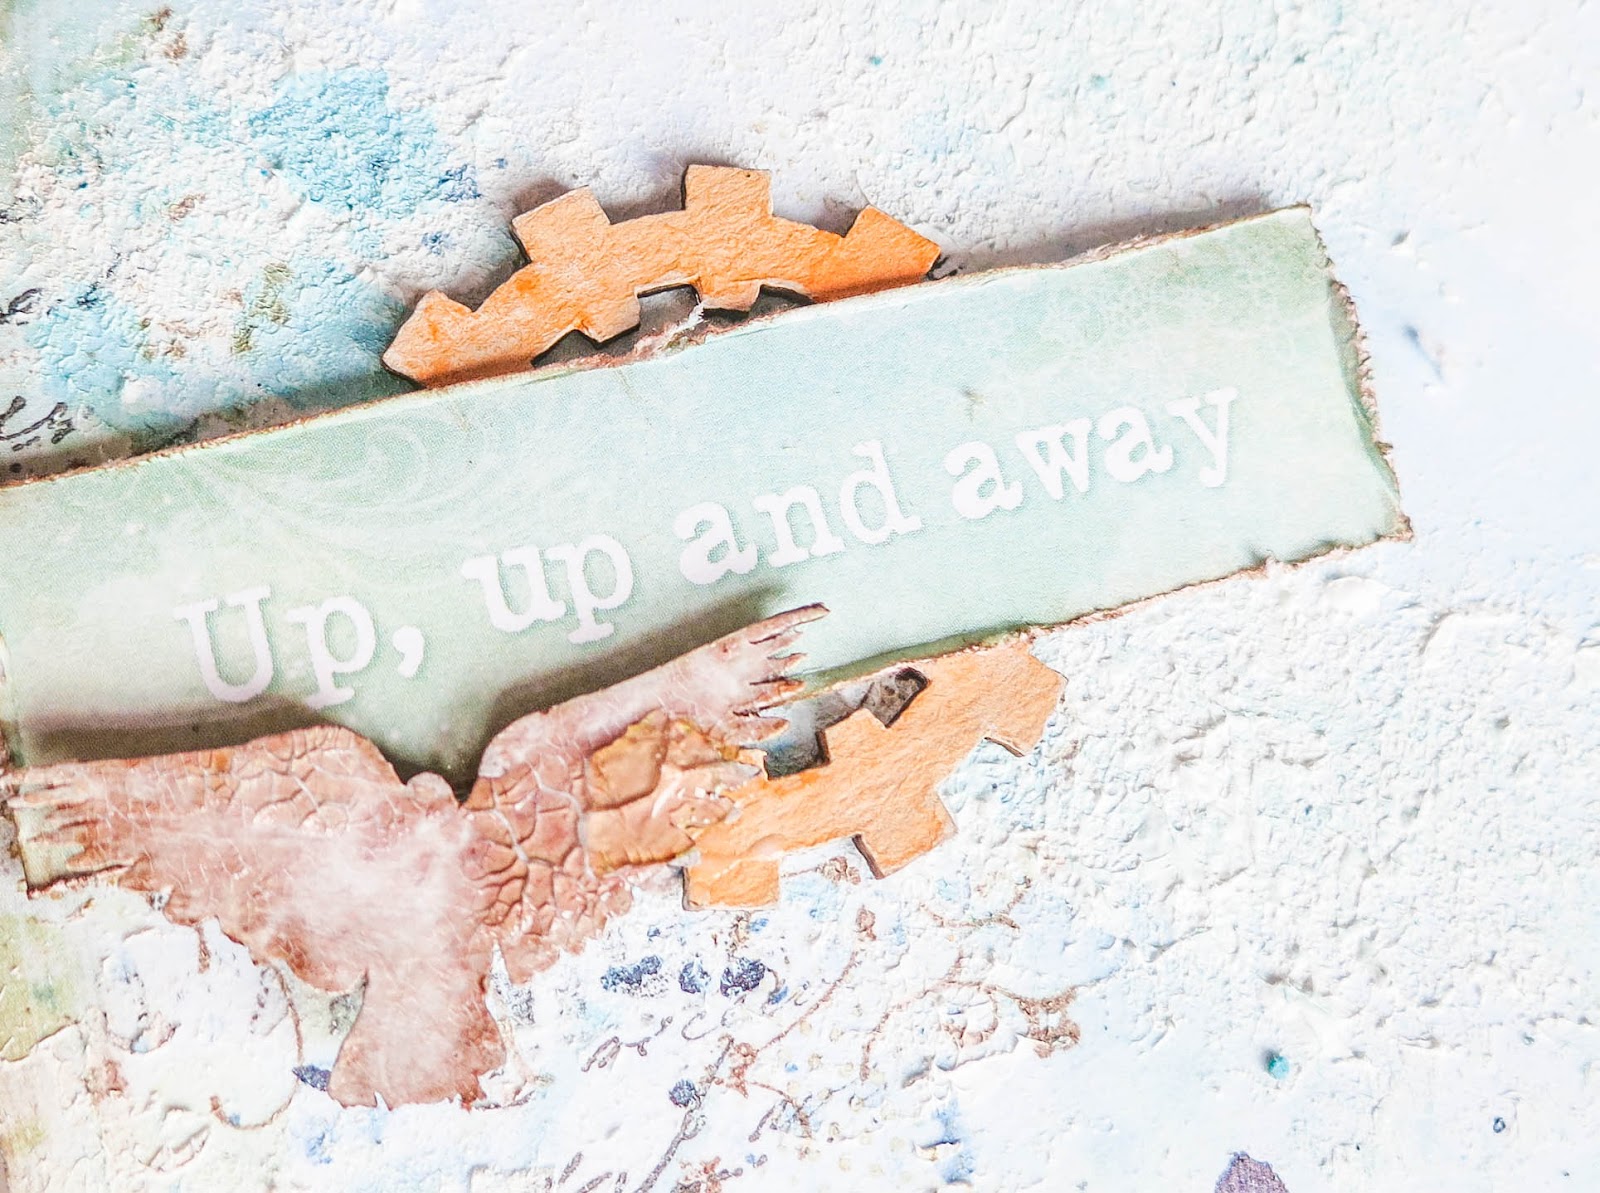
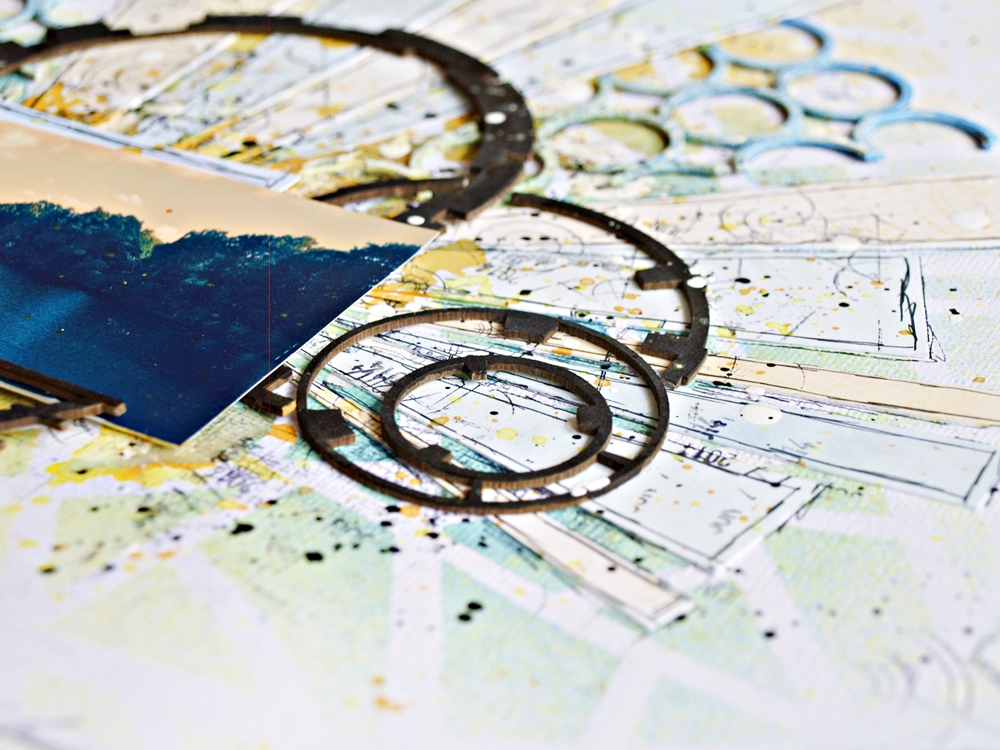
A cut-out phrase from "Dream Cards". There are several elements that you can fussy cut out from this page and layer them on your project. I also used a gear and bird chipboards.
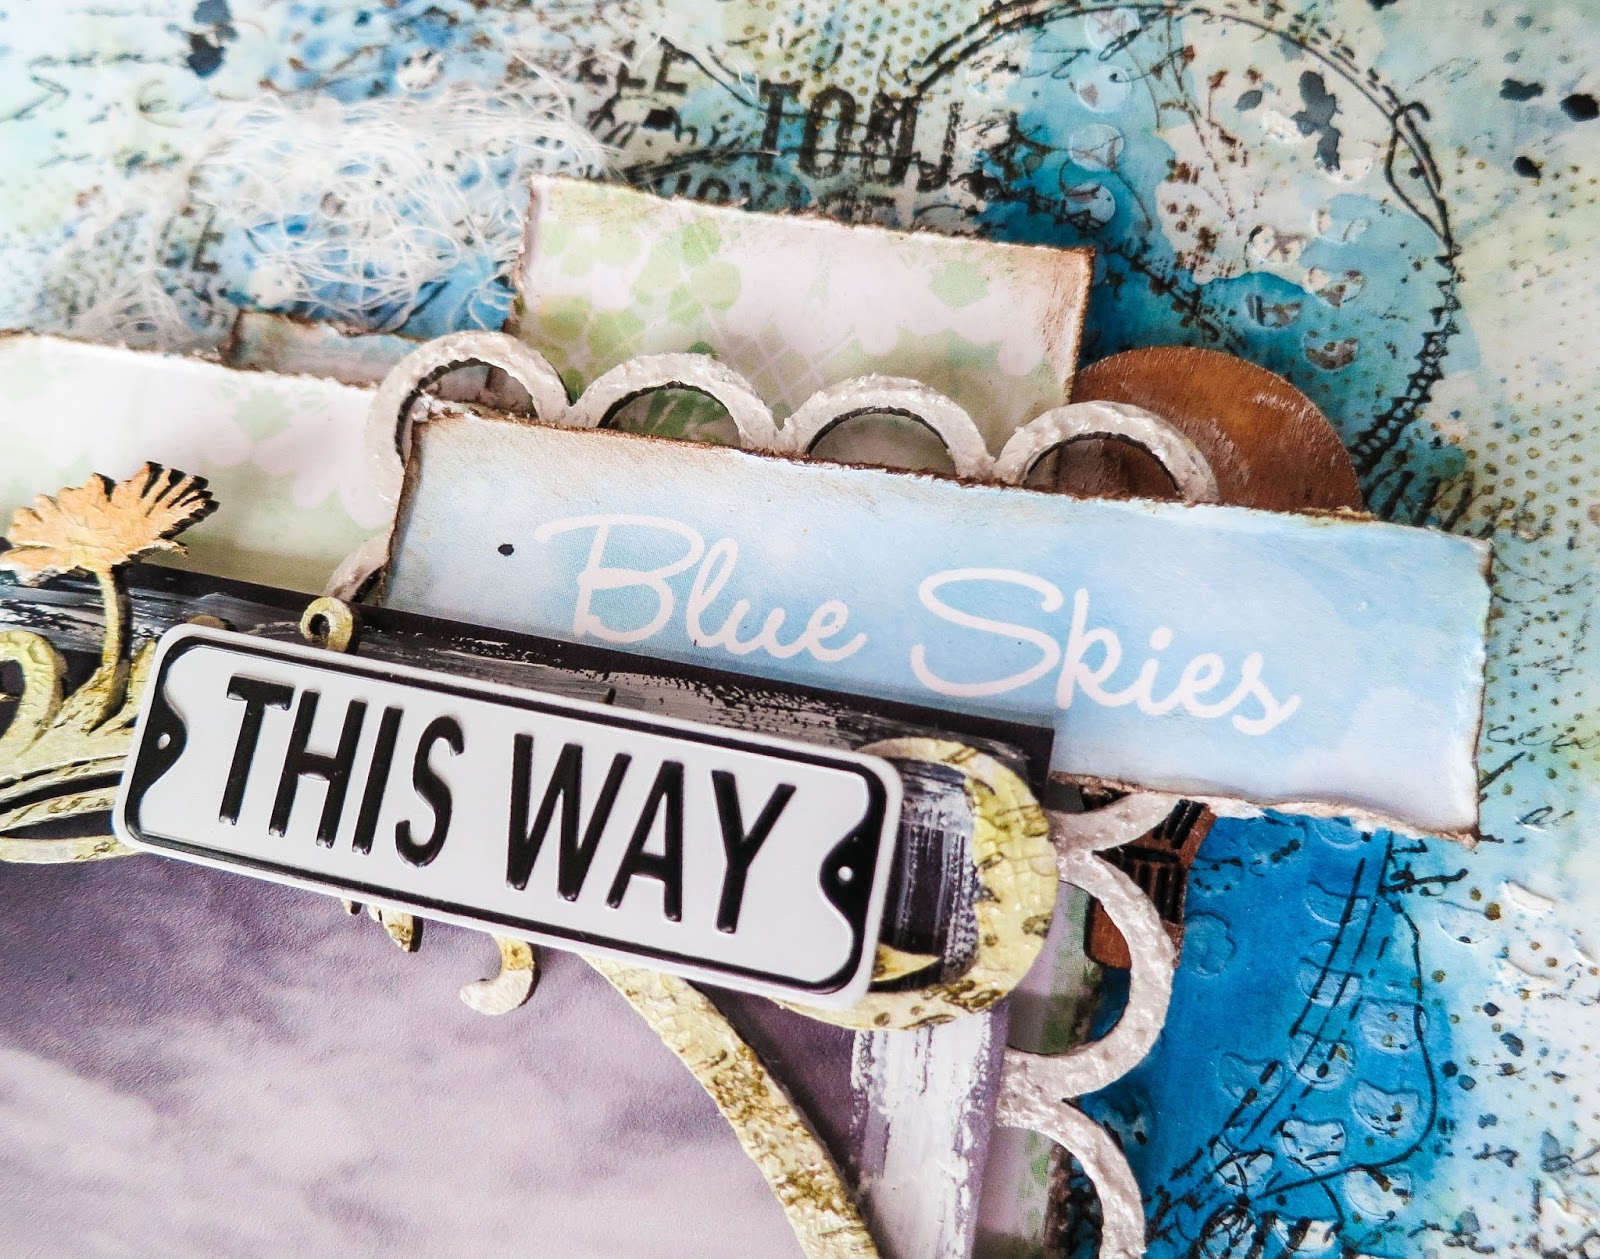
Another phrase from "Dream Cards" layered on top of the Mini Ring Things chippie.
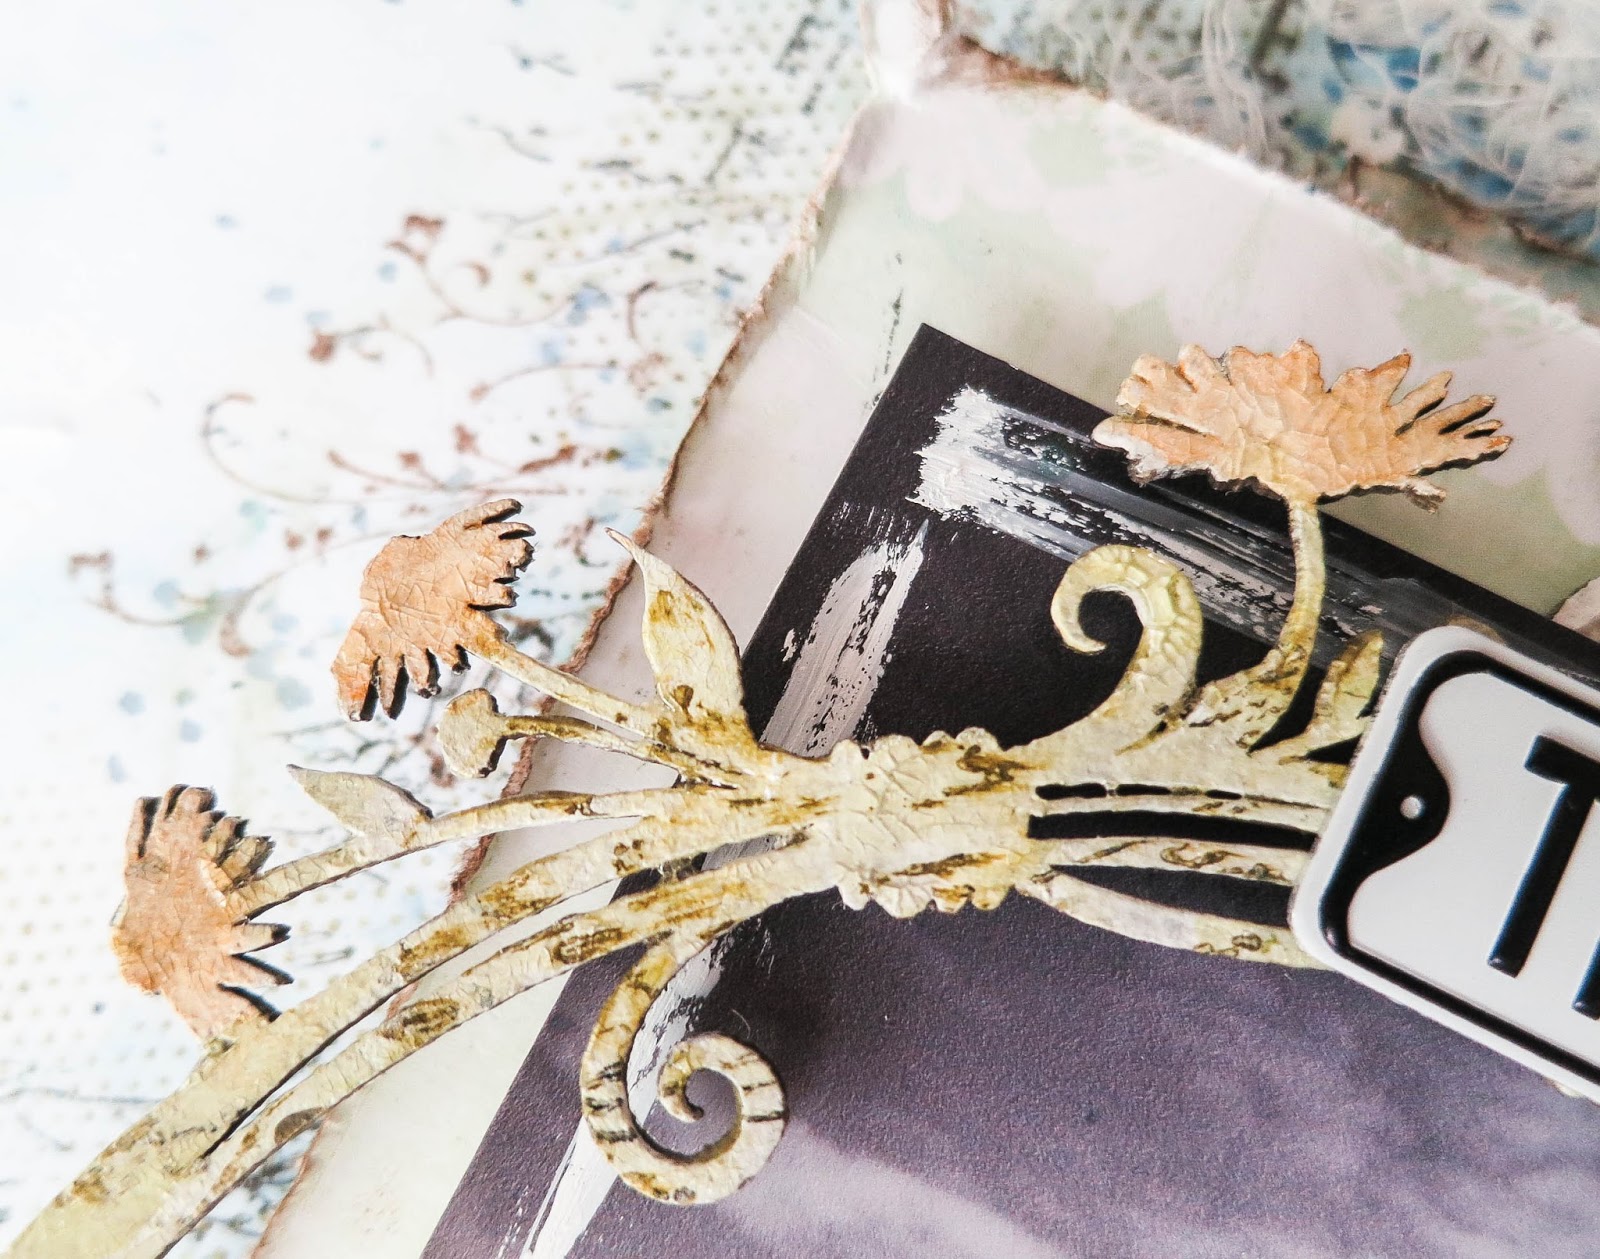
The Treasured floral frame chippie. Love the delicate vines and flowers on this piece!
Blue Fern products used:
Susan's Dream
Treasure Floral Frame
Mini Ring Things
Widget WorksDescano Gardens (bird)
Layering Stems
And here's a start to finish video I put together to show you how I did the background, as well as the various techniques I used to alter the chipboards. Sit back and enjoy the show, and do remember to play along with our sketch challenge this month!
That's all for today. Do check back at our blog again for more inspiration from the rest of the fabulous Blue Fern girls!
love,
Jelissa