I am back to you with my new page and full video tutorial.
You can see my creative process step by step.
This is one of my favourite photos. I enjoyed creating mixed media
background to this photo by adding layers of chipboards and modeling paste. For extra texture I added some micro beads.
I love creating my backgrounds matching the photo. I wanted to achieve some magical scenery for my beautiful photograph.
I hope you will enjoy my video tutorial where you can see the whole creative process.
Hello my friends!
I am so happy to be back to you with my new project and also VIDEO tutorial.
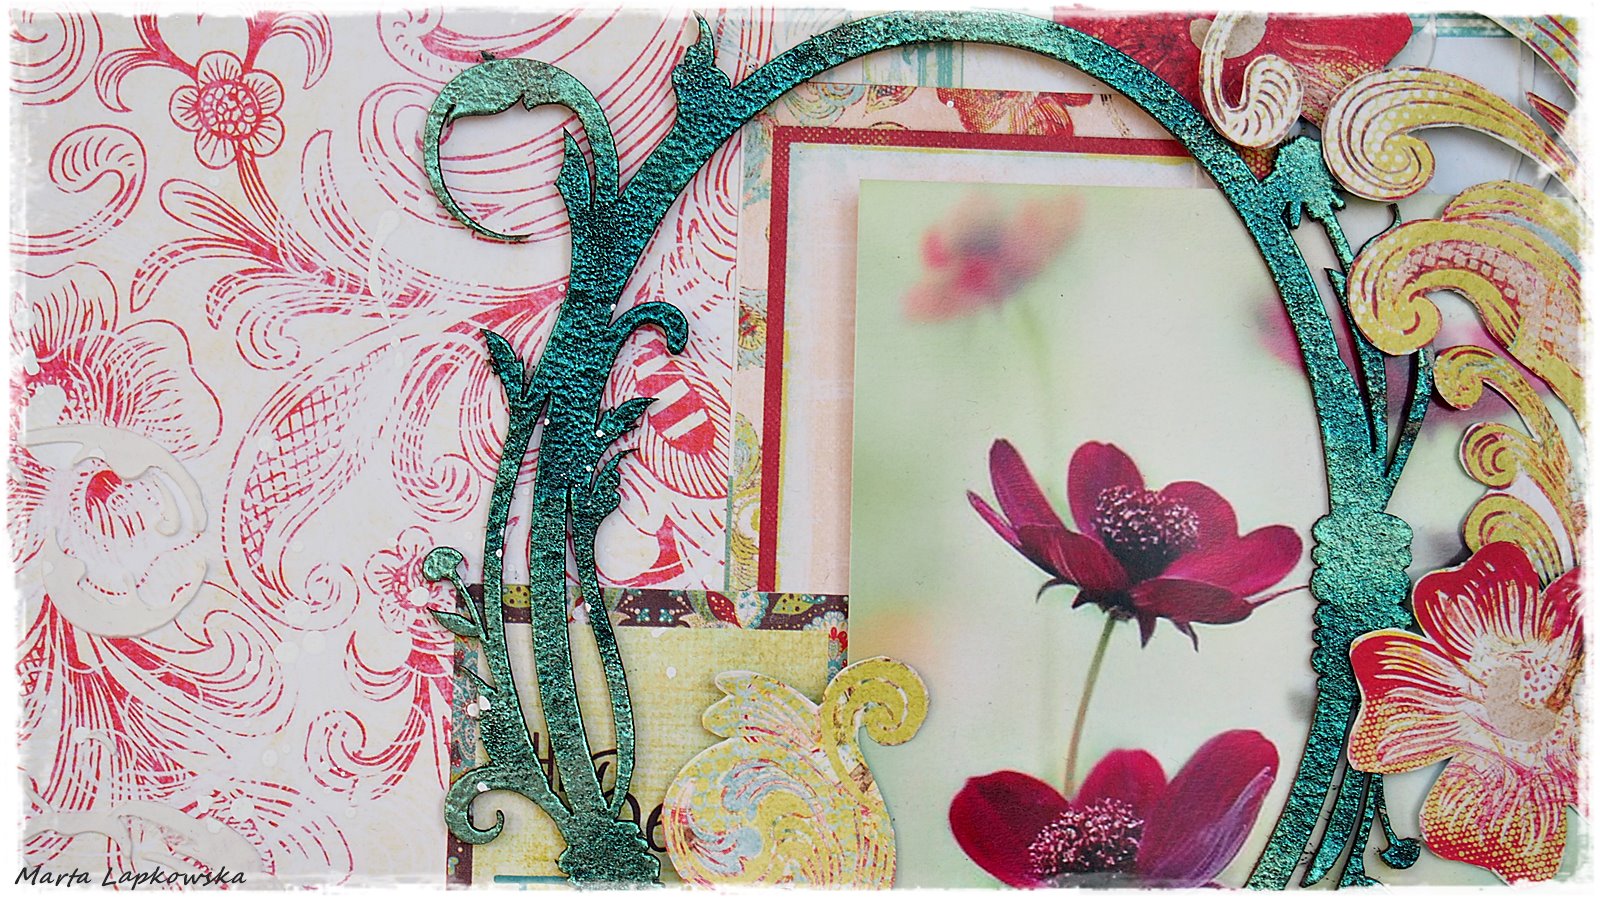
Today's work will present new collection 'Paisley & Vine'.
Those are beautiful papers with lots of flowers, flourishes with red, yellow and brownish colours.
Here is my page called 'Free spirit'
When I saw this stunning collection for the first time, I knew that my page will be full of flowers and cute die cuts. This paper collection is full of stunning designs which could be cut out and turned into lovely page embellishments.
I added few embossed chipboards and title from 'Playing cards' 12x12 paper from 'Paisley & Vine'
I hope you enjoyed this basic, simple project. If you wish to see in steps how I made this page please feel free to watch my video tutorial.
I hope you will find some inspiration and motivation to create some great makes!
Hello Blue Fern fans! How has your month of July been? The weather has been blazing hot and we're doing whatever we can to cool down.
It's my turn on the Blue Fern blog today and I have two creations to share with you. The first is based on the fabulous July sketch. Here is what it looks like:
I've kept the orientation of the sketch, as well as the dark background and my papers came from a mix of Sanctuary and Love Story to create my layout.
My mixed media background was created Birdsong Melody from Sanctuary, with a lot of paint dabbing and layering with watercolors, as well as textural details using microspheres, dew drops and microbeads, as well as some string and stamping. I love it that Blue Fern tries in sneak in a few dark colored patterned papers into their collections for us to create our very own backgrounds.
Some close-ups:
The La Plume chipboard which I first painted with a light brown, followed by UTEE embossing for resist and layering with more browns. Beneath are paper layers made from scraps I had left over from Love Story collection.
The Notebook Edges chipboard, which I first heat embossed and then colored with different shades of blue. To add texture to my layers, I mixed chipboard, paper, lace and trims.
A close-up of some of the textural details I have in my background.
I hope my sample has inspired you to create a project of your own to participate in our monthly sketch challenge!
Blue Fern Studios products used:
Sanctuary collection - Melody Birdsong
Love Story collection - Concerto, Sweet Song, True Harmony
Notebook Edges
La Plume
And now for my video tutorial. For this project, I revisited one of my all time favourites from Blue Fern Studios, the Ombre Dreams collection.
I used only "Susan's Dream" because the images on the paper fit my composition perfectly and had the exact type of watercolor imagery I had in mind to create for my background. I also used scraps from Dream Cards and Charlotte's Dream to build up my layers.
Some close-ups:
A die cut from Dream Cards which I used as my title, and a Bohemian flower piece tucked into my cluster. You can also see the half-tone stamp which I used to add minute details to my background.
I love the big chipboard pieces because they are simply value for money and so fun to play with. Here, you see Medley Border which I have cut up into four pieces and tucked them everywhere to maintain the flow of my composition, as well as to break up the monotony of paper layering.
Interspersed in the layers is also the Notebook frame which I had added some texture to.
Here is the start-to-finish video. I hope you enjoy watching it as much as I have creating the project.
Hello, friends!
It's Elena Morgun here today. Glad to see you here, I hope you are having great sunny days!
Today I'll be inspiring you with the layout and step-by-step video tutorial, and mixed media canvas.
"Happy" layout
For the background I used a paper from Love Story Collection. I love this kind of papers! Wonderful background to make a photo stand out. This shot was made while my kids were going crazy:) It's very difficult to take a photo with both of them, but I am trying my best.
All the details of creation process you can watch in step-by-step video tutorial.
Enjoy!
A few details:
Blue Fern Products Used:
Paper
- Love Story: The Grand Ball
- Déjà Vu: Tresors
Chipboard
- Ginger's Poppies
- Postage Frames
- The Optimist Word Set
Stamp
- Journey
- Forever
- Halftone
- Texture 1
- Widgets
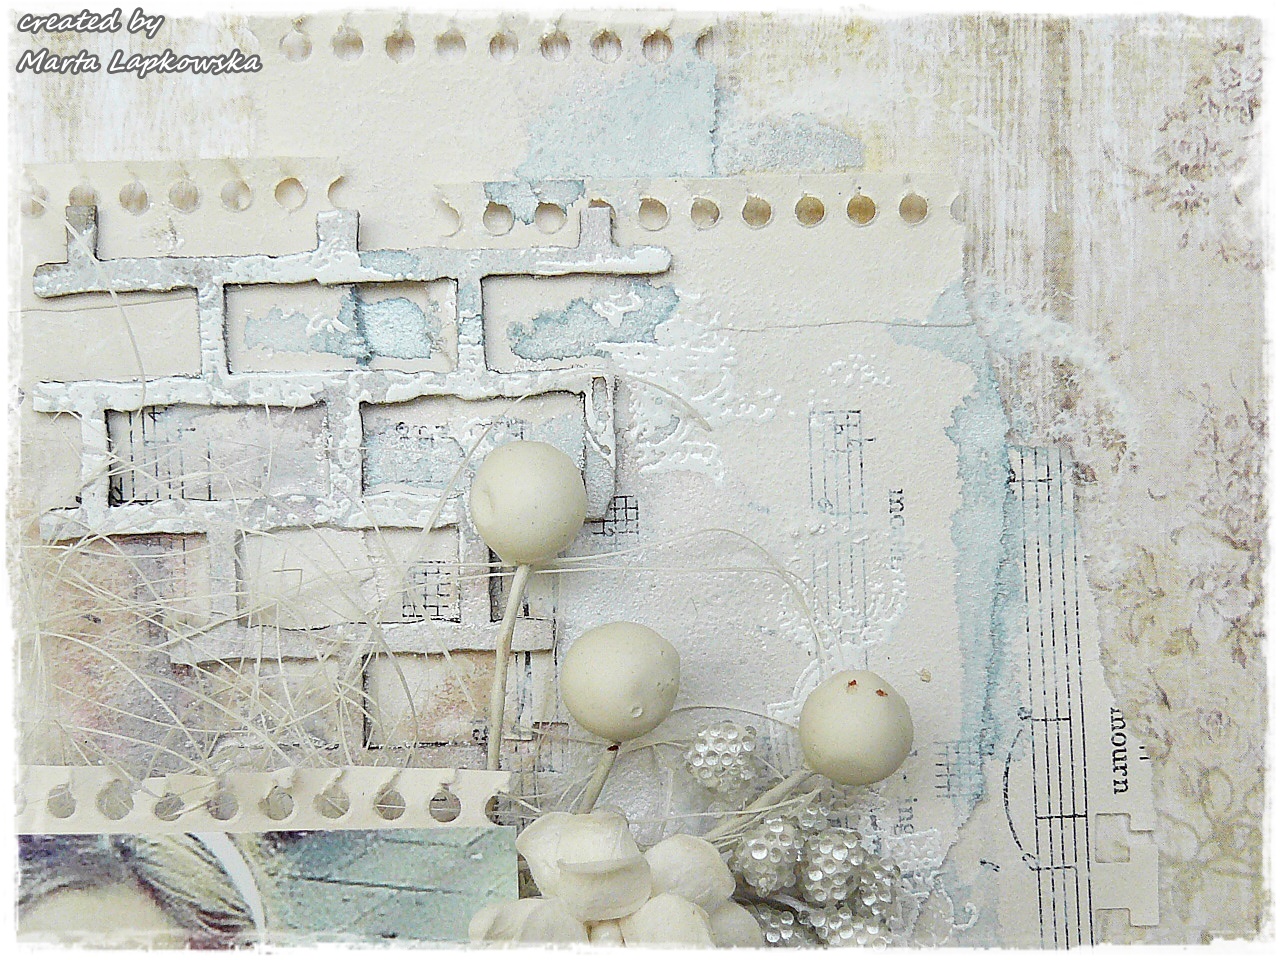
The second project for today is the mixed media canvas.
I created the background with the help of paper scraps, adding texture paste, stamping and spraying. Oh, I how I enjoyed playing with colors and textures!
Canvas turned out quite dimensional. I think, it's going to look nice on the wall.
I am back to you with my new page and full video tutorial.
You can see my creative process step by step.
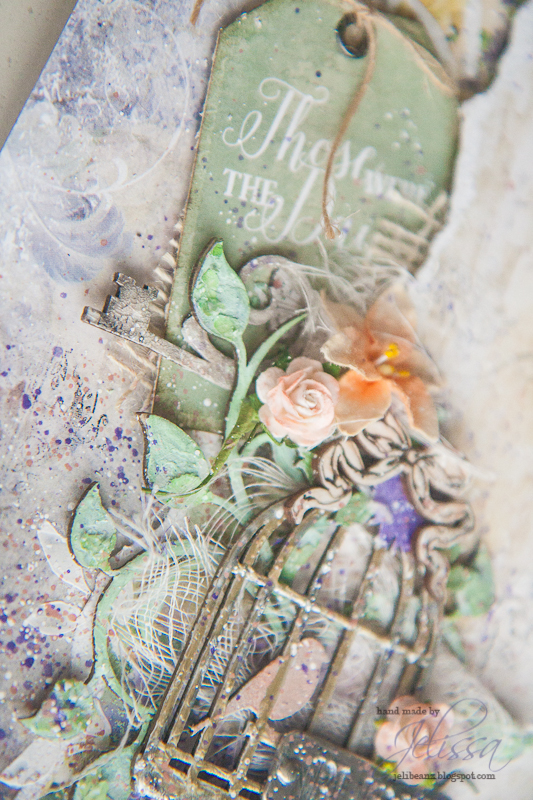
As you ca see this is very magical page. I wanted to recreate the forest and dreamy scenry from the photo. I added some dry moss, thread to build my page.
I love the colours of Deja Vu paper collection, so soft and elegant. My favourite way of altering the chipboards is to emboss them with white embossing powder.
I hope you will enjoy my creating process. Have fun !
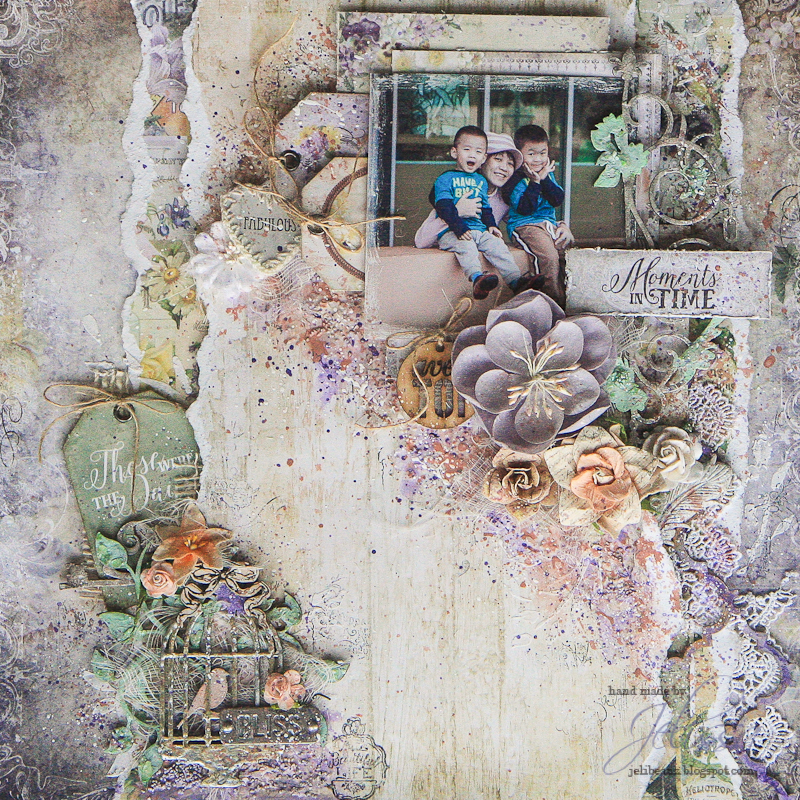
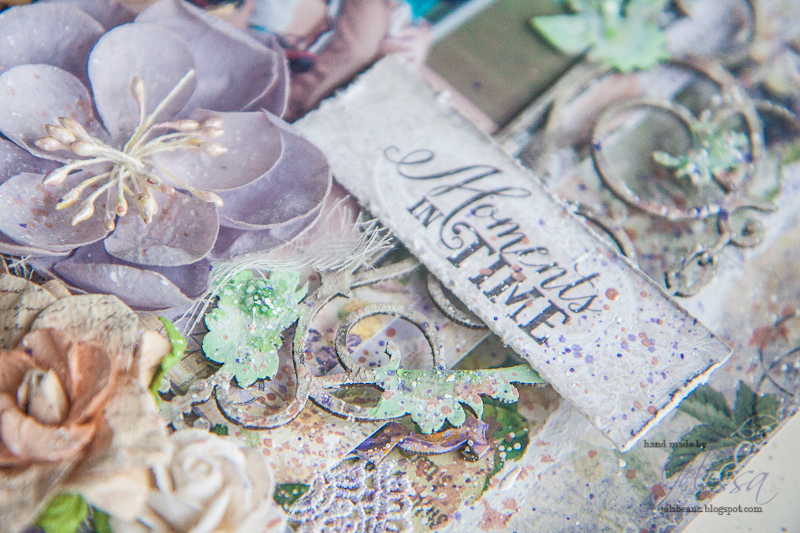
Where has all the time gone to? We're already in the month of May and I'm happy to share a layout I created for Blue Fern Studios using the gorgeous new Deja Vu collection.
Here is the project:
I picked these papers from the collection as they matched the colors from my photo quite perfectly. It's one of the very few of me with my kids as I'm usually the one behind the camera.
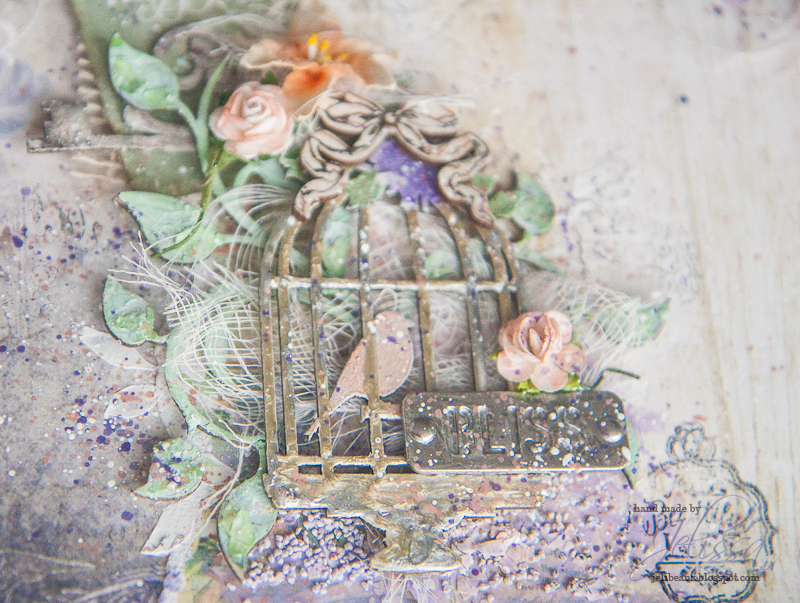
Here are some close-ups:
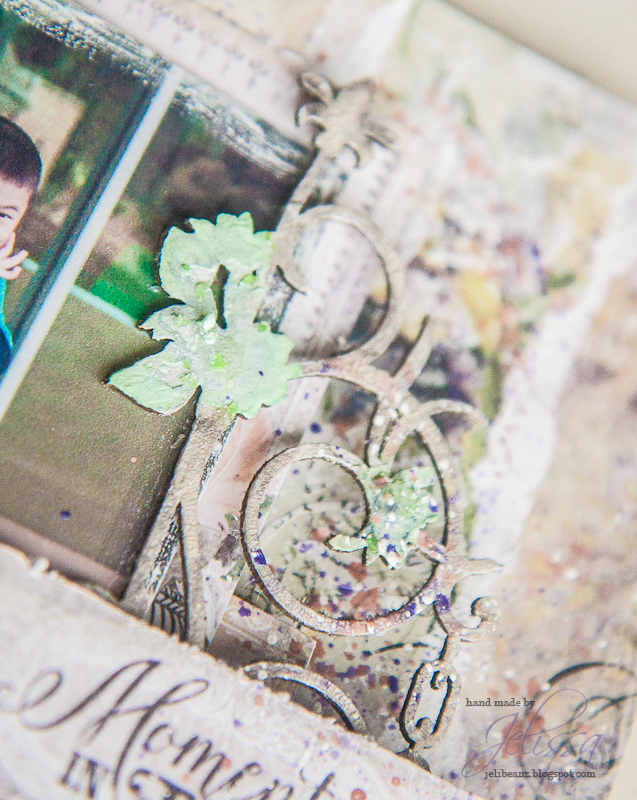
Layering gorgeous Blue Fern Studios chipboards with the papers and burlap. I had used quite a number of mediums for this page and the chipboards and some of you have already asked for the colors as well. These can be found in my personal blog post.
My title piece, from "Petite Cartes", and more layering with chipboard, papers and lace.
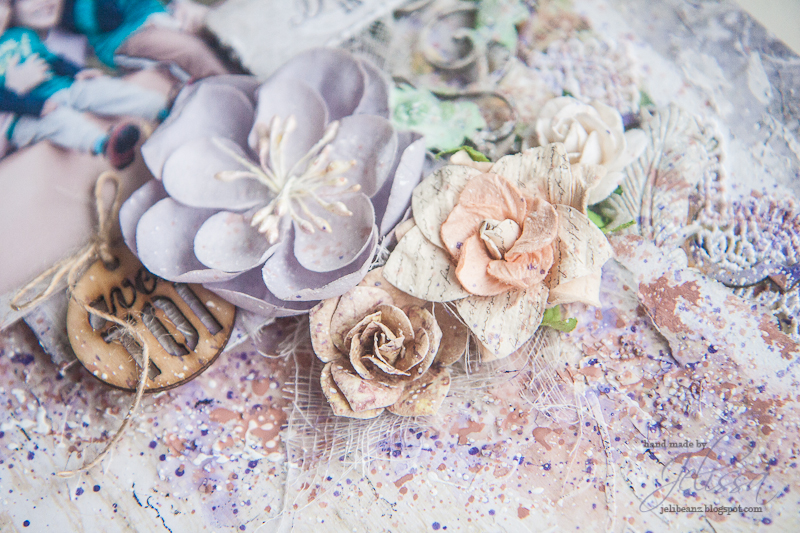
My usual floral cluster.
Some details of the lace and chipboard, which I colored to look like the background paper.
Mini tags made from "Petite Cartes" cut-out.
And here is the start to finish video of how I put this whole page together:
Blue Fern Studios products used:
Deja Vu collection - Petite Cartes, Friperies
Chipboards - Chelsea Vines, Ironworks Medley, Tangier Page Panel
Vintage Edges stamp set
And that's all I have for today. Have a great day ahead!


.png)


