
Hi everyone!
It's Karolina here. Today I would like to show you my three February projects. I created two layouts and a frame using the newest collection from Blue Fern Studios - Serendipity. These collection is absolutely stunning and I'm totally in love ;) Using my projects I tried to show you how this collection is incredibly versatile and universal.
"Believe in your selfie"
My first project is a frame with a positive message. I used papers from Serendipity collection and one of the newest chipboard pieces - selfie square. I added also some background chipboards, because I really like when such elements stick out from my composition. It makes my composition reacher and the effect is realy nice, don't you think?

I covered chipboards pieces using three different embossing powders in maching colors.

A selfie square chipboard I covered using acrylic ink in the white color - while the ink was still wet I added a lot of transparent glitter to make my frame more shiny.

You can also find a gliiter in several colors on a frame. It's great idea to add some glitter accents on our background.
Blue Fern Studios products used:
Papers: Serdendipity collection - Fascination, Inspiration, Contemplation
Papers: Serdendipity collection - Fascination, Inspiration, Contemplation
Chipboards: Selvie Squares, Bits of Honey, Checker Bits
Stamps: Forever, Essential Textures
Embossing powders: Lilac, Sea Mist, Cotton Candy
Glitters: Blue Ice, Cranberry, Merlot, Caribbean
Stamps: Forever, Essential Textures
Embossing powders: Lilac, Sea Mist, Cotton Candy
Glitters: Blue Ice, Cranberry, Merlot, Caribbean
"Memories Captured"
My second project is a layout in shabby chic style. If you are wondering who is this little girl in the picture, it's me. I think I was 2.

I used papers from Serendipity collection of course and beautiful sentence "Memories Captured" chipboard. In the background you can see texture pieces.

I covered chipboards using white embossing powder and then I add some ink and colors.

I added a glitter in several spots to make my project more sparkle.


In the background you can also find some stamps.
Blue Fern Studios products used:
Papers: Serdendipity collection - Fascination, Anticipation, Calling cards, Contemplation, Inspiration
Papers: Serdendipity collection - Fascination, Anticipation, Calling cards, Contemplation, Inspiration
Chipboards: Floral Latice Bits, Captured Words
Stamps: Forever, Halftone
Embossing powders: White
Glitters: Pyrite, Blue Ice
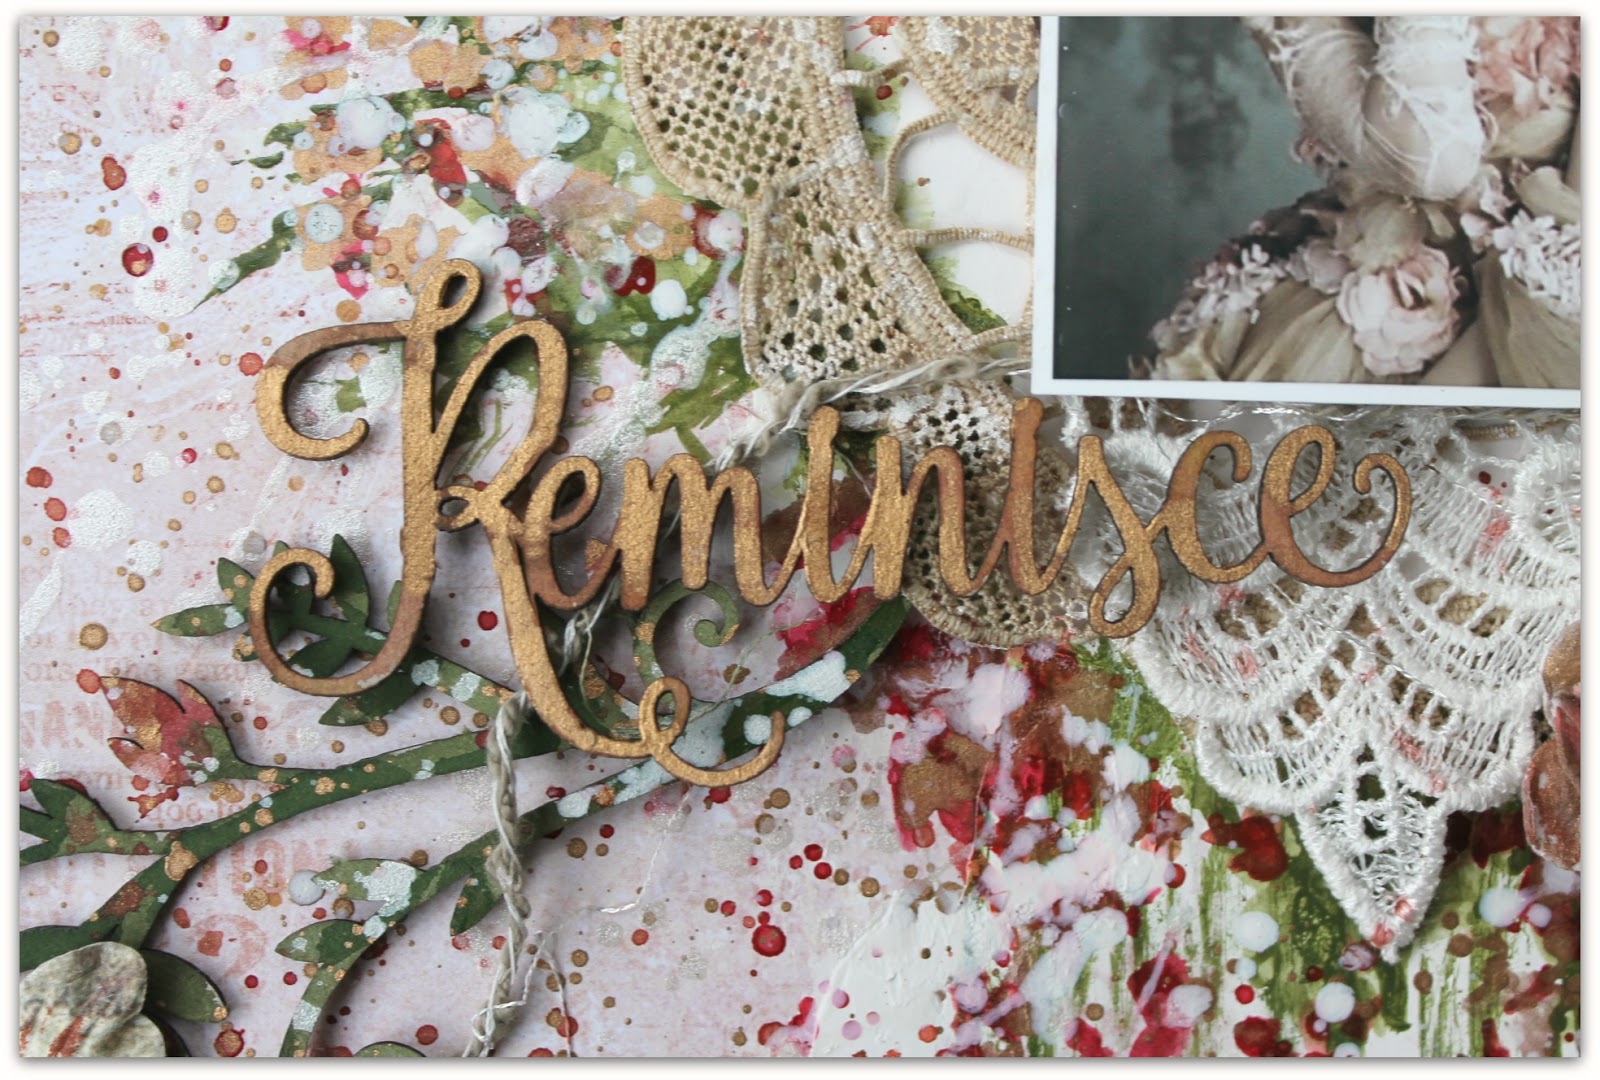
"Blooming Beauty"
My last project is also a layout, this time in retro style. In the picture you can see one of my best friend. Retro style matching perfect to this photo I think.
Stamps: Forever, Halftone
Embossing powders: White
Glitters: Pyrite, Blue Ice
"Blooming Beauty"
My last project is also a layout, this time in retro style. In the picture you can see one of my best friend. Retro style matching perfect to this photo I think.

As I said, papers from Serendipity collection are not only absolutly stunning, but very universal too. You can make a spring project like my frame, very delicate and shabby projects like my first layout and also some projects in retro style.

This time I covered a chipboard Blooming Beauty using black embossing powder, to add some strong contrast to my project.


I used a cooper embossing powder to create a vintage look of frame and then I put it under my photo as a part of my composition.

Blue Fern Studios products used:
Papers: Serdendipity collection - Fascination, Anticipation, Calling cards, Contemplation, Inspiration, Reminisce
Chipboards: Folkart frame, Blooming Beauty
Stamps: Forever, Halftone, Brocade Texture
Embossing powders: Ebony, Cooper
Glitters: Pyrite, Blue Ice, Burnt Cooper
Thank you for visiting Blue Fern Studios blog today. See you next time in March!
Karolina
Stamps: Forever, Halftone, Brocade Texture
Embossing powders: Ebony, Cooper
Glitters: Pyrite, Blue Ice, Burnt Cooper
Thank you for visiting Blue Fern Studios blog today. See you next time in March!
Karolina


