Friday, June 20, 2014

Ombre Dreams projects with Rae

Hello all! It's Rae sharing some projects I've made using the amazing new paper line, Ombre Dreams. I have to say that I LOVE this paper so much!


"Dreams Come True" Layout


This is my layout based on the June sketch. 


I used the "Dream Cards" paper to make the title. I wanted to use this piece of the "Layering Stems" set  in this flower cluster, but I only had ONE! What's a girl to do? Well, I soaked that piece in water for a few minutes, then peeled the layers, and got three pieces out of it! This is a great way to get a lighter look with chipboard, and let it flow and give a little different kind of dimension. After the pieces dried, I painted them with green paint and added some darker green ink for a realistic look.


I primed the "Renaissance Border" with gesso, and added some purple microbeads while the gesso was still wet. The beads only stuck in some places, and gives it a unique look. After the gesso was dry, I misted the whole piece with some peach colored mist.


I added a a "Royal Page Bauble" that I painted gold using distress stain.


 "Wonder" Layout


 I adore cemetery statues! I found this picture on Reddit, and there was no photographer listed to give credit to, but MAN! What an amazing photo! I printed it out some time ago, and it seemed to fit so well with the "Ginger's Dream" paper. 


I painted the "Ginger's Poppies" pieces with gesso, then added some green watercolor for the leaves and stems, then added some watered down Izink to the flowers, which resisted in some spots- AWESOME!
 Here's the other poppy.


One of the layers behind the photo is the "Grand Garden Gate." I used a combination of distress stains, distress inks, and chalk inks to get this patina look. 


"All You Need is Love" Layout


This is one of my favorite pictures of me and my son. I've made a few layouts with this picture before, but my family has taken them! This one is just for me. 


Again, I primed the "Small Circle Flourish" with gesso and painted the leaves and flowers with some green and purple mists to give a watercolor look. Then, I added some flowers. See that heart lock? I cut that from one of the "Romantic Page Dangles" and colored it with silver Izink and grey chalk ink.


Here I cut up more "Romantic Page Dangles" so I could use the chains to accent the larger chain which is from the "Page Chains" set, and used the same products I did on the heart lock. 

The key is from the "Vintage Keys" set. I lightly scraped black archival ink over the key. 

Thanks for having a look at my pages using Ombre Dreams! Have a great day!


Rae

Wednesday, June 18, 2014

Journaling Yourself- By Keren Tamir


Keren here and its my turn again on the Blue Fern Studios blog.
This month my reveal is all about me, how I feel, my thoughts and memories of this time of my life as I'm approaching 40. I had to jot down some of my thoughts and feelings so I can one day look back and remember them. I guess this is what scrapbooking is all about. I always thought I should scrapbook for my kids so they can have these memories in the future. However I actually think that I am scrapbooking for myself, so when I'm old and gray (LOL) I can look back and remember how I felt or how I looked. That is if I can find these layouts amidst the hundreds of boxes I will have by then.

"Happy"


 I've used the new and amazing Ombré Dreams collection for both layouts today. It is such a gorgeous collection and so versatile. I just love it so much and its perfect for my style.


I framed my photo in the new Wildflower chipboard frame. I painted in purple and turquoise to match the colours of the papers. 


I used a few of the layering stems and the tweet friends branch to layer in between the flowers. I also painted them in purple and turquoise. 


Finally I used pieces of the graduated circles and the happy title from the optimist word set to finish the page.


<<<<<<<<<<<<<<>>>>>>>>>>>>>>>

"Believe"


Here is my second layout this month and it also about me but with my new haircut.
I recently cut my hair short so I can donate it. I figured I should also record this episode in my life as I very seldomly journal about myself. I think it happens about once a year so at least now I have two layouts showing my Before and After pictures of my hair.


I have a how to video on how I create this layout here below so I won't go into a lot of specific details and just watch the video.


Thank you so much for visiting the Blue Fern blog today!!
Have a wonderful day!!

Keren

Tuesday, June 17, 2014

Orchid, Lilac, and Yellow


Joyce  here today to share some projects using the Ombre Dreams paper collection, and some chipboard too.  This paper collection has a color for everyone, and for me it’s the orchid, lilac and yellow colors.
Here’s a layout using the Juliana’s Dream  paper featuring the colors of orchid and yellow. The Quatrefoil Panel chipboard was used as a stencil in the background  to add some texture, layering, to further blend the colors together, and grounding the softness of the colors with a hint of charcoal mist. 


 Close ups of the Bohemian Butterfly, and the Grande Cage:


And, here’s a little card featuring a piece of Juliana’s Dream paper and the Jeweled Page Dangle chipboard piece. I first applied gesso to the chipboard piece and was going to leave it as it was because it looked nice on the card that way too.  But, then that inner voice that whispers in my ear, “embellish, embellish, embellish” whenever I work with chipboard just kept getting louder until I succumbed and agreed that I couldn’t just leave it as  it was. It is a very small piece but the design is so exquisite and the dropped baubles required some dimension. Apply some molding paste to those focal points on chipboard to create dimension.  Here there are three values of the color yellow to add some shadow and more interest on each bauble. Try it… I think you will be pleased with the results.


Aren’t those daisies cute?  They are also elements from the Jeweled Page Dangle.  Paint them white, and follow the design of the petals with a water color pencil then add some color mist inside the watercolor pencil petal.  I would love to see more of these small daisy flowers in the Blue Fern Studios store (hint, hint, ;), they’re great little fillers.
Thanks for letting me share my projects with you.
See you on July 17th.


Monday, June 16, 2014

Tutorial "Chipboard & Flock Powder" with Leila Cardoso

Hello BFS fans,

Leila's here today to show you one way to customize your chipboards, using Flock powder and get a velvety effect on their pieces.

Let's go...

We will need chipboards, gesso, some ink and floc powder:

Apply the gesso in all chipboard with a thicker layer:

Now place the piece in a plastic container and then put the flock powder:

Remove excess powder (returning to the bottle for future use) and apply some spray ink to enhance color.

Let it dry and use it in your project.

 I did a layout using this beautiful custom doilie.

Some details:


BFS supplies:
- Charlotte's Dreams
- Dream Cards
- Ruth's Doily

So, this it's for today. I hope you like it!

xoxo and thanks for stopping by.

Leila

Sunday, June 15, 2014

Watching YOU Put Our Designs to Work!

It's time to give YOU the spotlight!

Today we're doing something a little bit different. We are going to feature projects that have been shared on our Facebook Page! We love when you share with us, tag us, and let us know just how much you love using Blue Fern Studios products! And today we are happy to share with all of our wonderful blog followers your kind words and of course your lovely projects.
~*~
"Love your chipboard very much
My layout for my friend and your chipboard "Good Vibes"

Bernii Miller
"I wanted to share a layout I made using your Ombre Dreams collection.. The paper is amazing and so durable , that it was a dream to watercolour on :)"

Shawna Raye
"Thanks for the amazing chicken wire for my project. I love."

"Another layout using your gorgeous papers and chipboard man I have run out of these papers and need some more ASAP LOL cannot wait to get my hands on your new collection."
"I am finishing up my second pack of these fabulous nautical chipboards- perfect for my recent Caribbean Crawl."

Thanks so much, ladies!! 

~*~

How would YOU like to be featured right here on our blog?? 

~Follow our Facebook page and tag us or post to our wall when you share a project using Blue Fern Studios products!

~Upload to our Gallery

We can't wait to see your projects!!

Saturday, June 14, 2014

3 cards by Evgenia Petzer

Hello dear friends! Its Evgenia Petzer with you today with my 3 soft, feminine cards for your inspiration. Ombre dreams collection is absolutely divine and all my cards are from it:)


Blue Fern Studios chipboards used:
Grande Cages, Jeweled trinkets


 Blue Fern Studios chipboards used: Symphony Border, Royal Page Baubles


Blue Fern Studios chipboards used: Floral Hearts, Swirly Doodle
covered with crylic paint, sprinkled randomly with fine dry glitter and above the glossy accent.


Have a happy, scrappy weekend:)

Friday, June 13, 2014

June layouts by Marie-Josée

Hello all! I hope you are doing great. Today, I have two new projects to show you. Both were created with the new Ombre Dreams collection ans various chipboards.

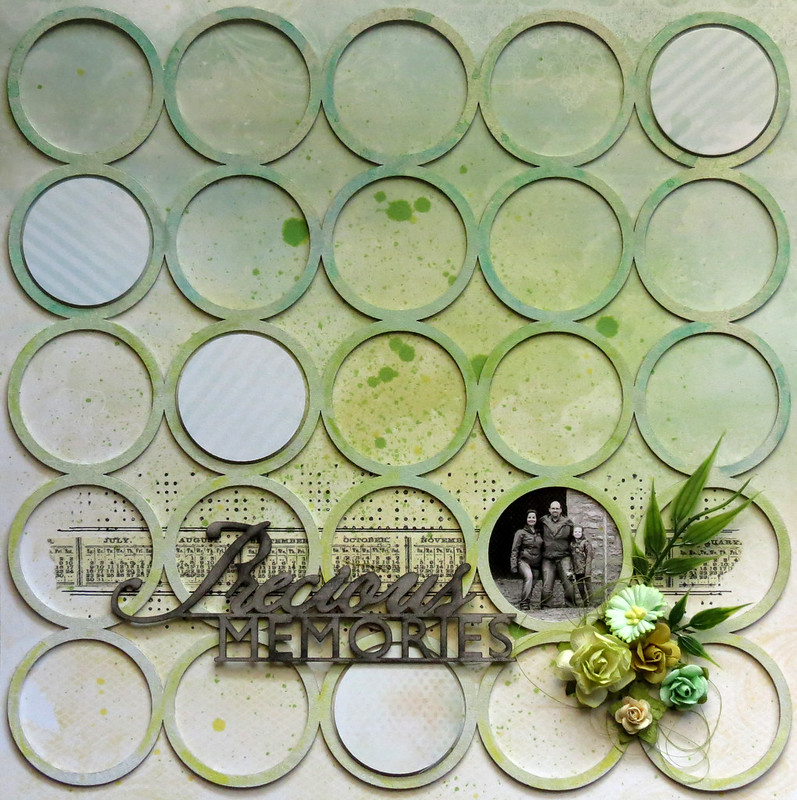
"Precious Memories" layout

For this layout, I used the Ginger's Dream paper as my background.


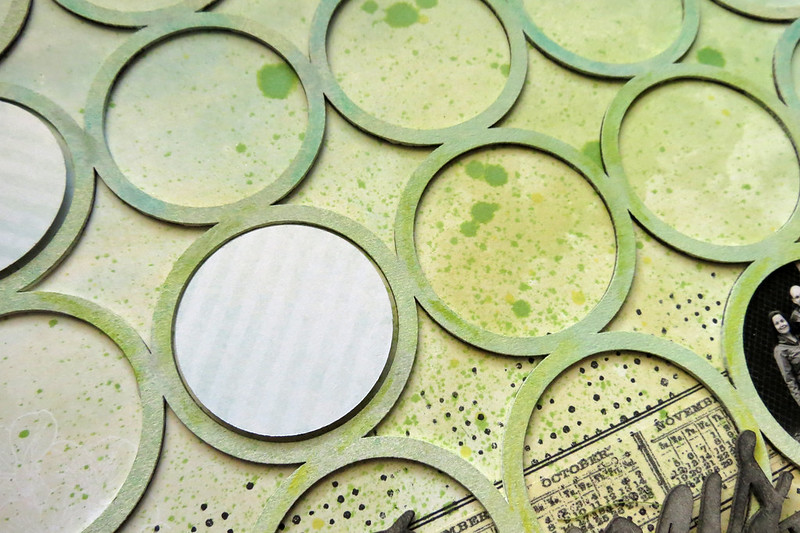
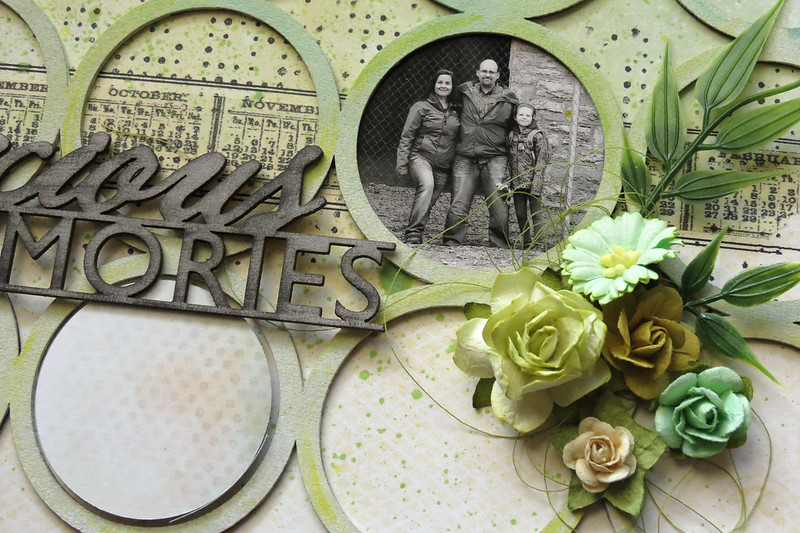
Then, I primed my Jumbo Rings panel with gesso and added color with watercolor pencils. As you can see, I tried to use the same colors as the background paper on my circles. I also cut circles out of the Susan's Dream paper and added them to my layout.


Finally, I altered my Precious Memories chipboard with black chalk ink, leaving bare spots here and there.


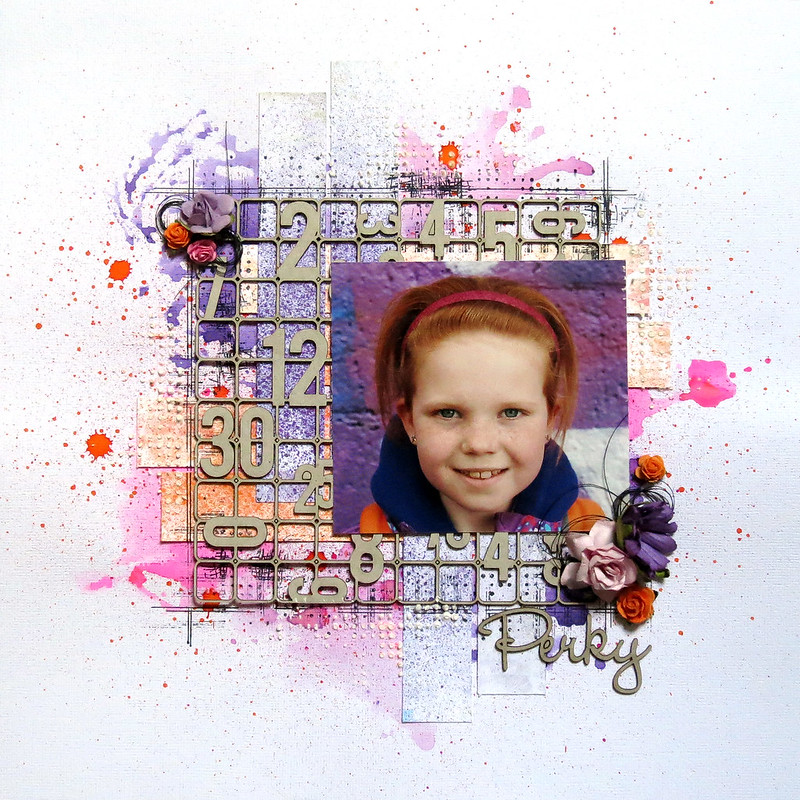
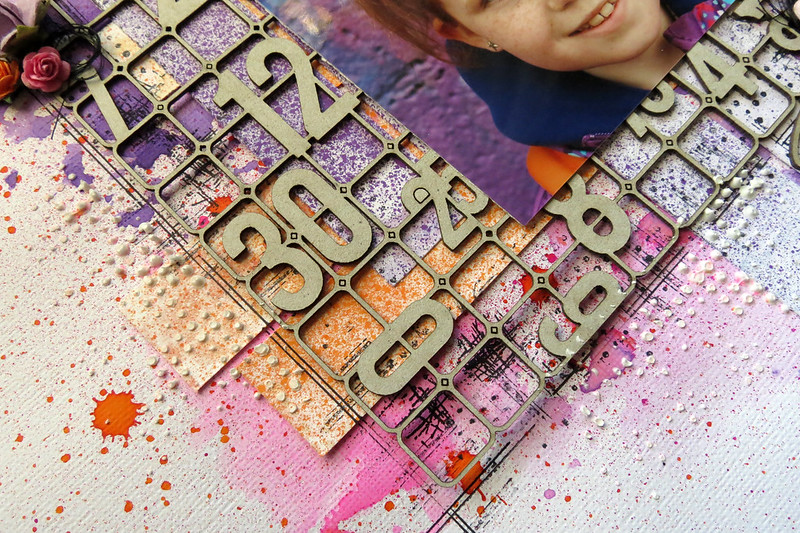
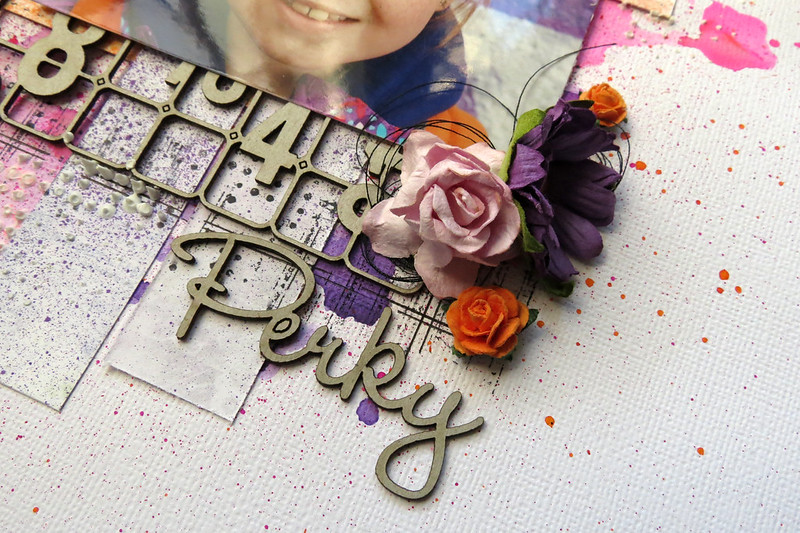
"Perky" layout

For this layout, I used bright colors with the Ombre Dreams paper.

 
I cut strips from the Joyce's Dream and Leslie's Dream papers and altered them with bright mists (purple and orange).


I used the Small Number Grid panel on top and the word "Perky" from The Optimist Word Set for my title.