Thursday, November 13, 2014

Three layouts by Marie-Josée

Hello folks,

I hope you are doing fine today! November is here now, and it will be Christmas soon! Before we get to the holidays and all the Christmas crafts, here are a few non-seasonal layouts!

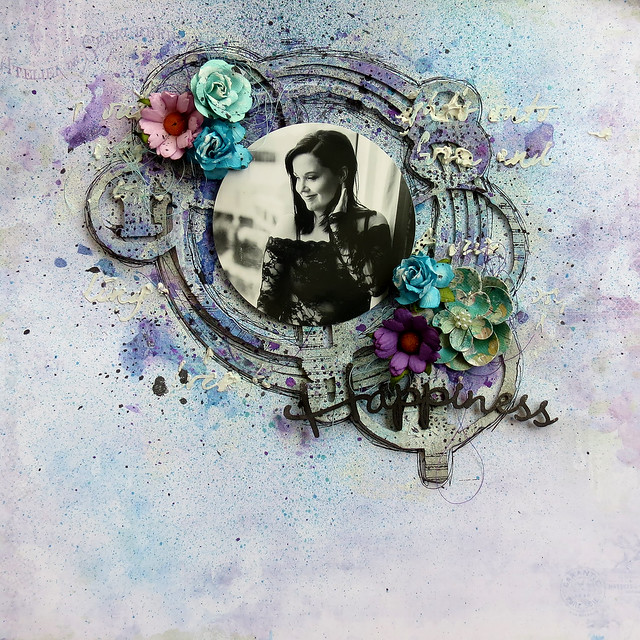
"Happiness" layout

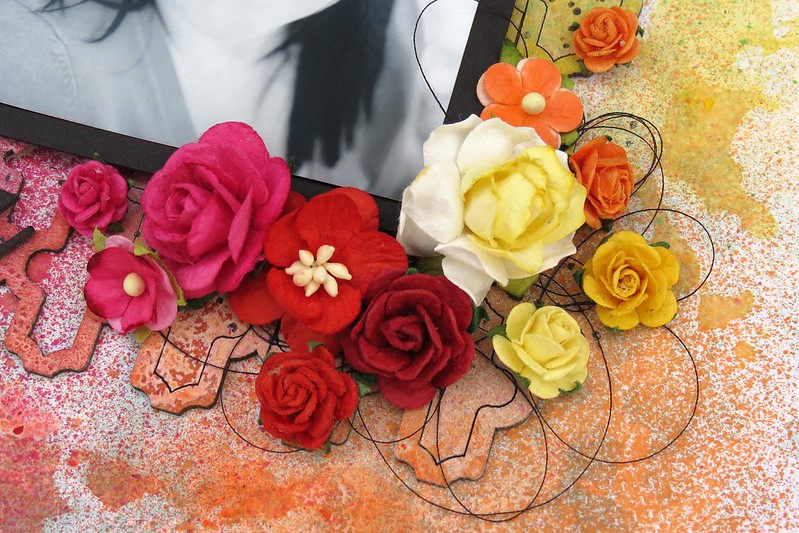
I used the Joyce's Dream paper from the Ombre Dreams collection to create my background. I glued the chipboard to my paper and added gesso with a sponge, as well as color with Gelatos and spray inks.


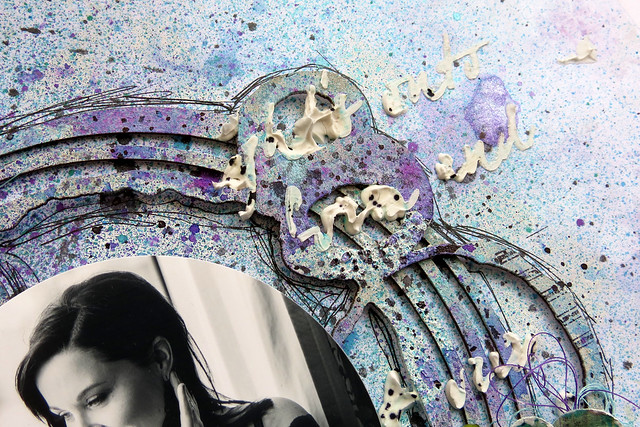
Here's a close-up view of the Circle Code chipboard, altered with gesso and Gelatos...


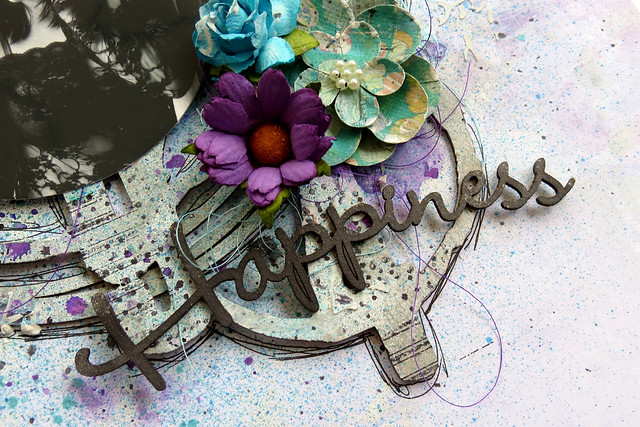
... and the Happiness sentiment for the Good Vibes word set, altered with black spray ink.

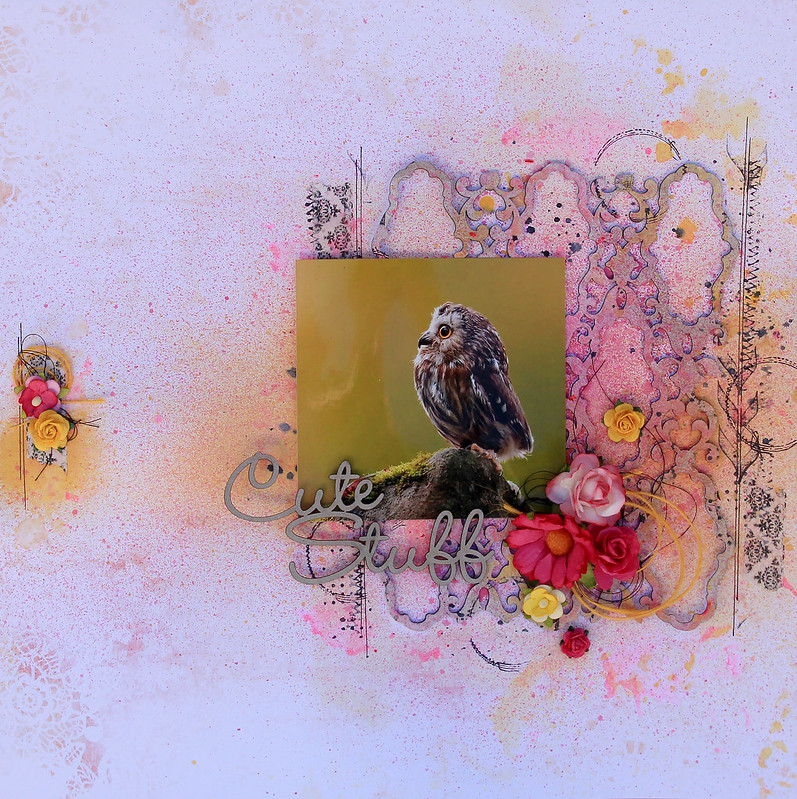
"Cute Stuff" layout

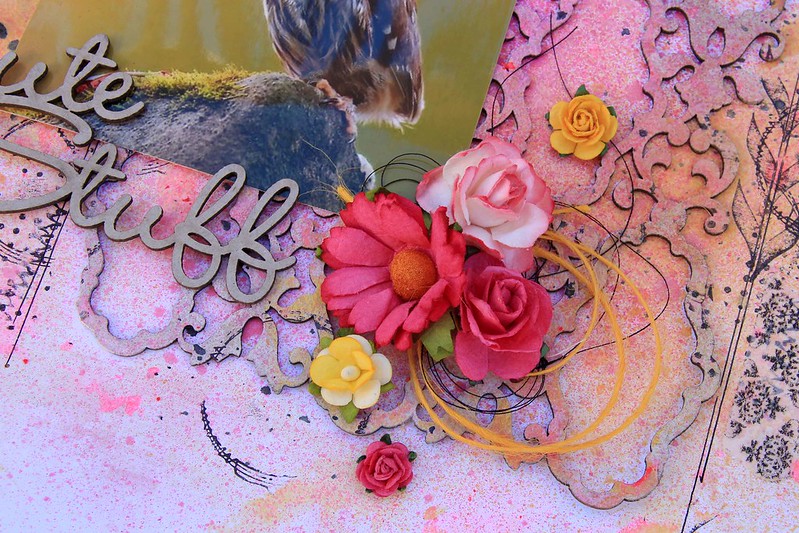
To create this layout, I used a picture I found on Pinterest. I just loooooooooooooove owls and birds of prey! :)

I used the Shannon's Dream paper from the Ombre Dreams collection to create my background.


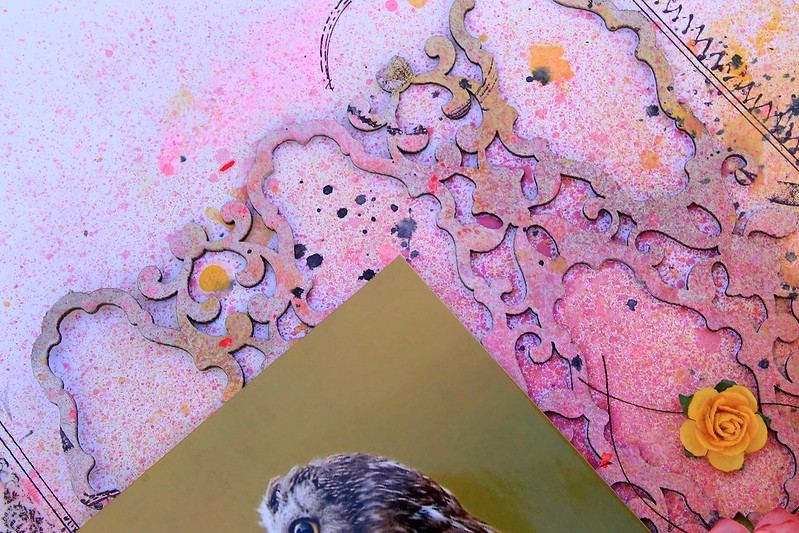
I cut a piece of the Damask Panel and glued it to my background. Then, I applied gesso with a sponge on top of my chipboard. I added color with Gelatos


And here's the Cute Stuff sentiment for the Good Vibes word set. I did not alter it in any way.

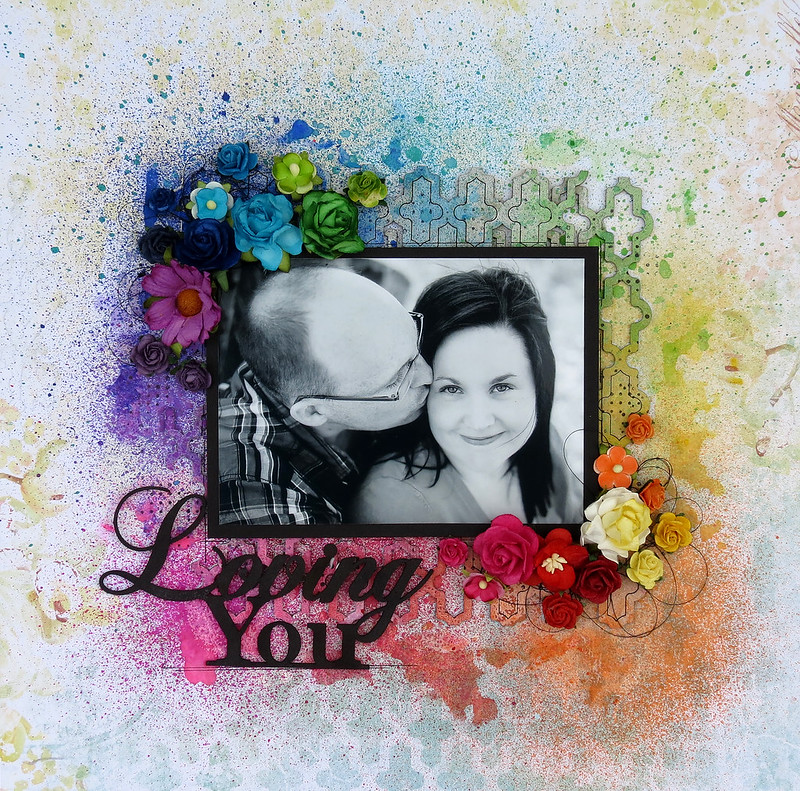
Sketch layout

Finally, I just want to show you my sketch layout, once again.

I did the same thing I did for the two layouts shown above, that is, using Gelatos and spray inks to add colors.

I used the Ginger's Dream paper from the Ombre Dreams collection to create my background.

I also cut two pieces of the Turkish Panel and glued them to my background.


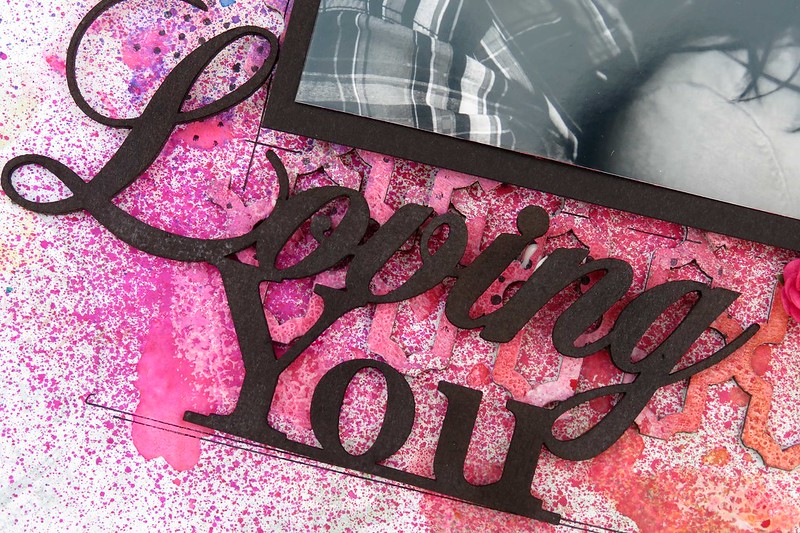
Here's my title, created with the Loving You chipboard...


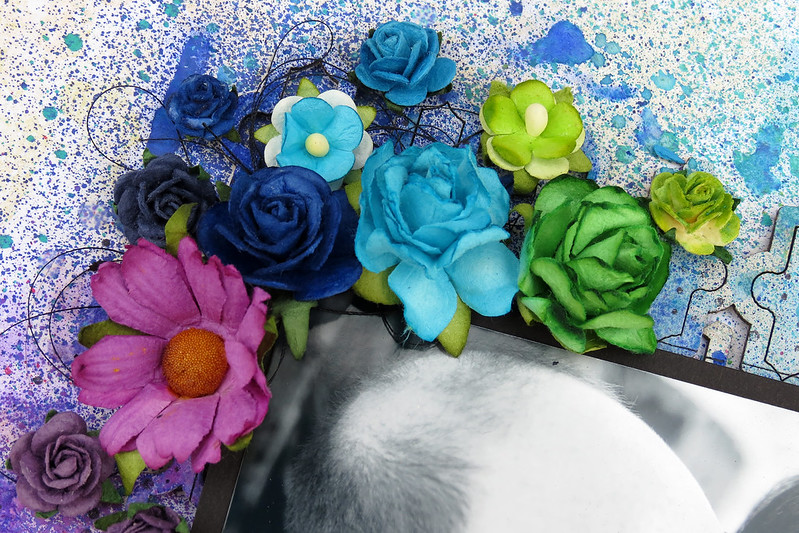
... and a few close-up views...


Wednesday, November 12, 2014

November inspiration with Maja

Hi all Blue Fern lovers I´m here today to share two layouts and a card made with Blue Fern Studios products. First up is a layout made with papers from Montage paper collection.


Blue Fern Studios products used:

Papers: Montage - Invitation & Mercantile
Chipboard: Treasured floral frame, Picture perfect,Vereanda cage set, Roman clock set small and Bohemian flowers.


My next layout is made with Ombré Dreams paper collection and the lovely Techno Rings.


Blue Fern Studios products used:

Papers: Ombré Dreams- Dream Cards, Susan´s Dream & Ginger´s Dream
chipboard: Directions & Techno rings 


My last project is a little layerd card made with Montage papers and BFS chipboard pieces. 


Blue Fern Studios products used:
Papers: Montage - Mercantile & Bouquet
Chipboard: layering Steams & Veranda Cages.


Thanks for stopping by =)  

Tuesday, November 11, 2014

More from our Creative Team

Our Creative Team is amazing, and we love to show off their layouts using Blue Fern Studios products.  For many of us, memory keeping is all about documenting the lives of our children or grandchildren.  So today we have some layouts from our designers where they have used photos of children.  Enjoy!

Leila Cardoso


Maja Stokk


Yuko Tanaka


Lisa Gregory


Jelissa Mei


Marie Josee Hamel


Rae Moses


Evegenia Petzer


Kelly Foster


Keren Tamir


Jackie Clark


We hope you enjoyed looking through the scrapbooks of our Creative Team!

Monday, November 10, 2014

2 Cards and A Multicolour Technique for Detailed Chipboard

Hi there! Jackie with you today, sharing my November projects.

Christmas season is fast approaching - can you believe it? Every year I promise myself I will be better organized and start my Christmas cards early, and nearly every year I end up re-using gift tags I made in previous years - but not this year! This year I'm getting an early start on my Christmas cards, using some gorgeous holiday-themed chipboard. And in the process I came up with a technique for easily adding lots of colour to detailed chipboard - don't you just love when creative inspiration strikes?

I found the idea for a shadow box card on Pinterest and couldn't wait to try it out for myself. Because Blue Fern papers are so thick, I didn't need to use a cardstock base, I built the card directly from my background paper. Though not a Christmas paper in and of itself, the Picnic paper from the Blue Fern Garden collection easily lends itself to Christmas projects.

Here is a side view of the card showing the dimension of the shadow box.


I love the Holiday Wreath set, and was loath to discard the punch out pieces, but that left me with a dilemma - how could I colour the insets and outer portions in different colours? My end solution was a combination of poster pen, glitter, leafing pen and alcohol markers, covered with embossing powder to prevent the colour looking flat.


I mounted the Christmas Tree from the Let It Snow set on Blue Fern Studios' signature chipboard packaging, punched out the wavy bits and treated those with a snow medium, and while that dried heat embossed the tree with two colours of embossing powder. The stump is made from a punch out piece from another piece of chipboard (I always save these because you never know when they'll come in handy).


Blue Fern Studios Products Used:

Blue Fern Garden paper: Picnic
Blue Fern Studios chipboard packaging
Chipboard: Holiday Wreath Set
Let It Snow Set

I was so pleased with the way the wreath turned out I created a second card with a photo tutorial to show the process.


I began by adding my highlights - for this piece I used a white poster pen to fill in the whorls in the wreath. There are a couple punch outs missing - don't worry, it won't be noticeable unless you're looking for them.


I then began adding colour using alcohol markers. The brush tip allows for precision, and the alcohol ink is not water soluble so it will stay where you put it. For this wreath I chose to only use one colour of ink, however as you can see from the first card, you can use as many colours as you'd like to achieve the look you're after.


I covered the piece with embossing ink, and then with a silverizing embossing powder, tapping the piece off so that the coverage was heavier in some areas than others.


Here is the finished piece ready for my card. The embossing powder gives the piece beautiful sheen and lots of texture.

And here is the finished card:

The mittens from the Cozy Christmas set made a perfect accent piece for the wreath, heat embossed with three different colours of embossing powder (I used a paintbrush to paint on the embossing ink to keep the colours from mixing).


Some red glitter glue completed my holiday wreath.


Blue Fern Studios Products Used:

Blue Fern Garden paper: Signature
Ombre Dreams paper: Susan's Dream
Chipboard: Holiday Wreath Set
Cozy Christmas

Thank you for your visit today!
Friday, November 7, 2014

November projects with Camilla

Hi!

Camilla here with some new projects using the new Montage collection and some lovely Blue Fern Studios chipboards.

First a layout where I have used a frame (Collage Frame) and a title (Grunge Talk). 


First I painted it with white acrylic paint and then sprinkled some glass glitter onto it. Finally I added some clear beads.


My second project is a card where I have also used a frame (Jasmine Collage) and a title (Arrow Words).


The frame and the title are covered with platinum crackle texture paste.


I hope you like my projects and make sure to pop by soon to get more inspiration from the rest of the design team.

Wednesday, November 5, 2014

October Sketch Challenge Winner and our Featured Layouts

This month you treated us to a large number of entries for our sketch challenge and we thank you.  We love seeing how each of you use our products and our sketch together.

First, we would like to announce the winner of this month's prize package from Blue Fern Studios.  The lucky winner is:


...entry #1 which belongs to Caroline (aka Kermit) of Canada.  
You have won an awesome prize package from Blue Fern Studios!  Please e-mail  me at {valerie(at)bluefernstudios(dot)com} to claim your prize.


Since we had so many layouts this month (and they were all stunning!), we decided to feature more than three.  In no particular order, here are six layouts that caught our eye, for various reasons:
Bec of Australia combined paper from our Ombre Dreams and Montage collections with several Blue Fern chipboard pieces to create this layout with lovely soft colors.  Bec says it's one of her favorite layouts, and we can certainly see why!


 This layout, created by Fena, of the United States, really stands out with the vibrant pops of color.  Fena used paper from our Ombre Dreams collection, combined with our very popular Bits of Honey chipboard and finished it off with our Wonderful title.  


Scrapbooking is all about memory keeping and that's what Linda Pekrul had in mind when she combined this sweet photo with Blue Fern paper (Montage collection) and chipboard.  After the recent loss of her father-in-law, she created this layout to display at the memorial table.  What a precious way to remember him.  We are sorry for your loss, Linda.


The next layout was created by Amy Prior who says, "I just love Blue Fern Studios products so much they are definitely my new favorite go to brand for papers and chipboard I am a little obsessed to say the least he he".  Amy used paper from our Montage collection, altered it with some mist, and added a Blue Fern chipboard title to this colorful layout.


 Sandi Clarkson of the United States began with paper from our Ombre Dreams collection.  For her chipboard pieces (Circle Flourish and title from our Optimists set), she simply painted the chipboard with a coat of clear gesso, and inked it with chalk ink.  What a beautiful look!


Paivis of Sweden also started her layout with paper from our Ombre Dreams collection and the Checkered Bits chipboard.  Paivis loves Blue Fern paper because it is thick enough to use for mixed media projects.  We like that about our paper, too!

Our November sketch challenge has been posted on our blog.  You can use the link in the top right sidebar to take you directly to the sketch.  We look forward to seeing how you use our products with the sketch.