Showing posts with label Classic Corners. Show all posts

Tuesday, November 28, 2017

November Inspiration by Wendy Scholten

Hi All,
Hope you are enjoying November as much as i do although i must say i'm looking forwards to december. I just love that month with our little girls birthday and Christmas.
The sparkling lights, cozy inside with hot cocoa and off course the Christmas tree.
I have 3 layouts this month to share with you, from which one of them of course features the vintage Christmas collection.

So let's start with the first one:
Memories
It features an older collection, Timeless, but those papers are still gorgeous!
I started with some gesso to secure my paper and used a stencil with moddeling paste and 3 different colors of sprays to give my layout some more texture.
I placed a little piece of cardboard and paper behind my photo to give it some depth and embossed my chipboard pieces. The title Memories with Stormy skies embossing powder, the scalloped border with oatmeal embossing powder and Heidi's Emblem with Taupe Embossing powder.
I decided to give the Garden Florals a brown color with a spay to match my layout a bit more.
And made flower clusters with the Garden Florals, Wanderlust Lilies and Apricot Blooms.
Next i used some metal embellishments and pebbles to finsh my layout.
Blue fern Studios products used:

Paper:
-Timeless
Chipboard:
-Scalloped Border
-Heidi's Emblem
-Memories from the Chunky Word set
Flowers:
-Garden Florals
-Wanderlust Lilies
-Apricot Blooms
Embossing Powder:
-Stormy Skies
-Oatmeal

And now my next one:
Warm and Cozy
This one features the Vintage Christmas 2 collection. Are those Christmas papers gorgeous or what!
I used the backside of the Let it Snow paper and used some Gesso, moddeling paste and a snowflake stencil for my background, i also used 3 different shades of color spary and the Jingle Bells Stamp.
I love Lace number 8, it's so pretty so i had to use it on this layout.
The title Warm and Cozy was cut out of a framed winter word and i embossed it with Fern and antique gold embossing powder as well as the Snow medley chipboard.
I used some Garden Blooms and Homespun Blossoms for my flowers and finished my layout with glass and sweet pea seedlings.
Blue Fern studios products used:
Paper:
-Vintage Christmas: Let it snow
Chipboard:
-Framed Winter Words
-Sow Medley
Flowers:
-Garden Blooms
-Homespun Blossoms
Embossing powder:
-Fern
-Antique Gold
Stamp:
-Jingle Bells
Lace;
8
Seedlings:
-Glass
-Sweet Pea

And my last one this month features the Homespun Collection
Delightful

I used the Hospitality paper, and a placed a piece of the Crafty paper on top. To create some texture i used a doily and a stencil with moddeling paste.
I framed my photo with a piece of coordinated chipboard from the Homespun Collection.
For my chipboard pieces i used the title Delightful from the optimist word set which i embossed with Taupe embossing powder, The Classic Corners with Pink dust and the Mesh Bits with Snow embossing powder.
I finished my layout with Mauve and Wintergreen Seedlings and some flowers from my own stash.
Blue Fern Studios Products used:
Paper:
-Homespun: Hospitality and Crafty
Chipboard:
-Delightful from the optimist word set
-Classic Corners
-Mesh bits
Embossing powder:
-Snow
-Taupe
--Pink dust
Coordinated Chipboard
Seedlings:
-Mauve
-Wintergreen

Hope you enjoyed this inspiration and have a great week!
Hugs wendy


Wednesday, May 10, 2017
Spring Garden Collection with our Fan of the Month

Hello Blue Fern fans!  Our Blue Fern Fan of the Month is the amazing Cheryl Kearns.  We introduced her last week.  If you missed that post, you can see it HERE.  We revealed the gorgeous album Cheryl created using the Spring Parade paper collection, along with lots of other Blue Fern products.  Today, Cheryl will take us further inside the album.

* * * * * * * * *


I used both the “Marketplace” and “May Vignette” papers. I have pockets with lace and pearls along the top. I used the Classic Corner chipboard on the top of each page, which I embossed with Iris embossing powder. 


Here I made diagonal pockets using the “Joyful” papers. My pages are made with the “Marketplace” papers. I used white Venice lace along the edge of each page, with mulberry roses on top. I also placed a cluster of flowers in the center of each pocket. I always make three photo mats for each page.


Here I made pockets that mirror each other using “Susie’s Garden” papers. I have white lace with purple ribbon running down the side of each pocket, as well as a cluster of flowers and a white chiffon butterfly. I used the Rose Borders chipboard, which I embossed with Plum embossing powder. I cut it in half and place half on each page.

* * * * * * * * *
Cheryl will be back next Wednesday with more pages from her album, and a video!
Have a great day, everyone.

Wednesday, December 16, 2015

Vintage Christmas Inspiration From Debbie

Hi everyone!  Debbie here with you today.  The month has flown by and I've been busy preparing for Christmas. Still lots to do but somehow it always comes together.   Today I have 3 layouts I created with the Vintage Christmas paper collection.    

My first layout features Magical, Deck The Halls, Noel and Greeting Cards papers,  perfect to highlight an old Polaroid picture of my daughter. Lots of layering and fussy cutting.

I used the two pieces of the Paisley and Vine Flower Chipboard which I embossed with the Imagine Ink Poinsettia Embossing Powder.  Love the red and gold in the powder!


On the side of my photo I used the Jasmine Pendant chipboard, again embossed with the Poinsettia embossing powder.

My second layout features the Noel and Greeting Cards papers.

I used a mixture of 2 embossing powders, Petal and Poinsettia on the Classic Corner and Symphony Border chipboard.  I applied some masking on the background and sprinkled the medium with the Phoenix Glitter.


The title Noel is from Winter Titles, again embossed with a mixture of  Petal and Poinsettia embossing powders.  I lightly misted a doily with some Imagine Ink Persimmon Mist.

My final layout was created using the December sketch with the Wonderland, Greeting Cards and Noel papers.  I did some masking on the background paper and randomly added some Pyrite Glitter and splatters of the Persimmon and Jingle Bells Imagine Ink Mists.

I embossed Joy from Word Ornaments with the Poinsettia embossing powder.

Here I placed the Snow Medley chipboard under my photo.  I painted the chipboard with some white gesso and applied some gold micro beads.

Tucked beneath my layers is the Damask Flourish covered in Pyrite glitter.
                 
I hope you have enjoyed my layouts.  Don't forget that you still have time to enter our December Sketch Challenge.  You can find all of the details here.

Thanks for stopping by!
. . . Debbie

Sunday, September 13, 2015

Three projects with Autumn Anthology by Marie-Josée

Hello, Blue Fern Studios fans!

Fall is just around the corner, and Blue Fern Studios has just released its newest collection, Autumn Anthology, which is full of lovely, rich colors. Here are the three projects I created with this stunning collection, which I LOVE!

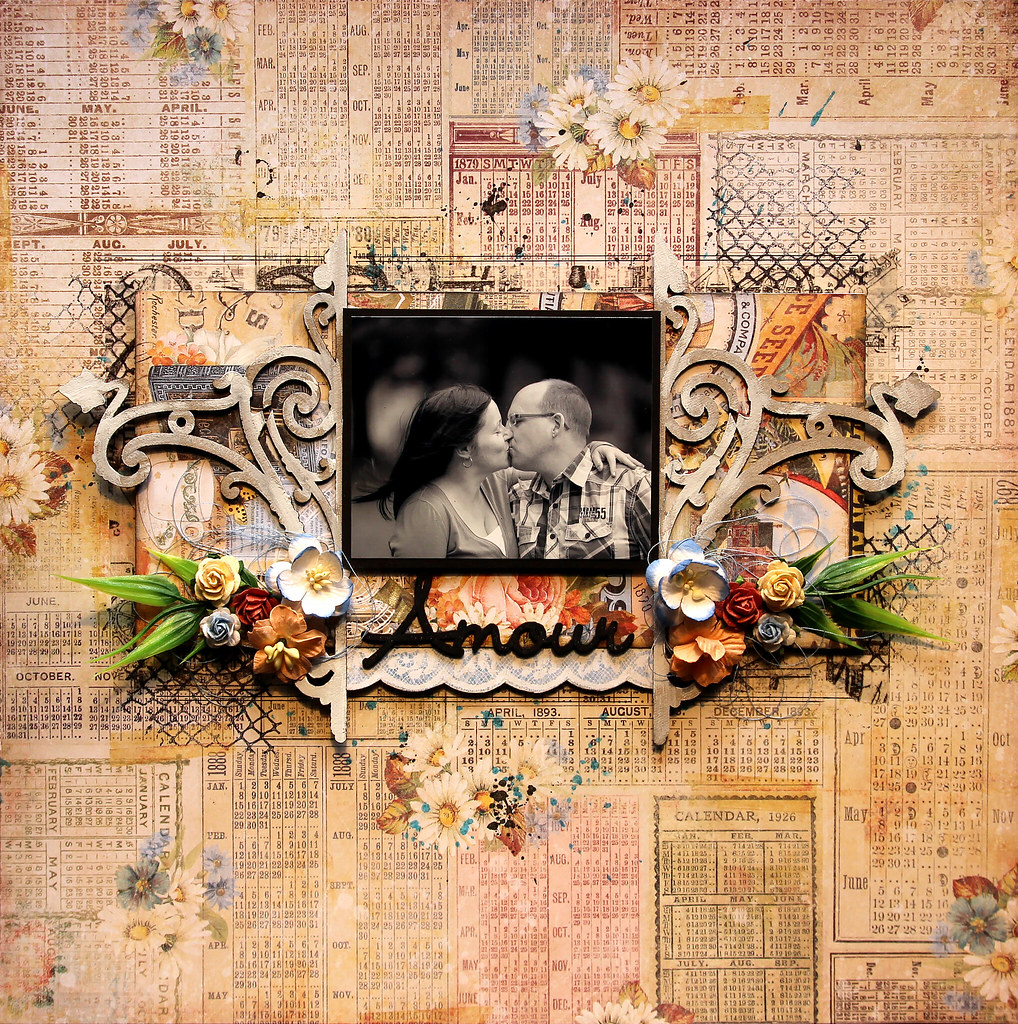
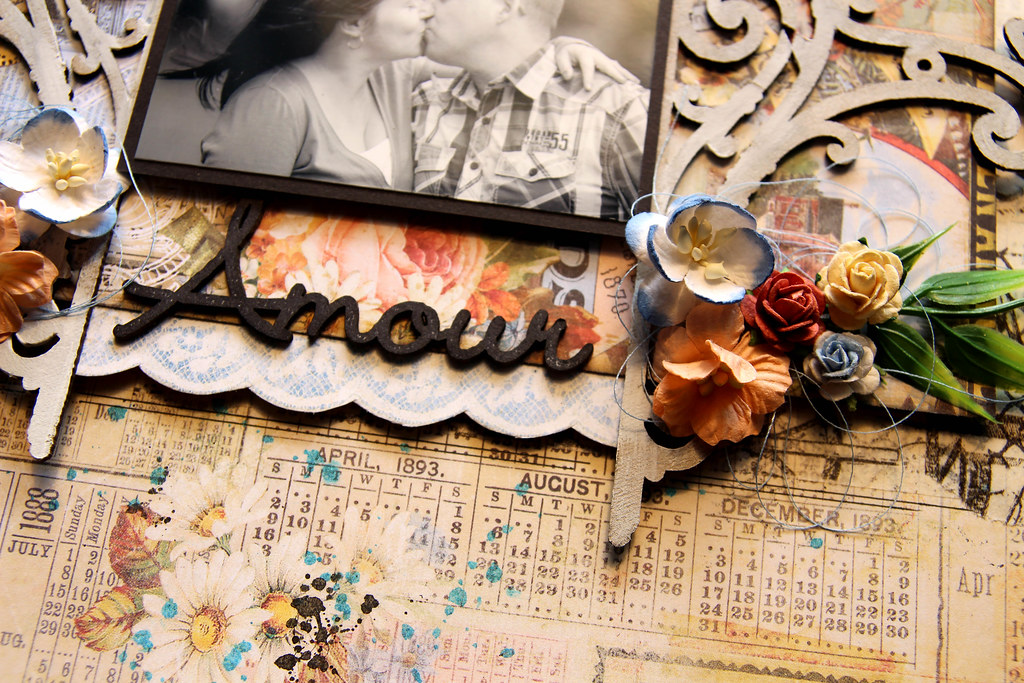
"Amour" layout

For this layout, I used the Balcony paper as my background. Since it's a busy paper, I decided to go with a black and white photo.


I added pieces of paper under my photo. Both come from the Mercantile paper; I used both sides of it.

The title is from the French Words set. I altered it with black Archival ink.


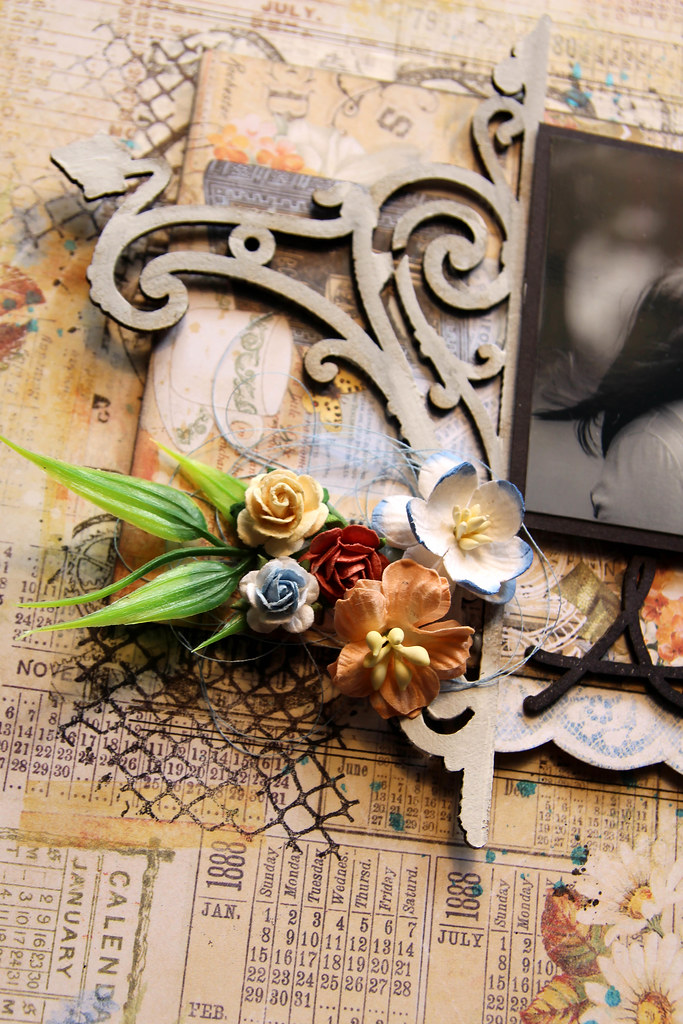
On both sides of my photo, I used the two pieces of the Ironwork Edges chipboard set. I altered them with a touch of white gesso.

I also used a stamp from the Essential textures set, with black Archival ink.


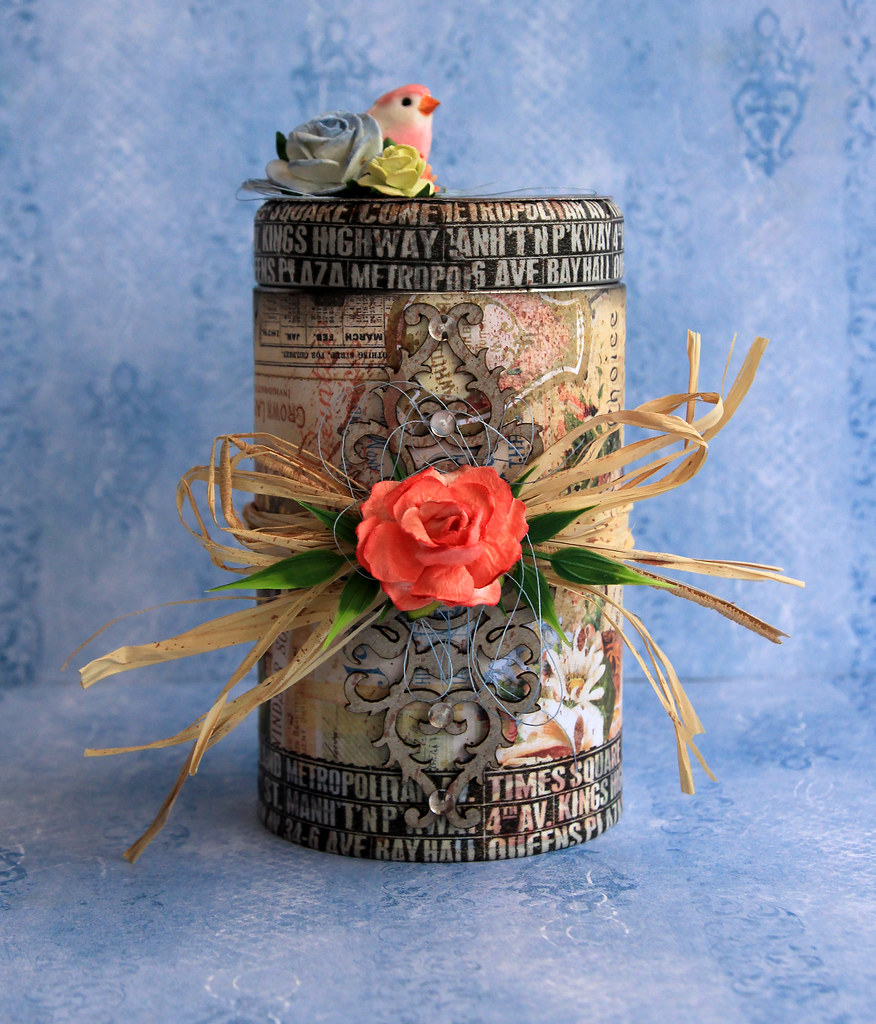
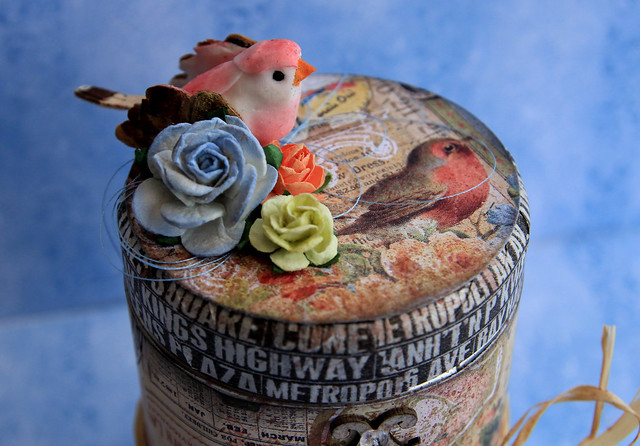
Altered tin box

Here's an altered tin box I created with the rest of the Mercantile paper sheet.


I also add a piece of chipboard to the front of the tin box, from the Classic ornaments set.


And here are two closeup views so that you can see the beautiful pattern of the Mercantile paper.


Cards

Here are the two cards I created on kraft cardstock.


For the first one, I used the Penmanship paper and a piece of chipboard from the
Classic Ornaments set. I also used a small piece of the Mercantile paper.


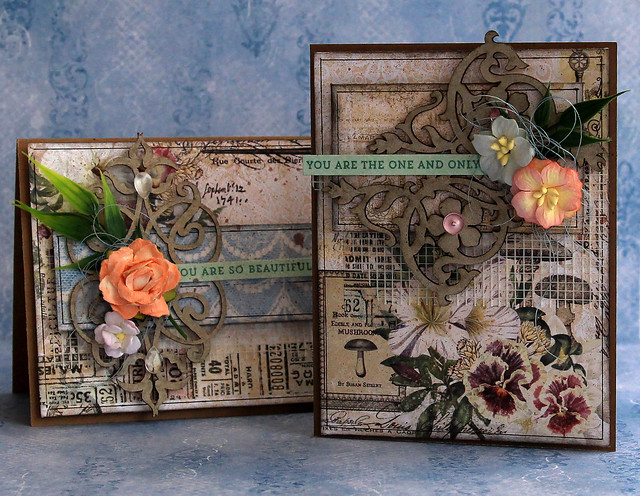
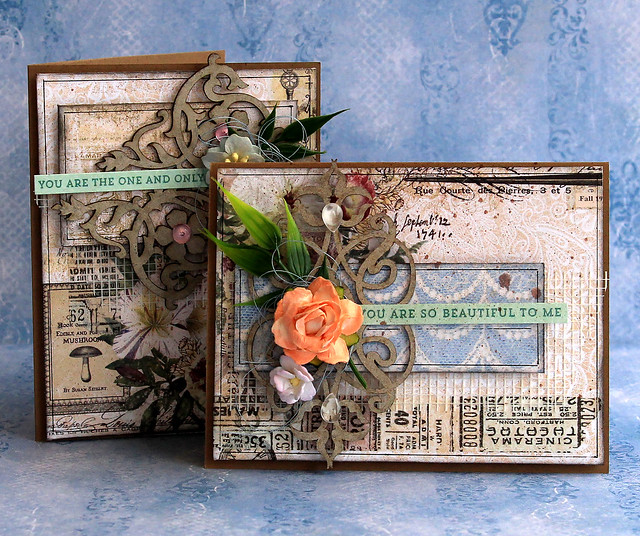
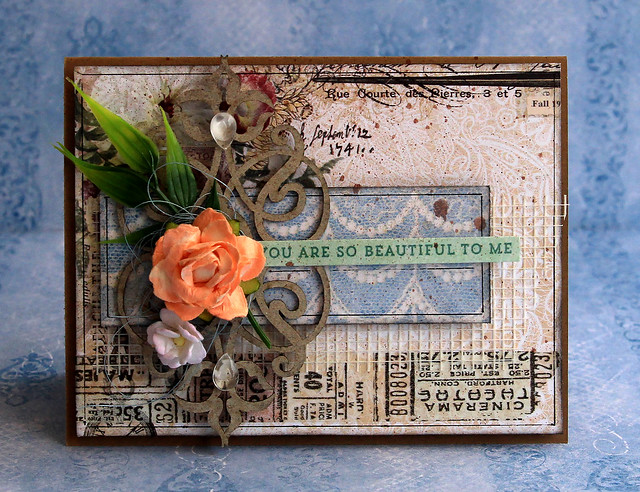
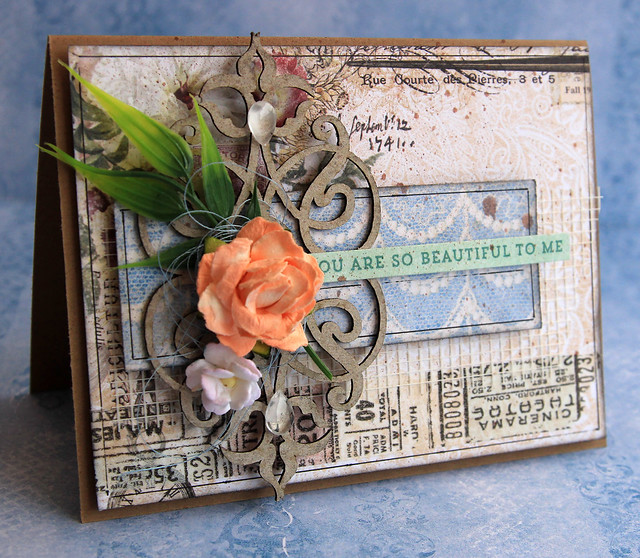
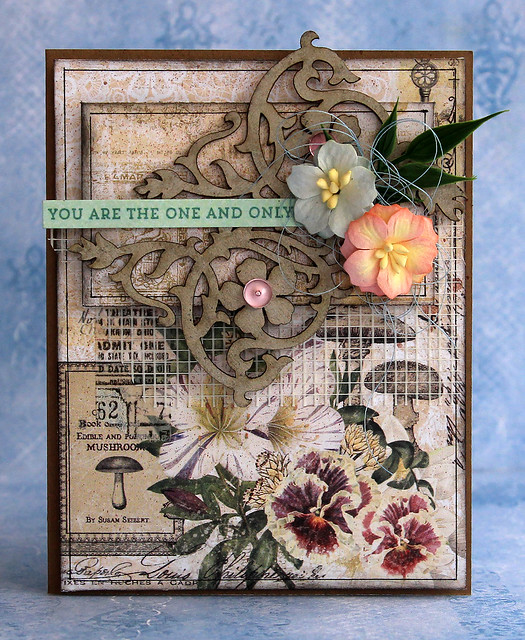
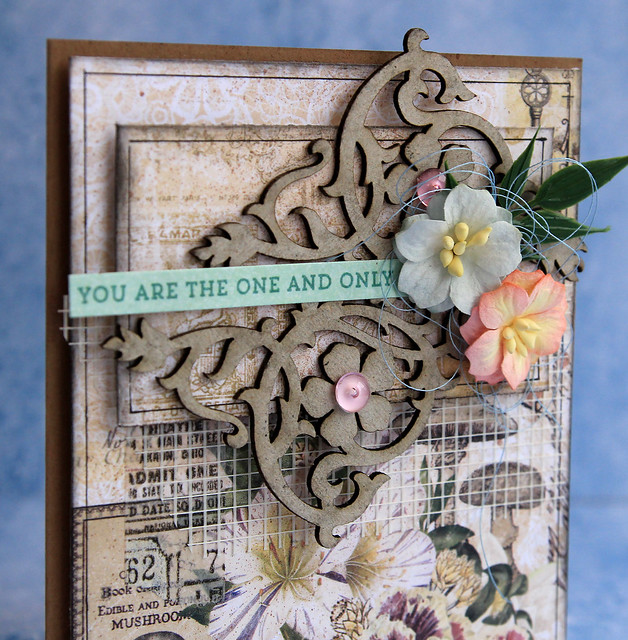
For the second one, I used the Penmanship paper and two pieces of chipboard from the
Classic Corners set.


Thank you, and have a great week!

MJ


Sunday, June 7, 2015

New Chipboard Designs!

Hi everyone.  It's time to show you the new chipboard pieces just released.  
The first piece is a stylish frame:

Oval Daisy Frame


Next we have a set of four traditional corners:

Classic Corners


This next piece is an elegant emblem that measures a full 5-inches in length:

Heidi's Emblem


We know you all love our chipboard "bits" so we have added 2 new sets:

Chained Bits


Geometric Bits


And we finish our new release with a couple of word /title sets.   If you are ever at a loss to find the perfect title for your project, our word sets are the perfect solution!


Thanks for stopping by today.  We would love to know which pieces are your favorite!