Hello Sweeties,
Today I'm up on Blue Fern Studios blog for the first time. I have to say that I'm really honored to be part of this amazing Design Team.
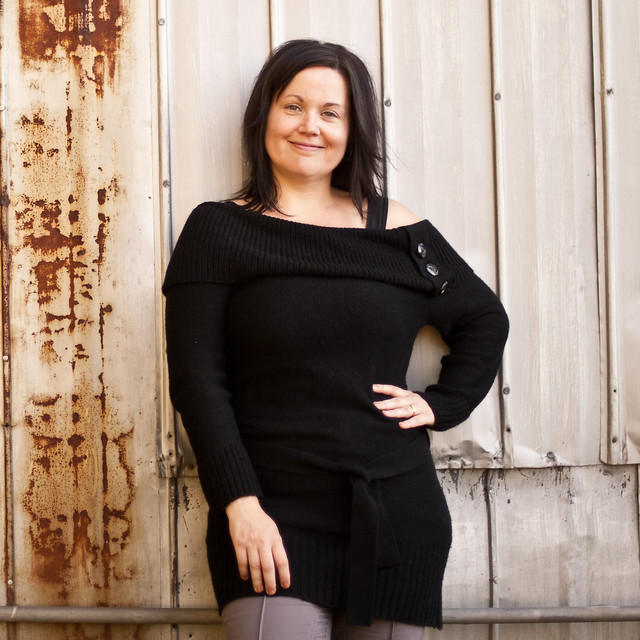
For those who don't know me, I'm Pascale B. a working mom of 2 young adults. I live in the Loire Valley (France) well known for its beautiful castles and wines. I love to travel in and out my country and as I take a lot of photos during my trips, you will discover some of my finds in my projects as well as some of my ancestors... I mostly create layouts, but not only...
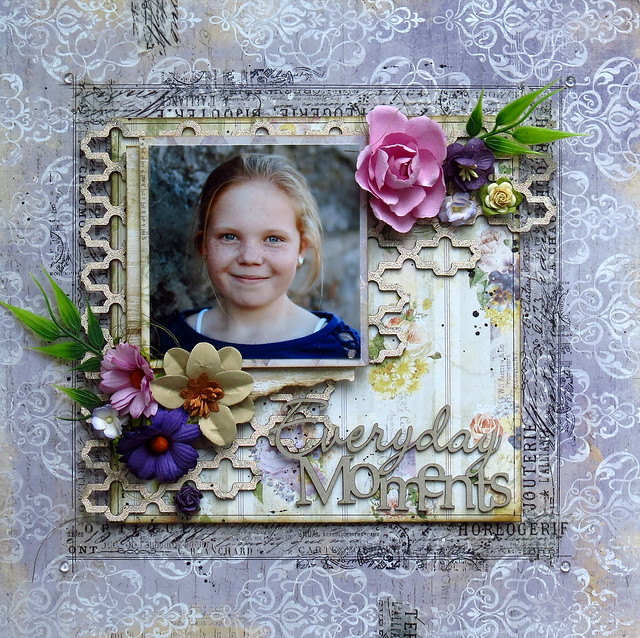
For the first project I choose a photo taken during a walk in the "Fairytales Gardens" of the Castle du Rivau (Léméré, France). It's a sculpture from Bassorade: " The Running Forest ".
Today I'm up on Blue Fern Studios blog for the first time. I have to say that I'm really honored to be part of this amazing Design Team.
For those who don't know me, I'm Pascale B. a working mom of 2 young adults. I live in the Loire Valley (France) well known for its beautiful castles and wines. I love to travel in and out my country and as I take a lot of photos during my trips, you will discover some of my finds in my projects as well as some of my ancestors... I mostly create layouts, but not only...
You can find my work on my personnal blog Scrap Made in Touraine,
some tutorials on Youtube,
and follow me on Facebook
------------------------------------
For the first project I choose a photo taken during a walk in the "Fairytales Gardens" of the Castle du Rivau (Léméré, France). It's a sculpture from Bassorade: " The Running Forest ".
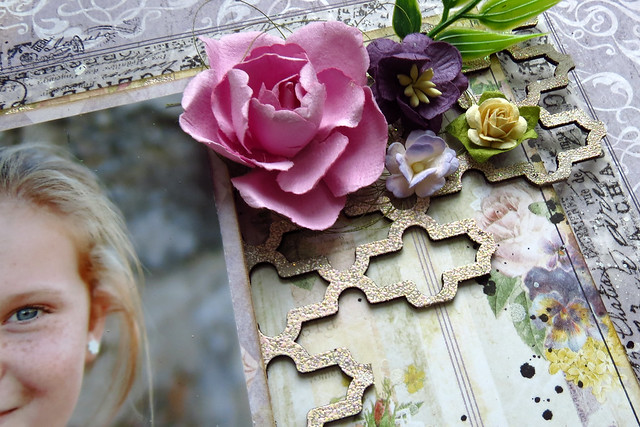
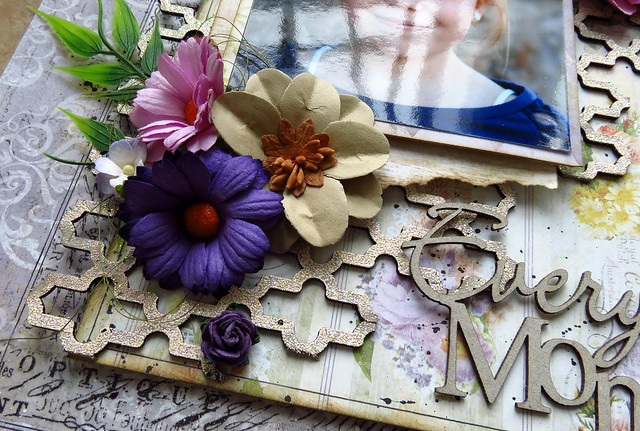
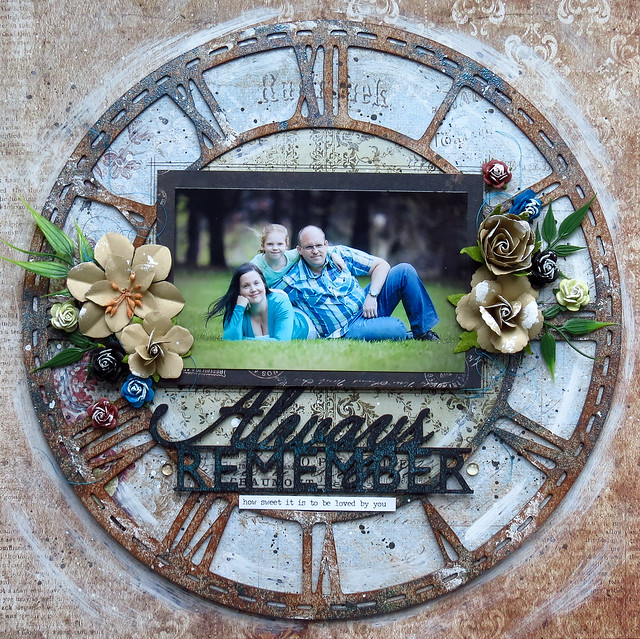
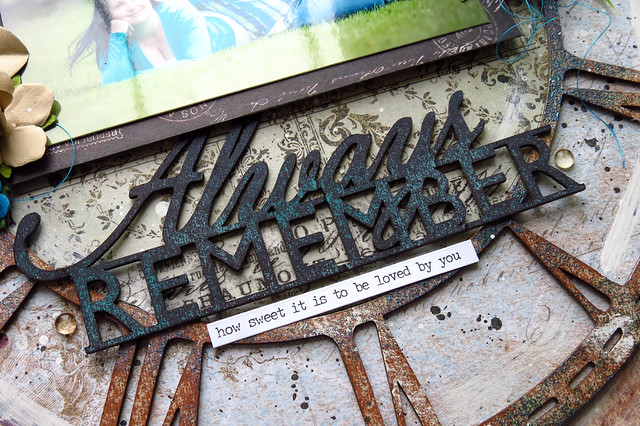
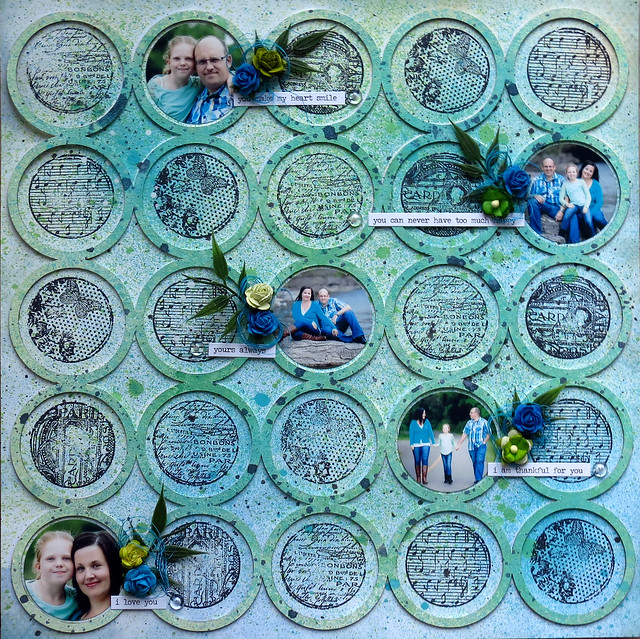
I choose to made a really simple layout : some random stamping with the Brocade texture stamp, a touch of color for the background and some embossed chipboards. I used the Lucky powder on the small flourishes and the Ebony on the Dot Grid panel.
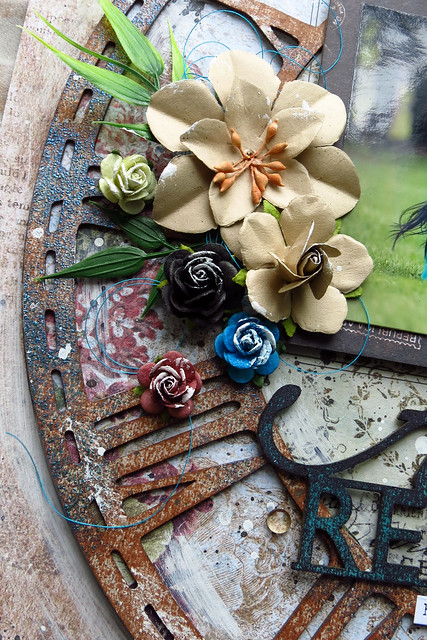
... some flowers colored with Twinkling H2Os and Primary Element.
And to finish I sprinkled Carrabean Glitter and Glass Glitter.
Blue Fern Studios products used:
 |  |  |  |  | |||||||||||||||
| Vintage Christmas Noel | Frolic Friendship | Paisley and Vine Bohemian | Chipboard Dot Grid Panel | Chipboard Mini Flourishes | |||||||||||||||
 |  |  |  | ||||||||||||||||
| Stamp Brocade Texture | Embossing Powder Ebony | Embossing Powder Lucky | Glitter Caribbean | ||||||||||||||||
-----------------------------------
For this second page I chose a photo I took in September of the Castle of Villandry (Villandry, France), well-known for its beautiful "Jardins à la Française" (formal garden). The new Timeless collection is just perfect for this kind of photo.
I started to protect the paper (Timeless - Artistique) with a layer of clear gesso. When dry, I added some colors coordinated to the photo. I also added a design to the background with the Brocade Texture stamp that I heat embossed with the 14 Karat powder.
I covered the chipboards with clear gesso before coloring them with some Twinkling H2Os. When dry, I used the Brocade Texture stamp to add some texture to the chipboards and I embossed them with the 14 Karat powder too.
I added some texture to the grape vines too: I sprinkled some Sage embossing powder when the paint was still wet and I love the result!
I die cut the the title in a cardstock and embossed it first the 14 Karat powder. I embossed a second time with the Ebony powder but I didn't cover it properly so the gold is still visible.
Blue Fern Products used:
 |  |  |  |  | |||||||||||||||
| Timeless Artistique | Love Story The Grand Ball | Love Story True Harmony | Chipboard Quatrefoil Panel | Chipboard Moldings | |||||||||||||||
 |  |  |  | ||||||||||||||||
| Embossing Powder 14 Karat | Embossing Powder Sage | Embossing Powder Ebony | Stamp Brocade Texture | ||||||||||||||||
-----------------------------------
And for the last layout I choose a photo of my great-grandparents's wedding in 1901.
I covered the background (Timeless - Couture) with clear gesso to protect it. When dry, I stamped randomly the background with a background stamp (Postal Texture) and an archival ink. I used a second stamp (Halftone) to add more texture and embossed the print with the pearl embossing powder. Then I added some colors to the background.
First I covered the chipboards (Framington Medley and Marrakesh Panel) with clear gesso too, and added a thick layer of clear crackle paste. I let dry naturally. Then I colored them with different mica powders and fixed them.
I colored the flower and the leaves and I embossed the last ones with the sage embossing powder to add some texture.
I cut different papers (Autumn Anthology - Cottage and Sanctuary - Calling Cards) and distressed them before adding them under the photo.
To finish the layout I added some mica flakes and I splattered black gesso mixed with gold mica powder.
Blue Fern products used:
 |  |  |  |  | |||||||||||||||
| Timeless Couture | Autumn Anthology Cottage | Sanctuary Calling Cards | Chipboard Marrakesh Panel | Chipboard Framington Medley | |||||||||||||||
 |  |  |  | ||||||||||||||||
| Stamp Postal Texture | Stamp Haftone | Emboosing Powder Pearl | Embossing Powder Sage | ||||||||||||||||


