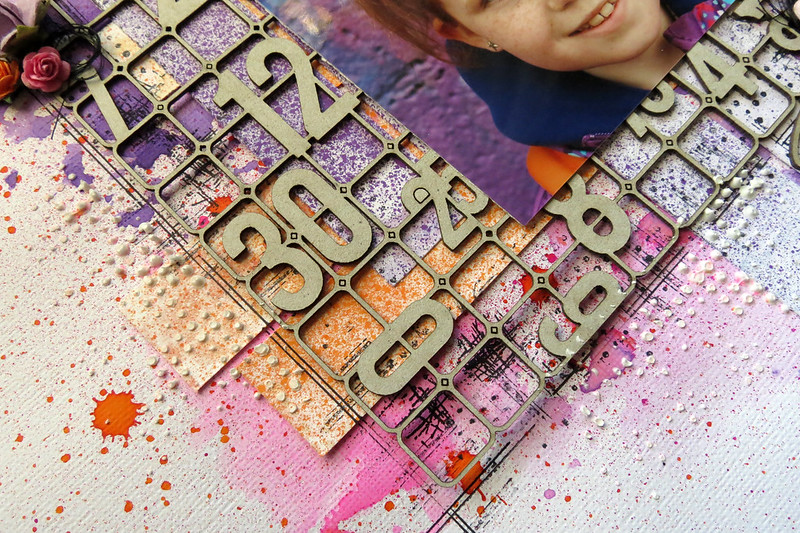
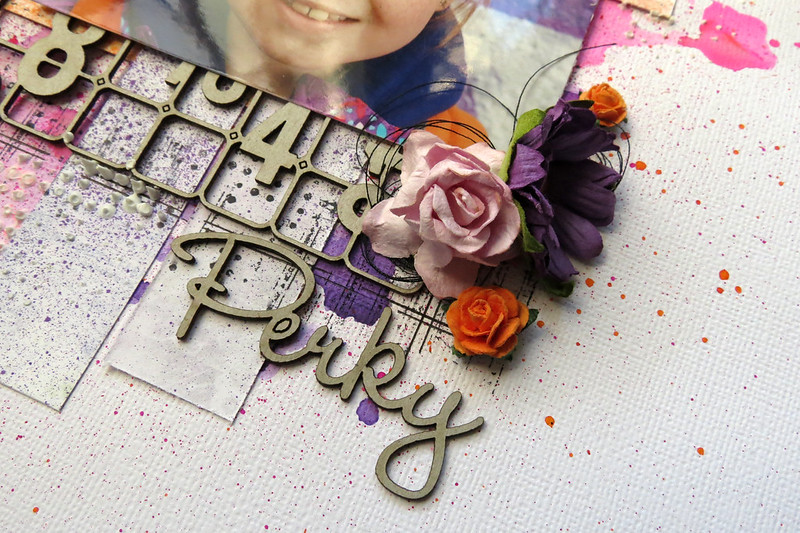
Hello Blue Fern Studios Fans! Jackie with you today to share my June Blue Fern Studios projects. I've had a blast playing with the new Ombre Dreams papers, and I have two Ombre Dreams projects to share with you today, but I'd like to start off with a very dimensional layout using Blue Fern Gardens.
I've mentioned before how much I love the thickness of these papers (and if you haven't had a chance to pick up some Ombre Dreams paper, they are printed on the same paper) because of how well they take media, and I've piled it on again here, with gesso, mists, inks and watercolour paints.
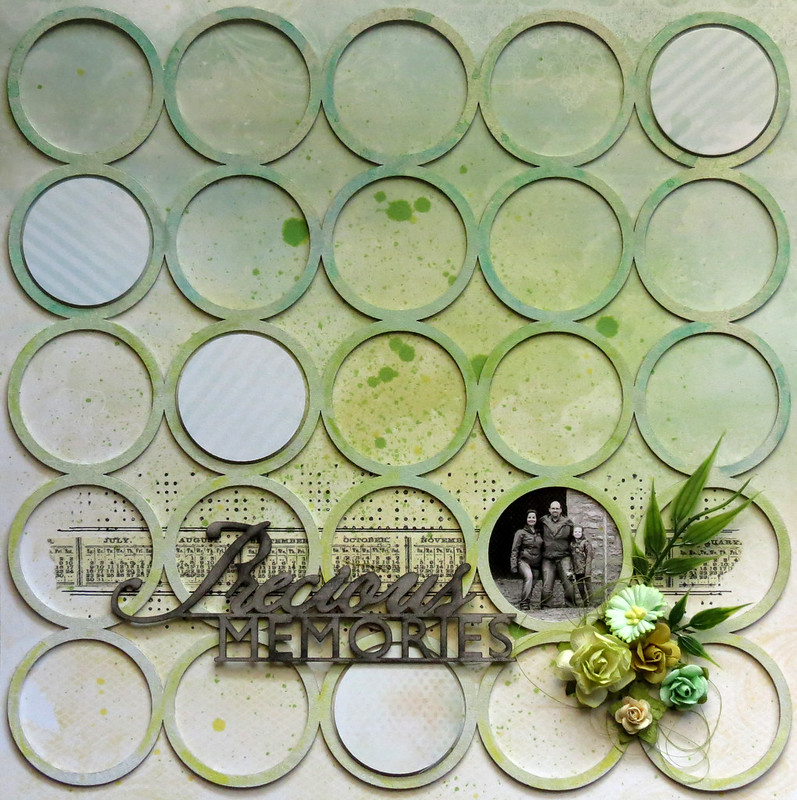
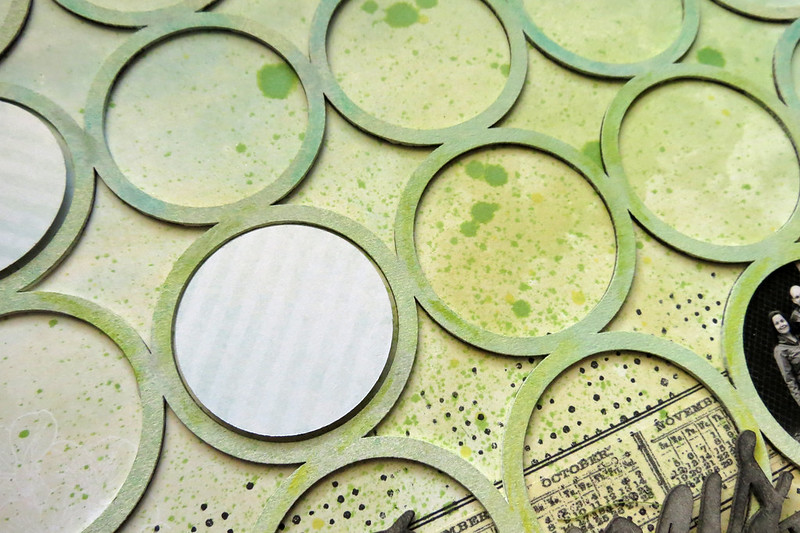
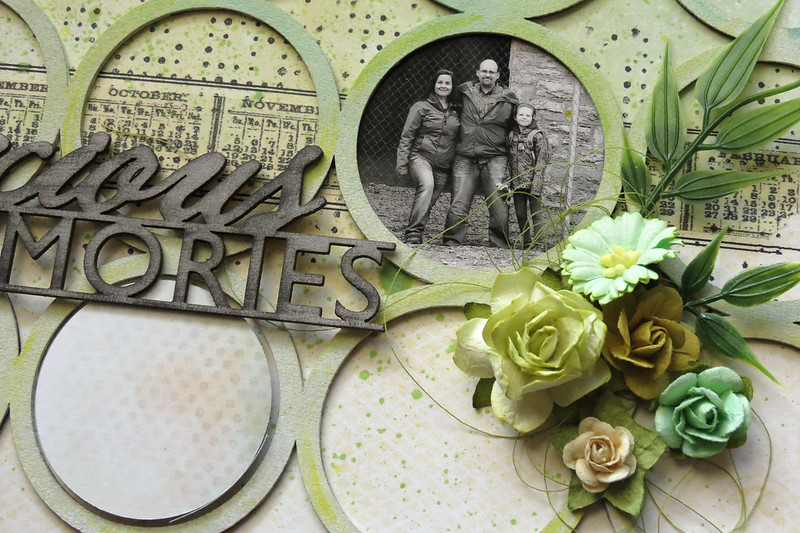
I matted my photo collage using two layers of Blue Fern chipboard, starting with one of the Beaded Strings circles. I painted it with a thick gesso (because I find super heavy gesso spreads so much easier with better coverage), then added some touches of watercolour paints, and then added a bit more gesso once those were dry to tone everything down a little. I also added some grey ink to the outside for definition.
The second layer of my photo mat is one of the Quatrefoil Garden Panels. I cut it in half lengthwise so that I could have a border both on top of and below my photos, and painted it with a shimmery acrylic paint.
To create a horizon line across my page, I used a piece of one of the Jeweled Page Dangles left over from another project. The links are coloured with chalk ink, and I used some of the shimmery watercolour paint I used on the page to colour the flower, and topped it with some bling.
Blue Fern Studios Products Used:
- Blue Fern Garden: Picnic
- Blue Fern Chipboard: Beaded Strings, Jeweled Page Dangles, Quatrefoil Garden Panels
With Father's Day just around the corner, I set out to make a masculine gift bag, though in the end it turned out a little too colourful to be truly masculine, but I love it!
I combined Blue Fern Garden and Ombre Dream papers for this one; they work so well together! After I built my base layers, I added strips and squares I cut from scrap pieces and the cut-away strips at the bottom of the papers, and added random colour to the sides of all of these.

I then added stencilling, stamping and splattering to the background along with some sewing thread.
I coloured the Grand Balloon Chippy with several different colours of acrylic and watercolour paints, layering them on until I was happy with the effect then adding some gesso to help to tie the piece in with the background.
See the wonderful texture from the acrylic paint? Some metal pieces provided nice finishing touches to the balloon.
Blue Fern Studios Products Used:
- Blue Fern Garden: Signature, Timeless, Parlour
- Ombre Dreams: Susan's Dream
- Blue Fern Chipboard: Grand Balloon
I so enjoyed making the gift bag that I decided to make a card along the same lines, this time using one of the Eastern Lanterns, and one of my favourite colours, orange.
On the Grand Balloon chippy I achieved the texture by dabbing with my finger in the wet paint; with this one I held my heat gun close to the acrylic paint to cause it to bubble and create this gorgeous effect. I then added some modelling paste and gesso to enhance the aged effect.
I treated one of the Leafy Page Accents in a similar manner, though I used a copper mist instead of the orange acrylic as my base colour (I applied clear gesso to the piece first, so that the mist would sit on top instead of seeping into the porous chipboard).
Blue Fern Studios Products Used:
- Blue Fern Garden: Parlour
- Ombre Dreams: Susan's Dream, Shannon's Dream
- Blue Fern Chipboard: Eastern Lanterns and Leafy Page Accents
Thank you for stopping in today!


