Showing posts with label Damask Flourish. Show all posts

Wednesday, December 16, 2015

Vintage Christmas Inspiration From Debbie

Hi everyone!  Debbie here with you today.  The month has flown by and I've been busy preparing for Christmas. Still lots to do but somehow it always comes together.   Today I have 3 layouts I created with the Vintage Christmas paper collection.    

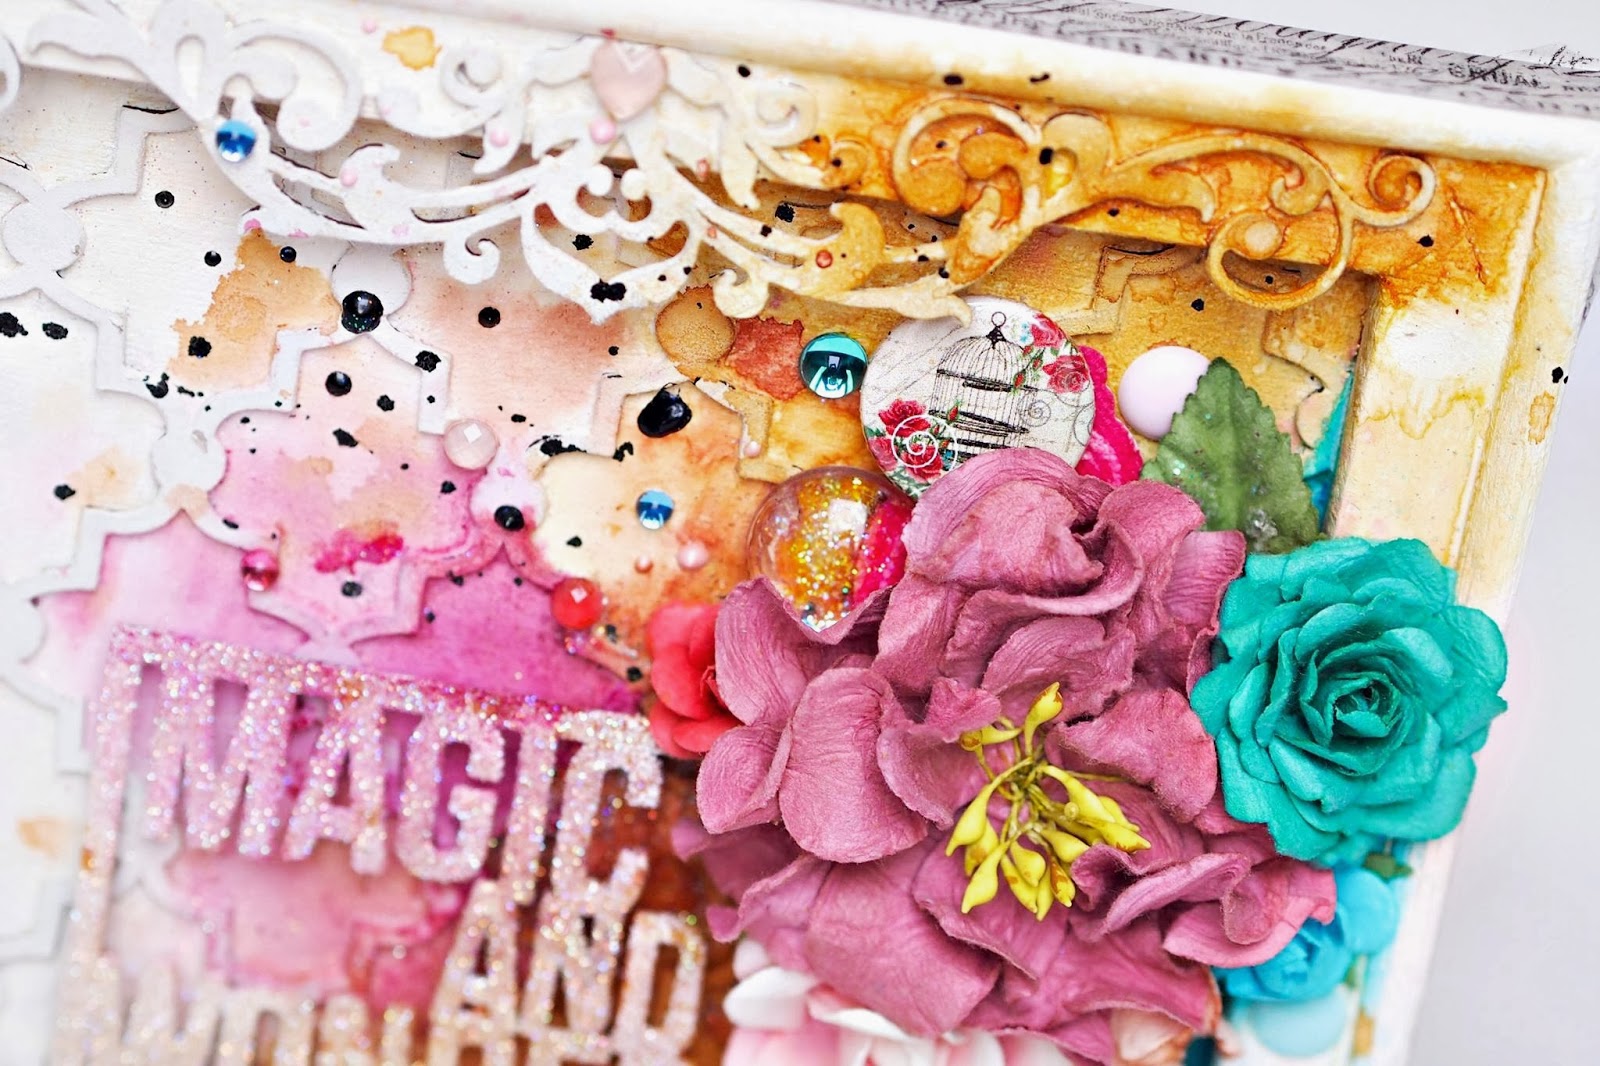
My first layout features Magical, Deck The Halls, Noel and Greeting Cards papers,  perfect to highlight an old Polaroid picture of my daughter. Lots of layering and fussy cutting.

I used the two pieces of the Paisley and Vine Flower Chipboard which I embossed with the Imagine Ink Poinsettia Embossing Powder.  Love the red and gold in the powder!


On the side of my photo I used the Jasmine Pendant chipboard, again embossed with the Poinsettia embossing powder.

My second layout features the Noel and Greeting Cards papers.

I used a mixture of 2 embossing powders, Petal and Poinsettia on the Classic Corner and Symphony Border chipboard.  I applied some masking on the background and sprinkled the medium with the Phoenix Glitter.


The title Noel is from Winter Titles, again embossed with a mixture of  Petal and Poinsettia embossing powders.  I lightly misted a doily with some Imagine Ink Persimmon Mist.

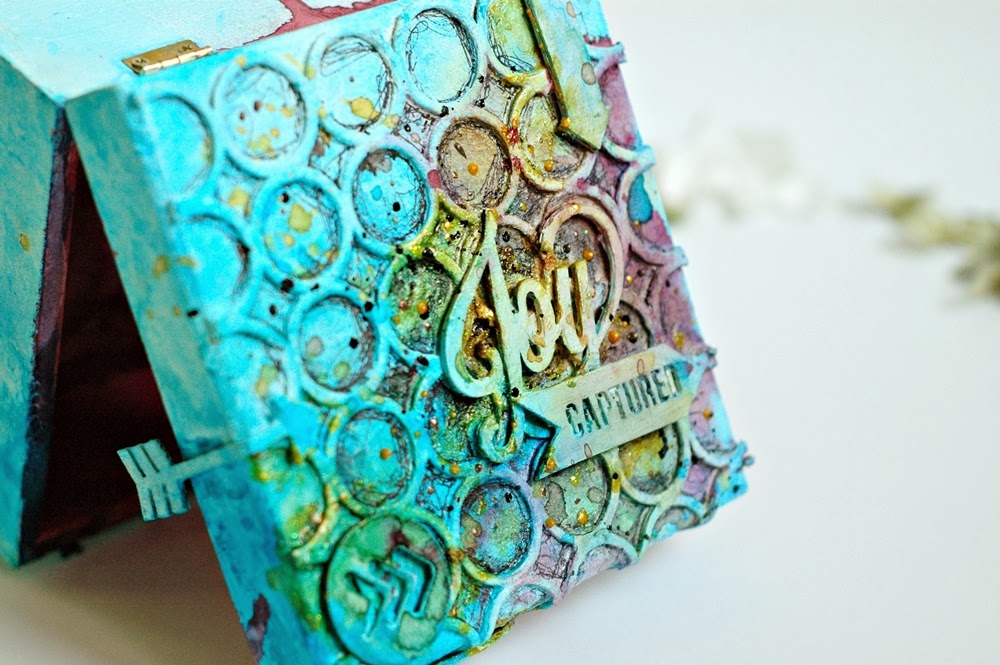
My final layout was created using the December sketch with the Wonderland, Greeting Cards and Noel papers.  I did some masking on the background paper and randomly added some Pyrite Glitter and splatters of the Persimmon and Jingle Bells Imagine Ink Mists.

I embossed Joy from Word Ornaments with the Poinsettia embossing powder.

Here I placed the Snow Medley chipboard under my photo.  I painted the chipboard with some white gesso and applied some gold micro beads.

Tucked beneath my layers is the Damask Flourish covered in Pyrite glitter.
                 
I hope you have enjoyed my layouts.  Don't forget that you still have time to enter our December Sketch Challenge.  You can find all of the details here.

Thanks for stopping by!
. . . Debbie

Sunday, January 11, 2015

Elena Morgun wiht a video tutorial

Hello!

Elena Morgun here, to share with you my first video as an Educator for Blue Fern Studios, and I am so excited to join this amaizng team!
But first a little about myself:

I'm 25 years old. I live in Ukraine. I am a happy mother to 2 lovely kids.
Scrapbooking is a huge part of my life, and it is more than a hobby by now. I can not imagine my day without scrapping. I am happy to share my tips and knowledge in my tutorials.
I am constantly learning new things. I am playing with new techniques and materials all the time. I am open to the experiments and you can often see their results in my creations. One of the most distinctive characteristics of my style is that I love mixing dark grunge accents with the tender flowers and lace.
I’m delighted to be joining Blue Fern Studios on this new journey!

I hope you enjoy my creations!

You can also find me HERE on my blog and HERE on my Youtube Channel.

Layout "Sunshine"


Blue Fern Studios products used:
  • Paper - Sanctuary: Bountiful
  • Chipboard - Panels - Rings Panel
  • Chipboard - Textures - Turkish Bits
  • Chipboard - Shapes - Vintage Keys
  • Chipboard - Words - The Optimist Word Set
And I have new card to share with you.
Blue Fern Studios products used:

  • Chipboard - Flourishes - Damask Flourish (2)
  • Chipboard - Shapes - Vintage Keys
  • Paper - Montage - Calling Cards

I hope I have inspired you today :)

Take care,
Elena Morgun

Tuesday, October 7, 2014

a card, a mini album and a trifold pocket album created by Lisa Gregory

For my first project I created a card that is shaped like a tag. It was easy to create the folded shape. I folded a rectangular piece of white 100lb card stock  and ran it through my Sizzix alterations die placing the fold of the card on the  inside of the die as not to cut 1 side, leaving the fold intact. Then I die cut 2 pieces of patterned paper Ombre Dreams Paper Leslies Dream, and adhered it to the front and back of the card. I left the inside plain white for some handwriting.


I used the fabulous  Fall acorns and  Bits Of Honey on my card. I painted the corns with acrylic paint then spread some crackle paint over it to enhance the colors. I just sprayed the bits of honey with Lindys Stamp gang spray after priming them with gesso.


Here is view of the back of the card when it is open. I strung some seam binding through the front hole in the card,. I spayed the seam binging with Lindys Starburst spray in My Mojito Green to match the die cut leaves on the front of the card.


For my next project I created another mini album in a different style. I used  the Montage Paper Collection using the Wisdom and Fairyland papers..


On the cover I used the smaller piece from the Roman Clock Set Large. The butterfly is from the Royal Monarchs collection. I inked both pieces with Ranger distress ink in Vintage Photo.

 I used the Roman Clock Set small on the right hand page, On the left hand page, I used a left over piece from one of the original Blue Fern Studios designs. I save everything! It makes a great frame. 


I created a tag with the flower on top and a small key from the Vintage Keys set.


This is just a closeup of the cover. The jeweled piece is a Recollection flower piece and I used burlap and some flower buds tucked underneath.


This is the album closed with twine that I adorned with some beads.


This is the view of the inside of the back cover. I love the pattern on the paper and did not want to cover it up.


My next project is a trifold pocket album. I followed a pattern from a Kathy Orton book on mini albums. I used the  Montage Paper Collection, using the Wisdom and Fairyland papers.Sometimes mixing and matching  chipboard pieces from different collections can match perfectly. That is what I did here. I used  Manor Hinges  and  Damask Flourish to create the design on my cover. I painted them with black gesso.


I added a jeweled brad  to complete the look.


When you open the album, you can see there is plenty of room for pictures and journaling. The waterfall feature can hold many photo's.


This is a view of the back of the trifold. I used black cardstock for the base. I love the black and pink color combination together.


This is the  Damask Flourish  shown on its own.


Here are the little folders and tag cards shown, pulled out of their pockets. Each one opens up to add more photos or journaling.

Thank You for joining me this week. I look forward to creating with more of the gorgeous Blue Fern Studios papers and chip board. Until next time...
xoxo
Lisa

Friday, January 24, 2014

Bring the colors by Olga Heldwein

Hi !!

Hello everyone. Its my firs post at Blue Fern Studios blog and its time to say "Hello"


    My name is Olga Heldwein and I'm from Poland ;). I live with my hubby, son and two crazy cats in Warsaw. All evenings I spending in my little craft(almost)room and messing , splashing, distressing, inking and generally crafting :) You could say that I'm scrapbooker but its not only thing thats turns me on.
    
I'm making workshops too :) (and like it very much this chance to meet all those creative girls amazing experience every single time)
At start picture frame. I use here Marrakesh panel as background and Framed Words and Damask Fluorish as part of composition. covered everyhing with Gesso and colorsprays.


Canvas with saying. I use  Spring Iris - Large in background and  Shabby Layered Frame and Dare to Dream element as central part of my comosition.


And Last Work. Its Joy box . I use here many geometric elements. You will find: Rings Panel as background, Directions, Picture perfect and Winter titles as embelishments.


Saturday, December 21, 2013

A Little Bit of Summer, A Little Bit of Winter

Good morning!! Kelly here today.
I hope everyone is doing well..I am sure most are quite busy preparing for the upcoming holidays!! I wish you all a safe and happy holiday season!!

"Family"
 I just adore this photo of my oldest daughter, and my nephew, taken a couple summers ago. They are absolutely adorable!! They are only a month apart in age :)
I used a few little bits of Blue Fern. Starting with the Film Strips. All of the pieces on this layout were treated the same...colored with chalk ink, given a dab here and there of shimmering paints, and a touch of gesso.


Below I used one of the Memory Frames, along with a section of the Damask Flourish to complete my cluster.


"Fly"

To create an interesting textured background, I used a section of the Screen Panel. I gave it a couple coats of gesso, glued it to the page, and added different colors of paint here and there to make it blend nicely.


Next I added a handful of the Bohemian flowers to my flowers clusters. These are so cute and fun for a summery page!


"Peace on Earth" Tag

Lastly, I switched gears into a wintery tag. I adore the snow covered pine tree from the Let it Snow pack, alont with the Shabby Flakes. I gave them all a coat of white paint, some metallic white dimensional paint, and a bit of crushed glass glitter. I  added just a touch of green to the tree using a Gelato.

Thank you so much for looking at my projects today!!
Have a great weekend!!

*Kelly*