Showing posts with label Corner Flourish. Show all posts

Tuesday, September 8, 2015

September Projects by Melinda Thompson

Hello BFS fans :)


The months are rolling around pretty quickly aren't they! I have another 2 projects to share with you all.


First project I am using more gorgeous papers from the Deja Vu paper range. Here I have layered up a couple of the larger circle chipboard pieces underneath my photo layers.


"Precious Memories"


Some closeups...I love the soft greens and apricots in this paper range.


Paper: Deja Vu Collection
Chipboard: Beaded Flourish, Corner Flourishes, Graduated Circles, Heart Borders


My second project is using some papers from the Love Story collection. I love the white and black teamed up with red and blue.


"Our Cousin"


Some closeups from the gorgeous chipboard pieces....the heart scallop border is just beautiful.


Paper: Love Story Collection
Chipboard: Heart Borders, Chunky Heart Panel, Brackets, Heart Hugs, Majestic Frame 


Thank you so much for stopping by..hope you feel inspired to be creative today :)

Melinda

Thursday, January 8, 2015

January Design Team Projects by Melinda Thompson

Hello!

I am so excited to share with you my very first projects as a designer for Blue Fern Studios.


My name is Melinda Thompson and I am from Australia and live in a growing country town called Emerald right in the heart of Central Queensland.  Its dry and its hot and our summers last for around 8-9 months of the year and we only have an odd week or two where we experience cold weather. And even then its not cold compared to what others experience...we may only need to pull out the ugg boots and jumpers!

I am married to my best friend for nearly 15 years and have 3 adorable, but full of life, boys who are the centre of my life and who I mainly scrap about.

I started scrapbooking when I took maternity leave from my job to have my first baby and it just grew from there.

A bit about my scrapbooking style:

- Even though I have 3 boys which means I am constantly surrounded by cars, trucks and lego and all things noisy and dirty, my pages are super girly and feminine.  I will nearly always use flowers and usually alot!

- I am inspired by colour and will even scrap using pink on a boys page...after all its my art :)

- I love texture so my pages are very dimensional they never fit into albums.

- The backgrounds to my layouts are always created using lots of mixed media techniques and products.

Looking forward to joining the Blue Fern Studios team for 2015!

You can find more of my work and follow me on my blog:
www.minseverydaymoments.blogspot.com


My 1st project was using the January sketch.  For the background of this layout I have used the paper Garden Plaza from the Sanctuary Collection and created some layers behind my photo using the Calling Cards also from the Sanctuary Collection.


I have used a stunning Tattered Butterfly, the Notebook Edges and the word Laughter from the Laughter Happy Smile pack.  With each of my chipboard pieces I coat them with Gesso first and then in this instance I have given them a light covering with some paint and mist.


Paper: Sanctuary Collection: Garden Plaza & Calling Cards
Chipboard:  Notebook Edges, Tattered Butterfly, Laughter


My 2nd project I used the Ombre Dreams: Gingers Dreams paper for my background.


I have used a couple of pieces of Graduated Circles...love these! I have tucked them in an around my layers behind my photo and covered them with mist and paint. The stunning La Plum chipboard piece was lightly painted and then dipped in glitter.


I have also used a piece from the Nested Circle pack, cut it in half and placed at the top and bottom sides of my layout.


Paper: Ombre Dreams: Ginger Dreams & Dream Cards
Chipboard: Graduated Circles, Nested Circle, La Plume


For my 3rd project I was drawn to the gorgeous vintage background of the Meadows of Time paper in the Sanctuary Collection.  But in my usual style I brightened things up!


I cut the bottom section off and turned it over to reveal the beautiful flower pattern that was on the reverse side.  I have used the Small Circle Flower Flourish as well as one of the Corner Flourish.  Down the bottom edge of my layout I have included one of the Arrow Words "Love This".


Paper: Sanctuary Collection - Meadows of Time, Bountiful
Chipboard: Arrow Word, Small Circle Flower Flourish, Corner Flourish


Thank you so much for visiting, I hope you enjoyed my projects...see you next month!

Melinda

Saturday, December 13, 2014

Two layout with the new Sanctuary collection by Marie-Josee

Hello all! I hope you are doing fine! Christmas is just around the corner and I am sure those of you who are celebrating it are super busy right now! Here's a bit of inspiration for you, in case you have time to create a layout or two before the big day! :)

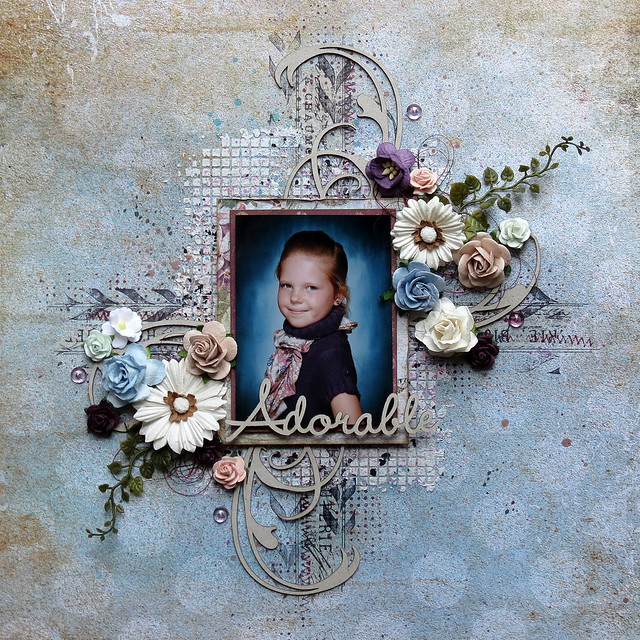
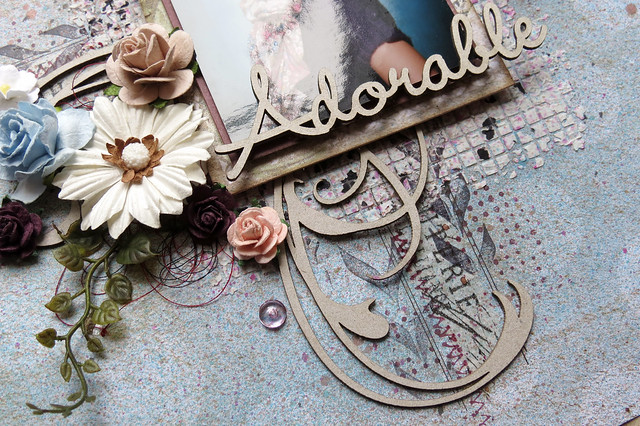
"Adorable" layout

I used the B side of the Calling Cards paper from the Sanctuary collection for my background, which I altered with various mists, modeling paste, ink and stamps.


I also used the two pieces of the Corner Flourishes set. I decided not to alter them, because I love the look of bare chipboard with this new paper collection.


My title was made with the word "Adorable" from the French Words set. I also left it bare.


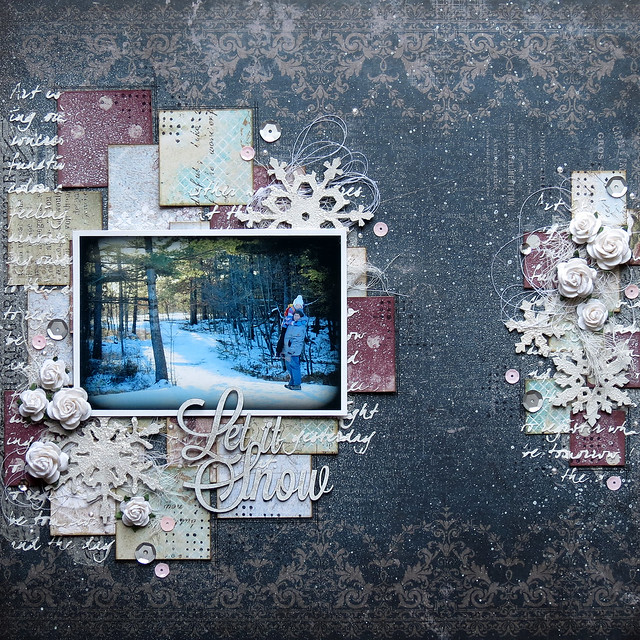
"Let it snow" layout

Once again, I used a paper from the Sanctuary collection for my background, the Bountiful paper.

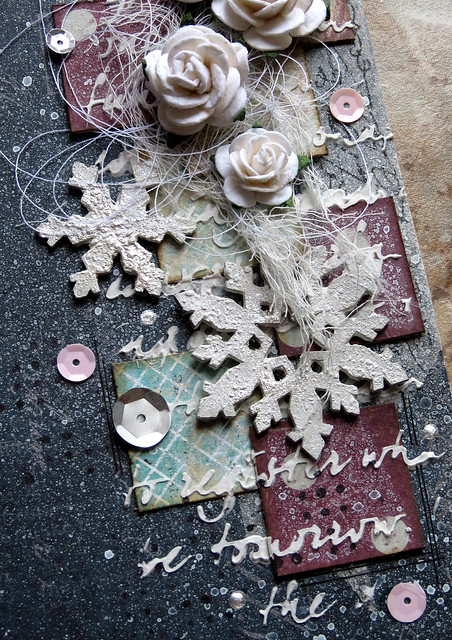
I cut squares out of various papers and I glued them randomly to my background, which I altered with mists and modeling paste.


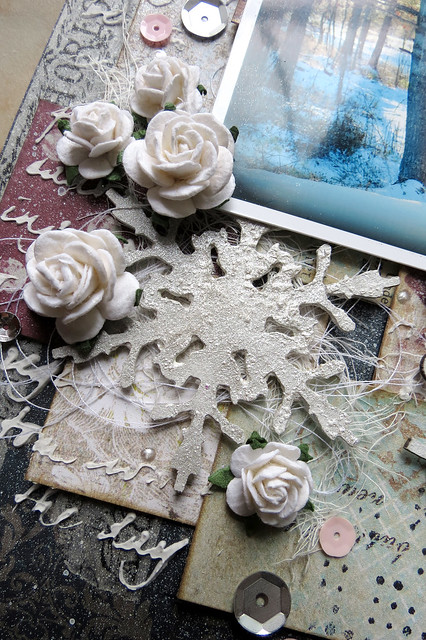
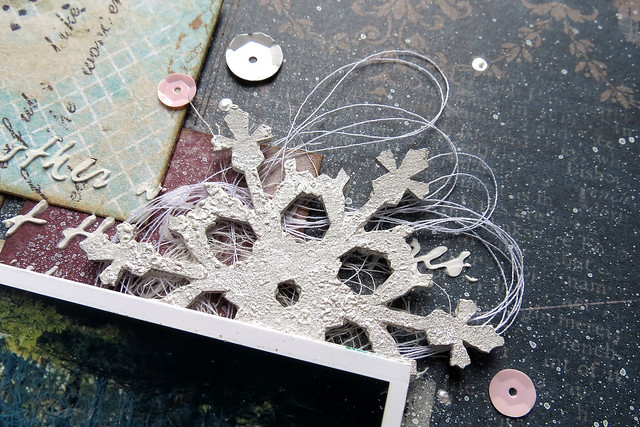
While it was drying, I altered the four snowflakes of the Shabby Flakes set. I started with gesso, which I dried with my heat gun to create texture, and then, I added PearlEx with a bit of water for a shimmery finish.


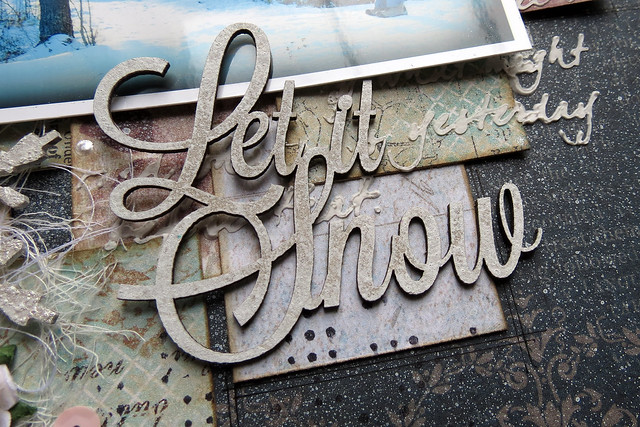
I used the Let it Snow chipboard for my title. I altered it my pressing my white ink pad on it, leaving some bare spots.


Happy Holidays to all, have fun and be safe!

Thursday, November 20, 2014

Two Layouts and a Card with Rae

Hello! It's Rae with you today and I'm sharing some projects I made with the Montage and Ombre Dreams paper lines.

"Twinkle" Layout


For this layout I used the Montage paper collection.  It's based on our November sketch. Check out the sketch challenge HERE. There's still time to play along!

Here's a closeup of the Quatrefoil Panel piece that I cut to size. I used pink, white, and gold embossing powders to get this effect.

Here's a closeup of the title that I used from the Winter Titles set. I kept this treatment simple by using gold embossing powder. 


In this close up, you can see the piece of the Heart Border that I cut and painted with a whitewash.

I also cut up the Organic Vine Corner. I painted it with a dimensional green paint, and sprinkled it with green embossing powders and heated it up until the paint was bubbly.


"Follow Your Dreams..." Card


I really wanted to fit this card in a standard envelope, so I made it as flat as I could! I used some of my scraps from the Montage line. 

Here's a closeup that shows the treatment of the Mixed Chains and part of a Ginger's Poppies piece. I used grey and black ink pads directly on the chipboard without priming it.


Mommy's Boy


I used papers from the Ombre Dreams and the Montage lines. 

In this closeup, you can see the Corner Flourish. I also used a Mini Flourish on the other side of my flower cluster. I scraped these pieces with a black archival ink pad that desperately needs to be reinked, but it worked for this layout. :)

For the Mommy's Boy title piece, I used a turquoise embossing powder, then used that same archival ink pad to give it a worn look.

For the Romantic Page Dangle, I used grey chalk ink, then some black distressed embossing powder in random places. I also touched it with some blue chalk ink to soften the look of it. 


Thanks for stopping by to check out my projects today! Check back often- our team is always posting amazing creations!

Rae


Tuesday, November 18, 2014

3 Beach Layouts with 3 different collections- by Keren Tamir


Keren here, and today I have 3 beach layouts created with three different Blue Fern Studios Collections.
I recently came back from a family beach vacation. I wanted to show how versatile all the Blue Fern studios collections are and how easily they can be used for the same theme.


"Beautiful Girl"

With the Ombré Dreams Collection


For the background paper I used Ombré Dreams Charlotte's Dream and I also used the Ombré Dreams- Dream Cards as layers.


I used the corner flourishes chipboard which I cut into pieces. I painted it in pastel blue acrylic paint and stamped and inked it.


<<<<<<<<<<<<>>>>>>>>>>>>>


"Hello Summer"

With the Blue Fern Garden Collection


I used the "Signature" paper from the Blue Fern Garden collection for the background.


For chipboard, I used the Jewelled page dangles,  Jewelled frame and the Hello Summer title. They were all painted in with two different colours of acrylic paint.


<<<<<<<<<<<>>>>>>>>>>>


"A Joyful heart"

with the Montage Collection


I used the Fairyland paper from the Montage Collection.


I framed the photo with the chipboard Collage Frame which I covered with embossing powder. I also used the wave shaped chipboard from the "By the sea" set.


I hope my layouts inspired you to scrap your holiday beach pictures or any old summer pics!!

Have a wonderful day!

Saturday, August 23, 2014

Video Education: A 3 Dimensional Layout with Adrienne Ford

Hi There! Adrienne here, stopping in to share my latest video Butterfly Fly. I wanted to share with you specifically how you can give some SERIOUS dimension to your Blue Fern Chipboard. Be sure to subscribe to Blue Fern Studio's You Tube Channel so you get all the latest on products, education etc! 

Here is my layout that I did for this...
I wanted to go for a really whimsical piece and create 3 Dimensional Butterfly wings for this special girl of mine! 

 Blue Fern Products:

Bits of Honey
Corner Flourishes (2)
Ombre Dreams: Shannon's Dream


And here is my video.....


I hope you enjoy!

Until Next Time,
Adrienne


Sunday, July 20, 2014

July Projects with Rae

Hello! Rae with you today to share my latest projects made with an array of Blue Fern papers and chippies.


Sparkle Card

First up, I have this card I made with the Ombre Dreams paper.


I used two pieces of chipboard on this card, and here's a close up that shows the details. The "Sparkle" piece is from the "Winter Titles" set. I used some metallic stain by sponging it on the raw piece for a toned down metal look. Sponging it on also gives some bubbles on the piece that adds a slight touch of dimension.

For the "Treasured Floral Frame," I primed it with gesso, then used some shimmery watercolors in two different colors in random spots, leaving some of the gesso exposed.

Timeless Beauty Altered Mailbox

I altered this paper mache mailbox with papers from the Blue Fern Garden line. 


This is the back view, showcasing my favorite piece of paper from the line. :)


In this close up, you can see how I line the inside of the mailbox, and stuffed it full of various flowers.

I used the "Blooming Flourishes." Two pieces come in the set.

Here's a closeup to see the details of the flourishes. I ran them through my die cut machine with a script embossing folder, then primed them with gesso, and while still wet, added some dry green milk paint. It left a grainy and chalky surface, which I love. After it was dry, I used green and brown distress inks to change the color in a way that complimented the papers better.


Beautiful Layout

I really loaded up on the chipboard in this layout!


For the "Beautiful" title piece, I ran a chalk ink pad over it, being sure to get an uneven coat. 


For both the "Fancy Bird Cage" and the "Shabby Brick Bits," I used the same technique, which is simple: I grazed each of the pieces with brown archival ink, being sure to leave a lot exposed, then using distress ink with a blending tool to get that definition that you can see on the bird cage.
 And, here's a closeup that shows the finish on the "Roman Clock Set" (Large). I used white chalk ink and then misted it with light brown, dark brown, and gold inks.

For the "Corner Flourish," I primed it with gesso, then painted it with three coats of three different green paints.


Thanks for checking out my projects today!


Rae