Showing posts with label Winter flakes. Show all posts

Thursday, January 19, 2017

January projects by Annie Samson

Hi everyone, 

I am very honored and excited to be a part of this fabulous team and share my first projects whit you.

First, let me introduce myself !

I am 39 years old and I live in the French province of Quebec in Canada. My daughter who is now 19 years old,  is the inspiration for almost all my layouts. I love to create texture and add mediums to my layouts.  Flowers and chipboard are also 2 of my most preferred ornaments.


You can find me on:

Facebook: https://www.facebook.com/annie.samson.94
Blog: http://lemondeselonpeper.blogspot.ca/
Instagram : https://www.instagram.com/anniesamsonpeper/
Pinterest: https://fr.pinterest.com/peper1/
YouTube: https://www.youtube.com/channel/UC6gIU83agzG9vOU2N2xwqpA


For my first layout, Sparkles,  I used the back of the Noel paper in the Vintage Christmas collection.

I  added a little bit of texture with modeling past and added a very light beige color with acrylic paint.

I used the Swirly CircleShabby Flake, Frosty Flake and Winter Forest chipboard to create a winter scene.


I have embossed my snow flake with Antique Gold, my deer with Mushroom, the trees with Forest and my swirl with Ruby embossing powders.


And I added some flowers from Attic Charm Glitter Roses and Late Winter Lilies to complete the winter scene.


 Blue Fern Studios products I have used:

Paper:
Noel from Vintage Christmas

Chipboard:
Swirly Circle
Shabby Flakes
Winter Forest
Frosty
Winter title

Embossing powder:
Antiqued gold
Ruby
Mushroom

Flowers:
Attic Charm Glitter Roses
Late Winter Lilies

For my second and third layouts, I used the Heartland collection.

For this layout, I have used the back of the Kiss Kiss paper.  I added some texture with modeling paste and some color with distress spray ink.


I have used the Raspberry embossing powder to emboss my 2 chipboard pieces: the title Just the 2 of Us and Spirit of Heartland. Then I applied a thin coat of gesso on my chipboard.


I added flowers from Attic Charm Glitter RosesHeartland BlossomsHeartland Roses and Blossoms and Late Winter Lilies collections.


Then I added a heart from Frilly Heart chipboard kit stamped in green with the Brocade Texture stamp.


Blue Fern Studios products I have used:

Paper:
Kiss Kiss from Heartland Collection

Chipboard:
Just the 2 of Us title
Spirit of Heartland
Frilly Heart

Embossing powder:
Raspberry

Flowers:
Attic Charm Glitter Roses
Heartland Blossoms
Heartland Roses ans Blossoms
Late Winter Lilies

Stamp:
Brocade Texture

For my last layout, I used the back of the Love Bloom paper. Because I love texture, I added modeling paste through a stencil and added a little bit of pink color with ink.


I choose to paint my Turkish Bits, Together is the Best Place to Be and one piece of the Graduated Squares chipboard with with acrylic paint. Then I used some brown and blue ink to add color to my chipboard. I wanted to keep them soft because the main paper and the flowers are very colored.


I used the flowers from the Heartland Blossoms and Heartland Roses and Blossoms to decorate my layout.


Blue Fern Studios products I have used:

Paper:
Love Bloom from Heartland Collection

Chipboard:
Turkish Bits
Together is the Best Place to Be
One piece of the Graduated Squares

Flowers:
Heartland Blossoms
Heartland Roses and Blossoms

Thanks for stopping by and see you soon,

Annie XX

Sunday, December 25, 2016

Merry Christmas for My Last Post- By Keren Tamir


Hi Everyone,
Its Keren here for the Blue Fern Studios blog for the last time.
After 3 amazing years being on the Blue Fern Studios Design Team it is time for me to say goodbye.
It was wonderful to be part of the team for so long and use their wonderful products.
I'm very grateful to have had this opportunity!!!

Here are my projects for this post!!


"Scandinavian Winter"

I created this 5x7 canvas depicting a scandinavian winter.


I used the Tree Trimmings paper from Vintage Christmas 2 collection for the background.
I embossed 2 of the Winter Village chipboard pieces and a snowflake with Icicle embossing powder and then added some gold glitter on it.
Once I glued everything I added some snow paste to enhance the winter feel.


<<<<<<<<<<<>>>>>>>>>>>

"Winter"


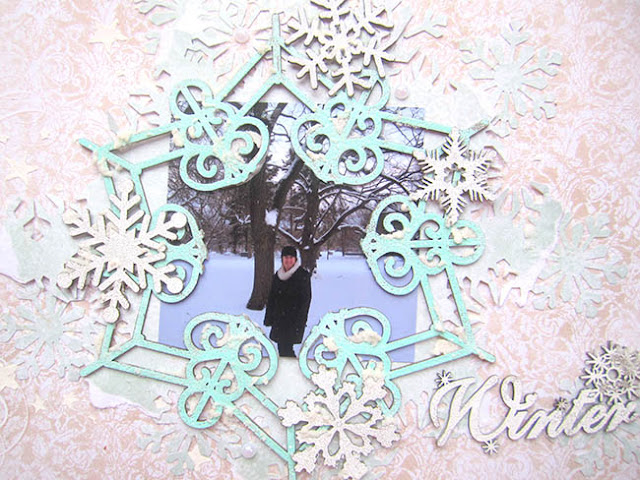
I created this wintery layout using a picture of myself from a few winters ago.
I used the  back of the Holiday Cards paper from the Vintage Christmas 2 for the background.


I used the large chipboard flake to frame my photo. I cut the inside of the flake so I would have a space in the middle to frame my photo. Then I embossed it with Sea Mist embossing powder.


I used some shabby flakes and winter flakes to embellish around the frame. I embossed them along with the Winter title with Snow embossing powder.
I also added some snow paste to enhance the wintery feel.


<<<<<<<<<<<<<>>>>>>>>>>>>>

 "Chritmas Cards"

Finally I created 3 Christmas cards: 


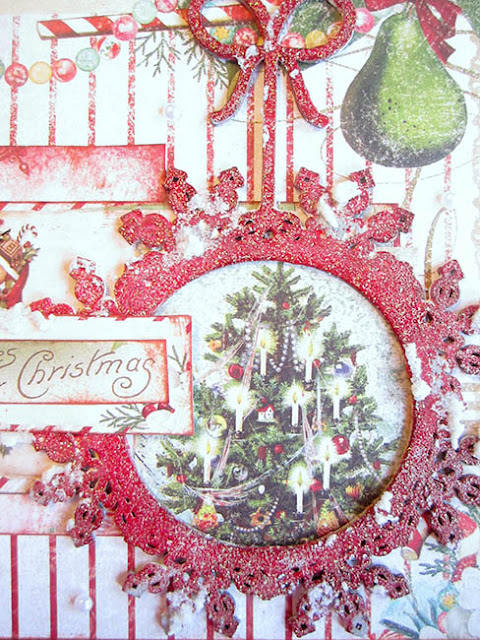
The first one uses both the Vintage Christmas collections and the Dangle flake as an embellishment. The chipboard was embossed with Golden Bricks embossing powder.


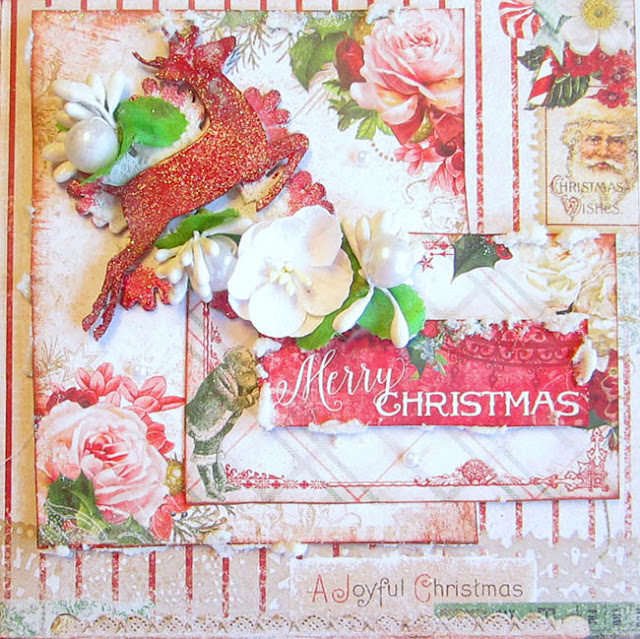
The Second Card also uses both Vintage Christmas collections


To embellish I added some Blue Fern blooms and a Holiday Deer that was also embossed in golden Bricks embossing powder


For the last card, I used the Deer ornament which was embossed in 14 karat embossing powder.


I used some flowers and cheesecloth to embellish the card as well!!


Thank you so much for visiting Blue Fern Studios Blog

and thank you for supporting me for so many years!!!

Have a Merry Christmas and a Happy and Healthy New year!!

Love,

Keren


SaveSave

Wednesday, November 30, 2016

Three Christmas Layouts with Karine

Hi there,

It's Karine here today to share with you three Christmas layouts! 

I must admit I'm not a big fan of Christmas scrapbooking, but when I recieved my last Blue Fern Studios package, I was thrilled! Both Vintage Christmas and Vintage Christmas 2 collections are simply wonderful! So let's start with my first layout.

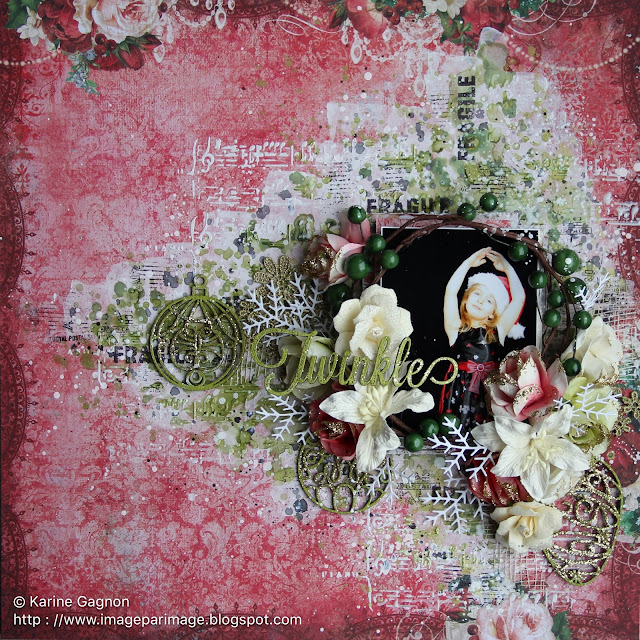
Twinkle


I started out with the Deck The Halls paper from Vintage Christmas. I wanted to go with a traditional color combo with this one, and the red in the paper immediately spoke to me. I also used some of the cards from the Greeting Cards paper, also from Vintage Christmas, to layer under my photo. 


I used the beautiful Tree Toys chipboards on my layout. I embossed it with Imagine Ink Lime embossing powder. While the powder was still hot, I sprinkled some Imagine Ink Vintage Gold glitter. I love the beautiful effect it gave.


To embellish around my photo, I used the beautiful Attic Charm Glitter Roses, as they come with beautiful gold glitter and the colors matched perfectly my layout. I also used two Harvest Lilies.


Finally, my title piece comes from the Winter Titles set. I treated it the same way as the other chipboards.


Magical


My second layout is called Magical. For this one, I wanted a more elegant look, so I choose the Wonderland paper, from Vintage Christmas. I aslo used a piece of the Calling Cards paper from Vintage Christmas 2 to layer underneath my photo.


I treated my background with golden brown ink. I used the Forever stamps set to add a little bit of interest to the background.


I used the Winter Flakes chipboards on my layout. I covered them with silver embossing powder. 


My title piece comes from the Winter Titles set. I covered it with ginger Imagine Ink embossing powder.


Sparkle


I went a bit over the top with my last layout. I started with the Let it Snow paper from the Vintage Christmas 2 collection. I layered pieces of the 'Twas the Night and Calling Cards papers, also from the Vintage Christmas 2 collection.


My layout is built around the beautiful Bubbles and Bows chipboard. I treated it with an embossing powder containing some green and gold flakes.


All through my flower cluster, I used the Berry Stems chipboards. They were covered with Imagine Ink Sea Mist embossing powder. 


Look at this beautiful Santa image! Isn't it lovely?


Amongst all flowers, I used one of the Christmas Blooms. You can see it in the picture above.


My title piece, part of the Winter Titles set again, is covered with Imagine Ink Ginger embossing powder and while the powder was still hot, I sprinkled some Imagine Ink Vintage Gold glitter. 

I hope my layouts help you catch a little bit of Christmas spirit.


Wednesday, November 23, 2016

Vintage Christmas by Pascale

Hello Sweeties,

Today I'm up on Blue Fern Studio with three new projects featuring the Vintage Christmas 1 & 2 collections. The first project is a mini album entirely realized with the first Vintage Christmas collection. The size of the mini album is 13 x18 cm (5" 1/4 x 7"1/4).


 I embossed the pages with different stamps as well as the edges. 


I die-cut a few doilies to add inside. I added the page titles too.


I added the first design to the cover with the Brocade Texture stamp and the Ginger powder. Then I continue with the Christmas Collage stamp set and a permanent ink.


I embossed the Dangled Flake with two layers of Black Sand embossing powder and the Winter Flakes with two layers of Ginger While the embossing powder was still hot, I stamped the Winter Flakes to add some texture.


Blue Fern Studios products:

Papers - Vintage Christmas (Wonderland, Greeting Cards, Magical, Deck the Halls,
Auld Lang Syne, Noel)
Chipboards - Dangled Flake, Winter Flakes
Stamps - Christmas Collage, Brocade Texture, Postal Texture, Texture Circle, Grungy Grid
Embossing Powder - Antique Gold, Ginger, Black Sand, Silver Bells

------------------------------------

My second project is a layout featuring the new Vintage Christmas collection. I chose an old photo of my daughter.


I cut a large strip in the Twas the Night paper and glued it on the Joly paper. Then I primed the background with clear gesso.


I added a thin layer of white gesso where I want to put my embellishments and photo. When dry, I added a design with 3D Gloss Gel and a stencil. While the gel was still wet I sprinkled some Pyrite glitter.


While the background was drying, I painted the chipboard with a metallic paint and the Soft Blossoms in red. 


I splattered some red and copper paint; Then I added a new design to the background with the Christmas Collage stamp embossed with the Ginger powder. I colored the area with different colors of watercolor.


I glued all the embellishments with a 3D gel (flowers, chipboard, lace...), and to finish, I added some star brads embossed with the Ginger powder. 


Blue Fern Studios products:

Papers - Vintage Christmas 2 (Jolly, Twas the Night, Holidays Treats)
Vintage Christmas 1 (Wonderland, Greeting Cards)
Chipboard - Tree Treats
Flowers - Christmas Blooms, Soft Blossoms
Stamp - Christmas Collage
Embossing Powder - Ginger
Glitter - Pyrite

------------------------------------

Here is my third November's project: a set of card.


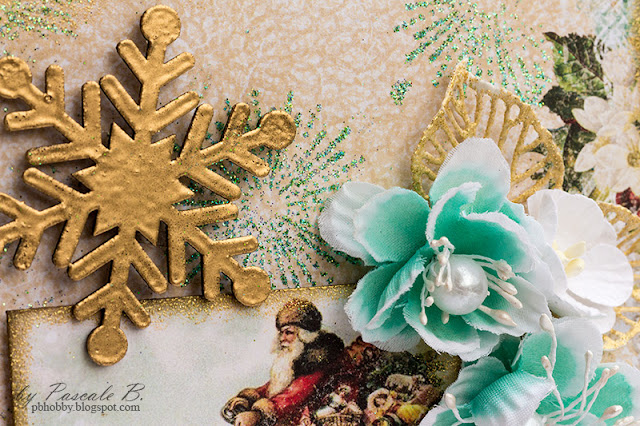
I chose the Jolly paper as the base of both cards. I stamped them with one of the stamps from the Christmas Collage set. Then I embossed the image with a sticky powder in order to add Carribean glitters.


Then I embossed also the edges of both cards with the 14 Karats powder to add some extra shine.


I embossed some Winter Flakes with the Honey powder, other with the Ginger and the Antique Gold powders. 


I embossed some die-cut leaves with the 14 Karats powder too. While the embossing powder was still hot I sprinkled them with  the Carribean glitter and heat set them. 


Blue Fern Studios products:

Paper - Vintage Christmas 2 (Jolly)
Chipboards - Winter Flakes
Flowers - Christmas Blooms, Soft Blossoms
Stamp - Christmas Collage
Embossing Powders - 14 Karats, Antique Gold, Ginger, Honey
Glitter - Caribbean