
Hello friends!
Today is my turn on the Blue Fern blog and I'm excited to be showing you a couple of projects I've created with the beautiful new collection by Michele!
This collection had me digging up old photos from the attic. My first layout is one of my folks when they were on their honeymoon.
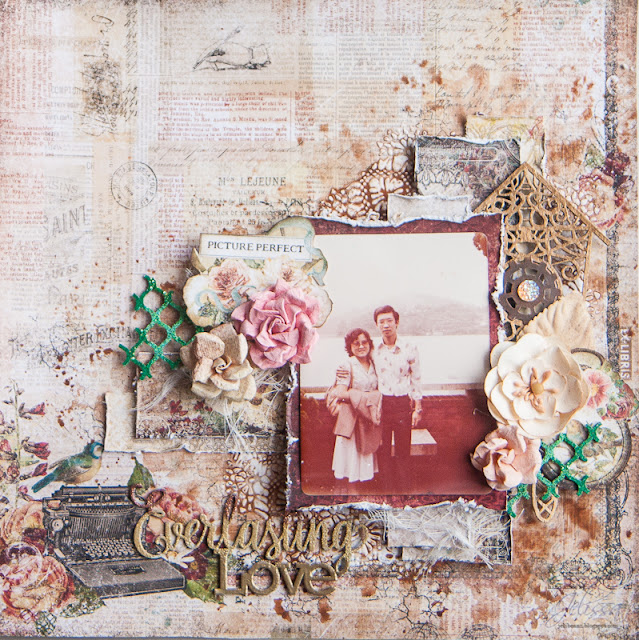
Keeping the background really toned down because of the details in the paper that I wanted to show.

Another cluster with the other half of the Mesh Bits chipboard, layered over another fussy cut from Calling Cards and a bit of the Cuckoo Clock chipboard.

The Cuckoo Clock chipboard which I painted with copper metallic paint and added a couple of shiny bits on.

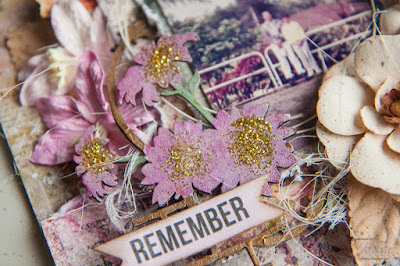
My title piece which I altered with Copper, 14 Karat and Antique Gold EP.
Blue Fern Studios products used:
paper: Memoires - Chronicles, Nature's Novel, Songbird Drama, Calling Cards
My second project is a video tutorial which I had created with also papers from the Memoires collection. This features a photo of my dad and me on a holiday trip.
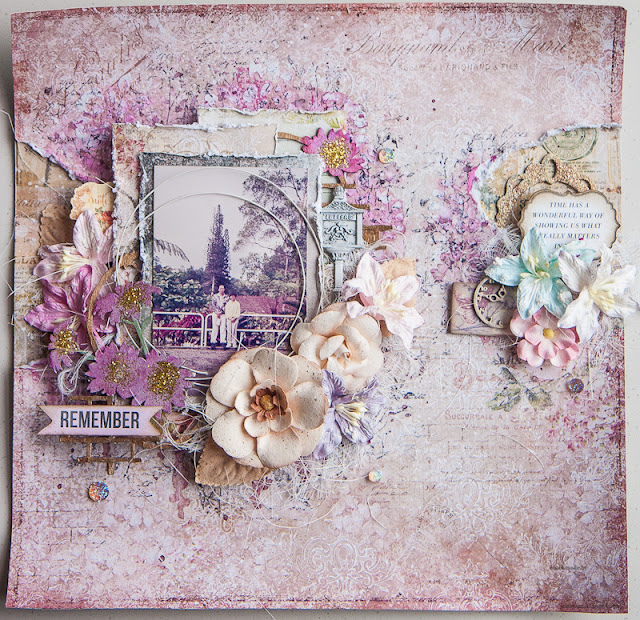
A fair bit more details in the background as the paper was suitable for some playing around with. I also deliberately chose the Daisy Collage chipboard to match the paper because of the brick motif.

The clock piece from Cuckoo Clock chipboard, of which the main clock was used in the first layout. I also used Late Winter Lilies throughout the layout because they added so much softness to the page.
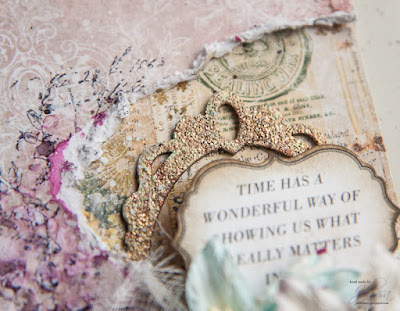
Sparkly antique feel created for the Ever After Frame.

Daisy Collage tucked between the paper layers.
More of the Daiy Collage.
You can view the creative process in this video:
Blue Fern Studios products used:
paper: Memoires - Tale of Treasures, Nature's Novel, Autumn Biography
chipboard: Cuckoo Clock, Daisy Collage, Ever After Frame set
This collection had me digging up old photos from the attic. My first layout is one of my folks when they were on their honeymoon.

Keeping the background really toned down because of the details in the paper that I wanted to show.
Close-ups:

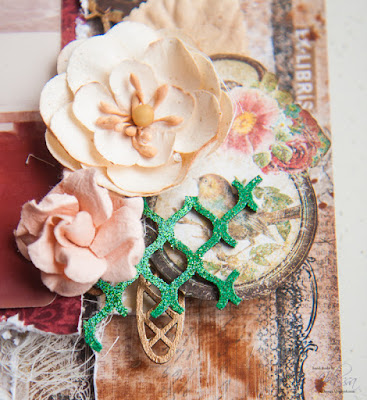
Mesh bits chipboard which I had altered with Clover and Grassy Knoll embossing powders.I also fussy cut an element from Calling Cards which made a lovely addition to this floral cluster.

Another cluster with the other half of the Mesh Bits chipboard, layered over another fussy cut from Calling Cards and a bit of the Cuckoo Clock chipboard.

The Cuckoo Clock chipboard which I painted with copper metallic paint and added a couple of shiny bits on.

My title piece which I altered with Copper, 14 Karat and Antique Gold EP.
Blue Fern Studios products used:
paper: Memoires - Chronicles, Nature's Novel, Songbird Drama, Calling Cards
chipboard: Cuckoo Clock, Mesh Bits, Everlasting Love
embossing powder: 14 Karat, Antique Gold, Copper, Clover, Grassy Knoll
stamp: crackled textures

A fair bit more details in the background as the paper was suitable for some playing around with. I also deliberately chose the Daisy Collage chipboard to match the paper because of the brick motif.

The clock piece from Cuckoo Clock chipboard, of which the main clock was used in the first layout. I also used Late Winter Lilies throughout the layout because they added so much softness to the page.

Sparkly antique feel created for the Ever After Frame.

Daisy Collage tucked between the paper layers.

More of the Daiy Collage.
You can view the creative process in this video:
Blue Fern Studios products used:
paper: Memoires - Tale of Treasures, Nature's Novel, Autumn Biography
chipboard: Cuckoo Clock, Daisy Collage, Ever After Frame set
EP: Copper
Glitter: Dijon, Autumn, Burnt Copper, Fool's Gold
flowers: Late Winter Lilies


