Showing posts with label Chickenwire Panel. Show all posts

Thursday, May 22, 2014

'Capture the Moment' by Lisa Griffith

Hello Blue Fern Studio fans! 

I was looking at my projects to share this month and I realized something funny.... I think when 
it comes to scrapping I have a split personality! On the one hand I love a light, pretty shabby page
with lots of white, but I also love a really grungy messy page with lots of torn papers
and splashes of ink. I was thinking that Blue Fern Studio chipboard is not only beautiful, 
but it is also versatile, and can be altered and used in very different styles. 
My first layout is very grungy with a vintage style.


I am not very good with titles, so I LOVE the word chipboards.
Here I have used 'Captured Words' and pieces of the 'Chickenwire Panel'
that I painted black and then covered with Glossy Accents.
I knew this was going to be a grungy look, so I altered the chipboards in a messy way.....


My next project is a tag that I made with a piece of the new Blue Fern Studios paper collection 
called 'Charlotte's Dream'. The new papers are so beautiful in real life! I got my set just in time
to make a shabby/grungy tag that I made for my mother's birthday present.


Here I used a piece from a chipboard called 'Organic Vine Corner' and also 
a piece from the 'Bohemian Butterfly' set that I embossed in white.


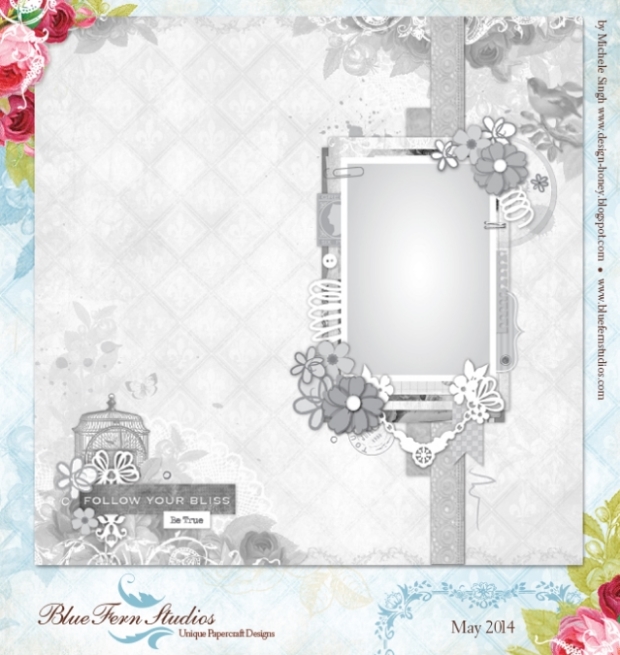
And my last project is a layout I created using the May Blue Fern Studios
sketch in a very romantic and shabby style.


I wanted a soft romantic look so I did a lot of masking with gesso and kept the colors very light. 
I used a Blue Fern Studios chipboard called 'Film Strips' and a piece from the 'Bohemian 
Flower' set which I kept simple with just a coat of white acrylic paint. 
The BFS paper 'In Bloom' was perfect for the base of this layout.
I also used pieces of the paper 'Calling Cards' to create my background.


There is still time to enter the Blue Fern Studio May sketch challenge!
Here is the beautiful sketch....


I hope you have enjoyed my projects today! I wanted to show that by trying out 
different techniques and colors, you can use BFS pieces to perfectly fit your style......
(Even if you have more than one!)

Until next time....
Hugs, Lisa 


Saturday, April 12, 2014

Spring inspiration from Maja

Hi, Maja here today. I´m here to show you two layouts and a card I  have made using both papers and chipboards from Blue Fern Studios.

For this first one I began with my stencils, Distress Inks and stamps on the background paper. I used the same colors on my Distress Inks that can be found in the background paper. I added some more small pieces of paper and some chipboard, Chikenwire panel, and  of course losts of flowers and a few more chipboard pieces from Natural Springs Set. 


Blue Fern Studio products used:
Papers: Love Letters, Calling Cards and Signature
Chipboard: Chickenwire Panel and Natural Springs Set

For my next layout I used some more of the gorgeous BFS papers and pieces of Shabby Brick Bits. The background paper has some brick patterns in it so I made some more bricks with my stencils and Distress Ink.


Blue Fern Studios products used are:
Papers: Picnic, Timeless and Boudoir
Chipboard: Shabby Brick Bits

My daughter just turned 20 so this is the card we gave her. I´m not really a cardmaker but if I know that I have a reciever it´s easier. 


Blue Fern Studios products used are:
Papers: Picnic and Calling Cards
Chipboards: All Natural Sets, Petite Boutique Frames and Veranda Cage Set

Thanks for stopping by =)

Sunday, March 16, 2014

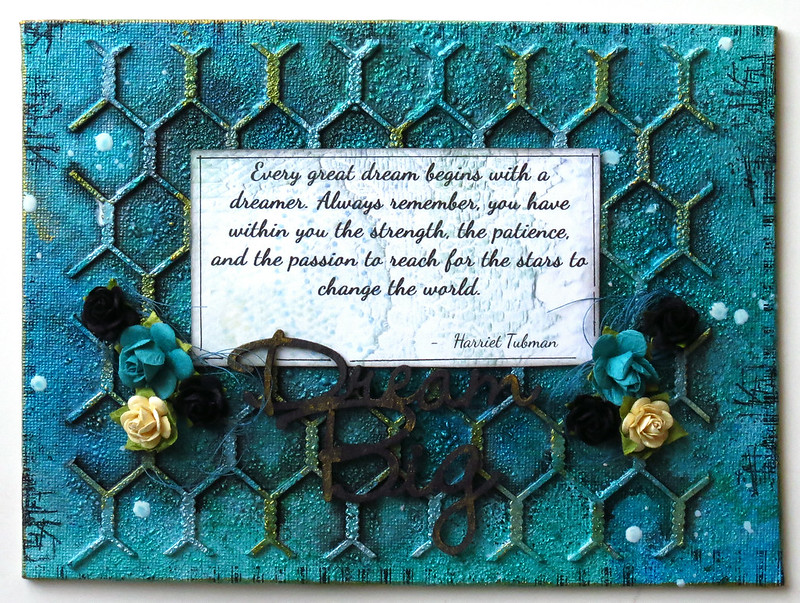
Tutorial - Mixed media canvas by Marie-Josée

Hello all!

Today, I will show you how to create this mixed media canvas in 10 steps.


Supplies:

- Small canvas (I used a 5" x 7" canvas)
- Glue
- Sponge
- Paintbrush
- Heat gun (usually used for embossing)
- Paper towels
- Stamps
- Black ink
- Piece of a Blue Fern panel or any other Blue Fern chipboard (I used a piece of the Chickenwire panel)
- Blue Fern words for the title (I used the "Dream Big" phrase from The Optimist set)
- Quote of your choice written by hand or printed on a piece of paper or cardstock
- Gesso

- 2 or 3 differents colors of Silks acrylic glazes
- Acrylic paint in a color that matches your Silks paints
- Black mist (mine is made with water and Memento ink)
- 1 or 2 mists matching your Silks paints
- Inka Gold paint in Gold and Silver, or any other gold or silver medium.
- Various embellishments (I used flowers and thread)

Instructions: 

First of all, I want to apologize for the ugly background. I was working on my kitchen table and had to use some flyers to protect my table. I hope the bright colors --and the chicken-- won't be too distracting! :)

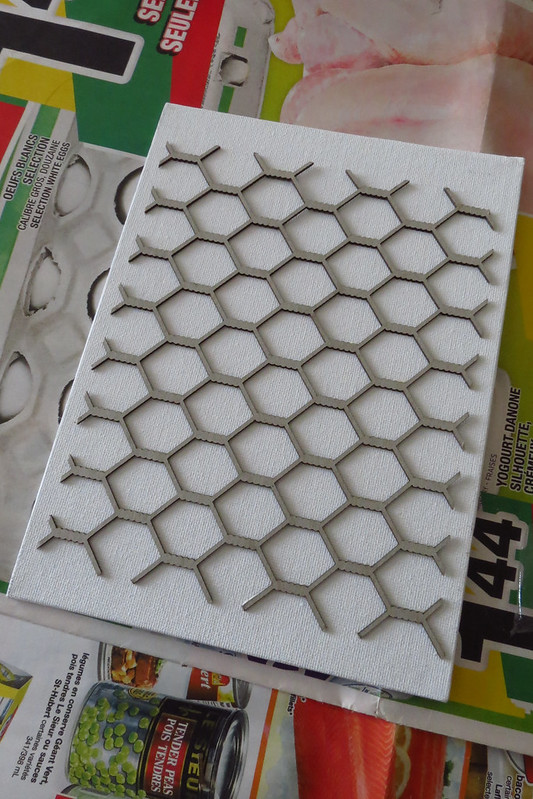
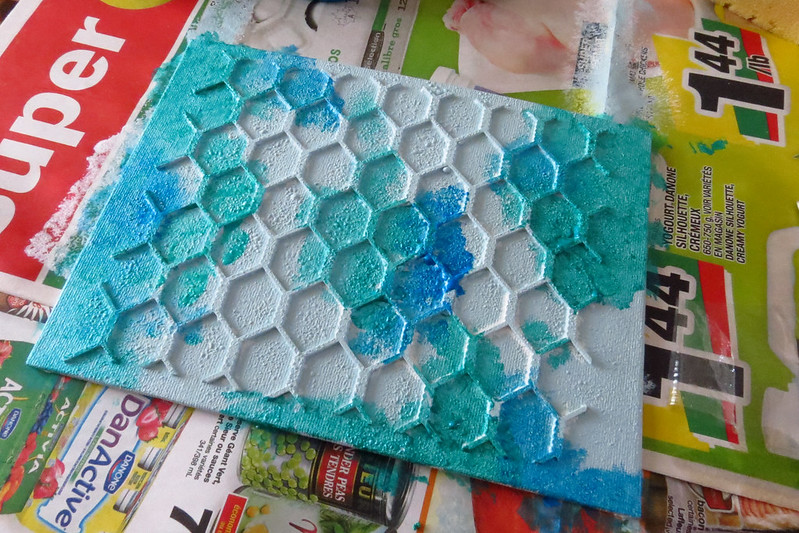
1) First, glue your piece of chipboard to the canvas.


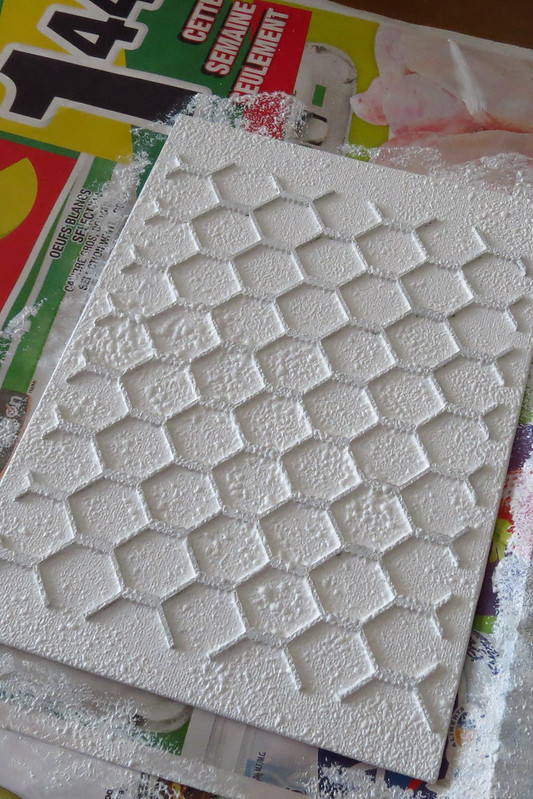
2) Apply gesso with the sponge all over the canvas and the chipboard. Dry with the heat gun to create texture and bubbles. Wait until it is completely dry before moving on to step 3.


3) Apply acrylic paint with the sponge. As you can see, I used a very light shade of teal. You can use a darker color if you want. Dry with the heat gun if you wish to speed up the process. Wait until it is completely dry before moving on to step 4.


4) Using your paint brush, dab touches of your first Silks color all over the canvas. Don't let the color dry.


5) Do the same with the second color. Ensure the colors overlap. Then proceed with the third color if you use one. -- I'm sorry, I forgot to take a picture of the finished background with the third color. :) -- Once you are done, dry with the heat gun if you wish to speed up the process. Wait until it is completely dry before moving on to step 6.


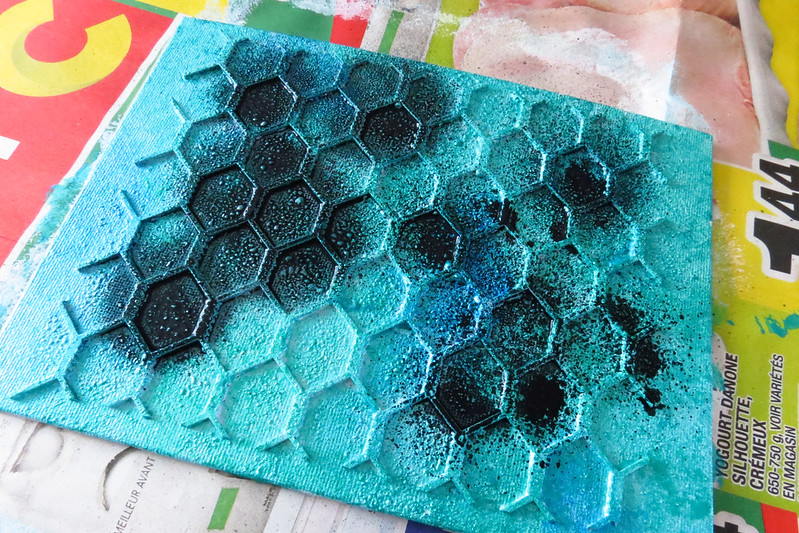
6) Spray black mist all over your canvas.


7) Immediately after spraying the black mist, use some paper towels to wipe most of it, as if you were dabbing some paint on the canvas. However, try to leave as much black as possible in the creases to add dimension to your project. Add more mist if needed. Once you are done, dry with the heat gun if you wish to speed up the process. Wait until it is completely dry before moving on to step 8.


8) Spray the other mists all over your canvas. Dry with the heat gun if you wish to speed up the process. Wait until it is completely dry before moving on to step 9.


9) Apply both colors of Inka Gold with your finger on the chipboard. If your Inka Gold is dried out, like mine, just dip your finger in water. This will dilute the Inka Gold and you will be able to add color.


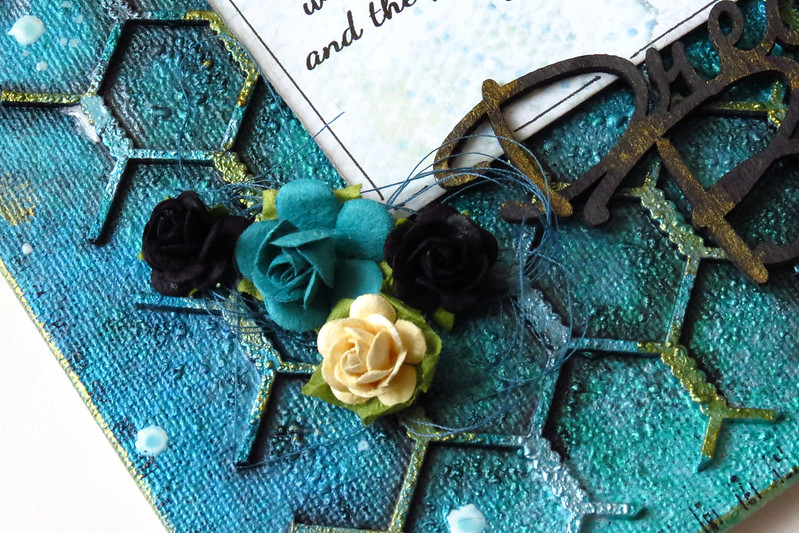
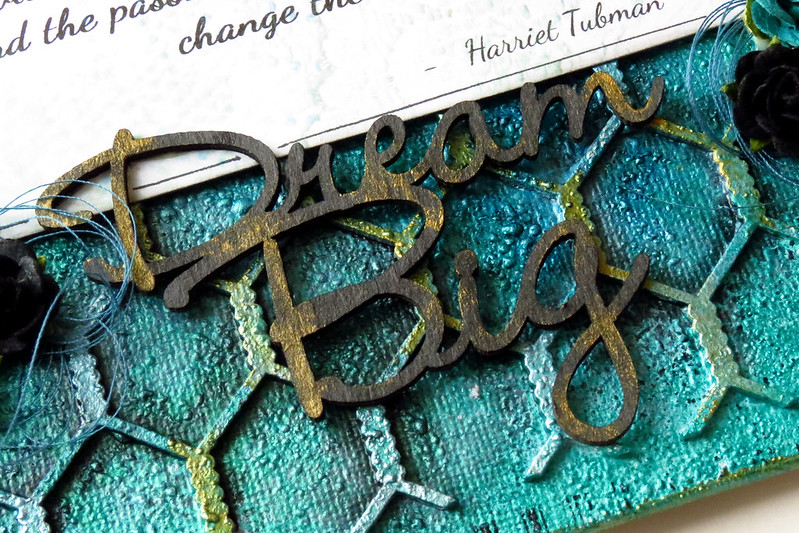
10) Use the black mist to color your title. Add a touch of Inka Gold to it. Glue the quote, the title and the embellishments on the canvas. Stamp some details with your stamps and black ink around the canvas.

Here's the end result:


And some close-up views:


Thursday, March 13, 2014

Three layouts with Blue Fern Garden by Marie-Josée

Hello all,

I hope you are doing fine! Today, I have three projects to show you, all using the Blue Fern Garden paper collection. Here they are.

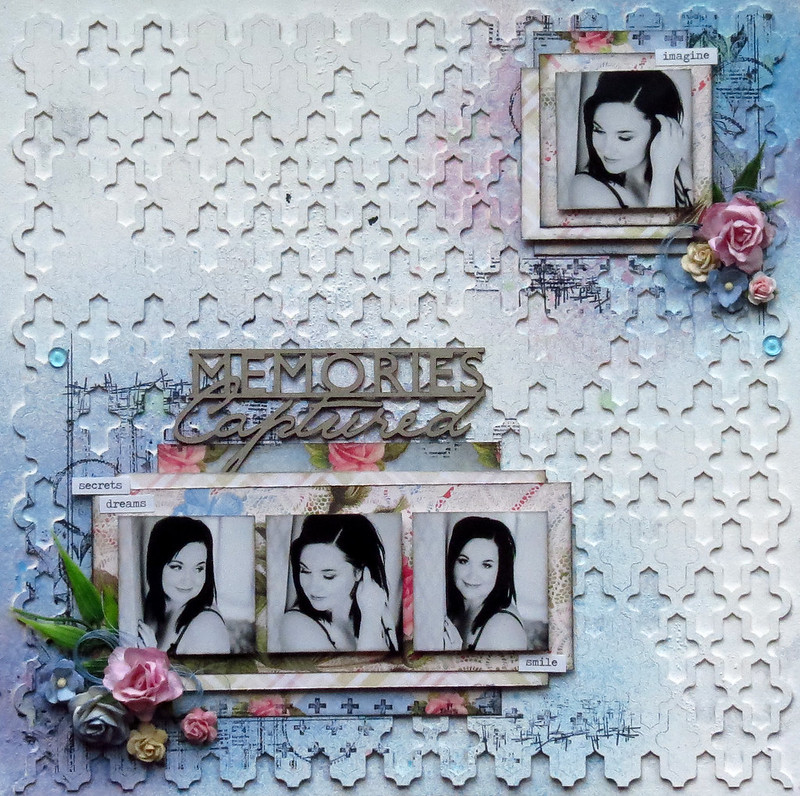
"Memories Captured" layout:


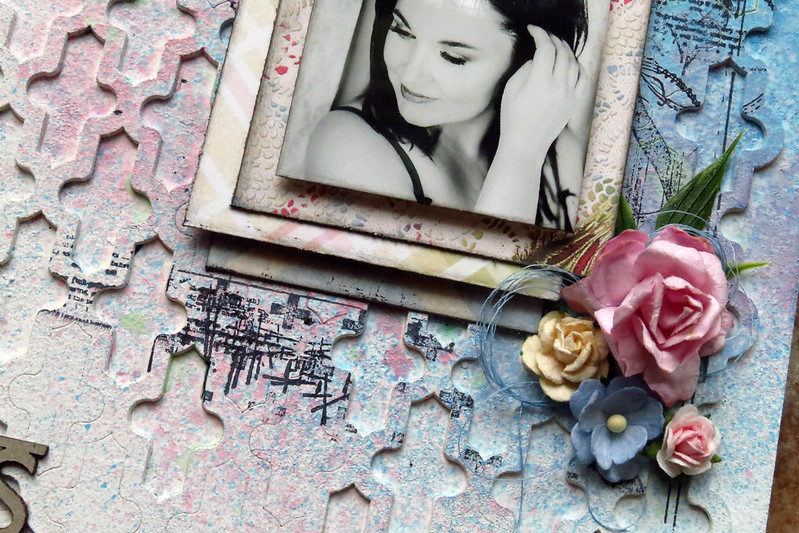
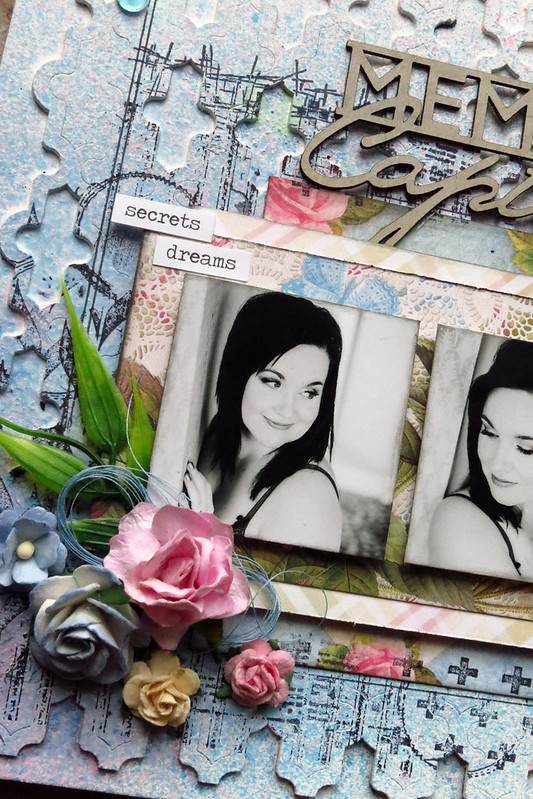
To create the background of this layout, I used the Turkish panel. Panels sent to DT members sometimes have smaller pieces still stuck to it. I decided not to get rid of those and to use the panel as is. I glued it to a piece of 12 x 12 chipboard, applied gesso and then white acrylic paint. I altered the background with mists, stamps and ink.


I used two different Blue Fern Garden papers on this layout, Love Letters and Picnic (both sides). I used pop dots to add dimension.


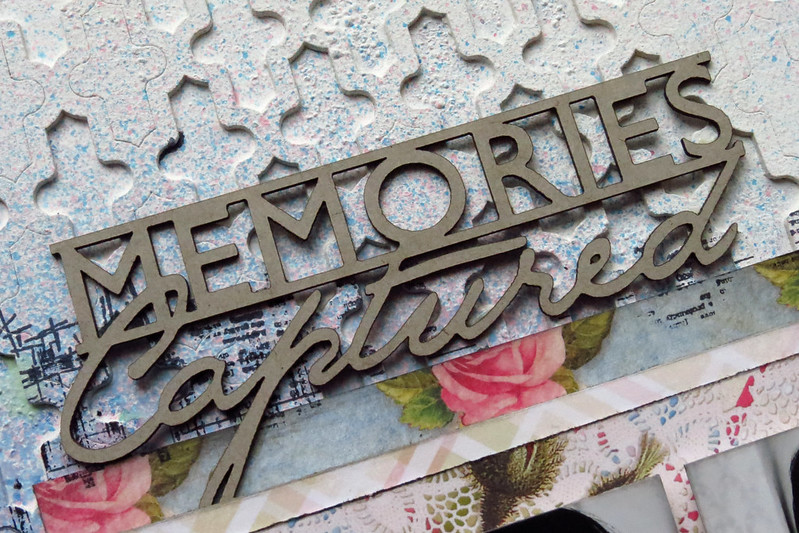
I also used a phrase from the Captured Words set as a title. I decided to leave it bare to make it stand out.


"Forever" layout


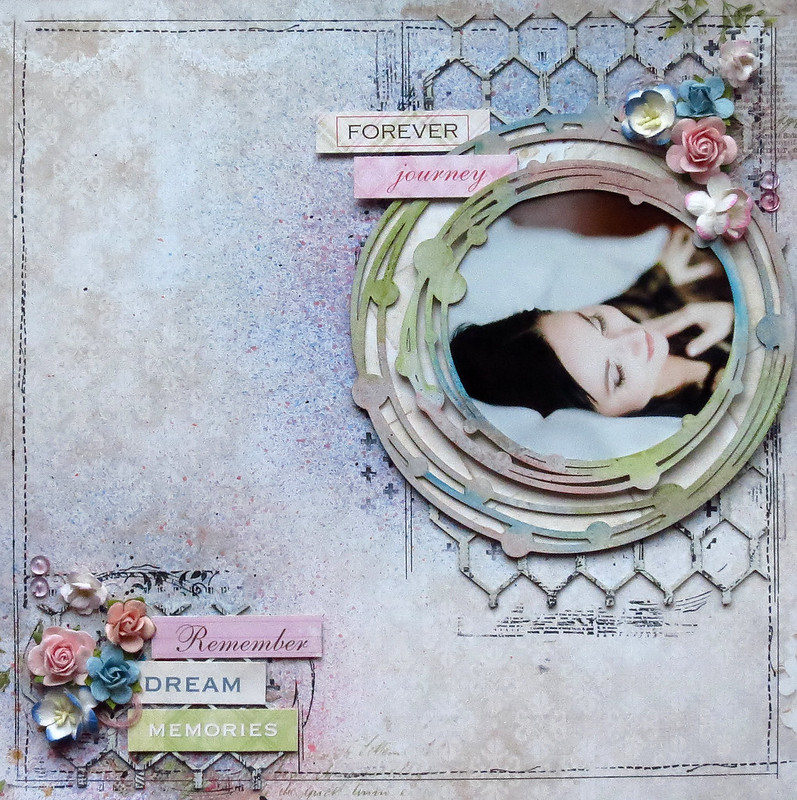
For this layout, I used a Blue Fern paper as a background (In Bloom). I altered two pieces of the Chickenwire panel with gesso and glued it to my background.


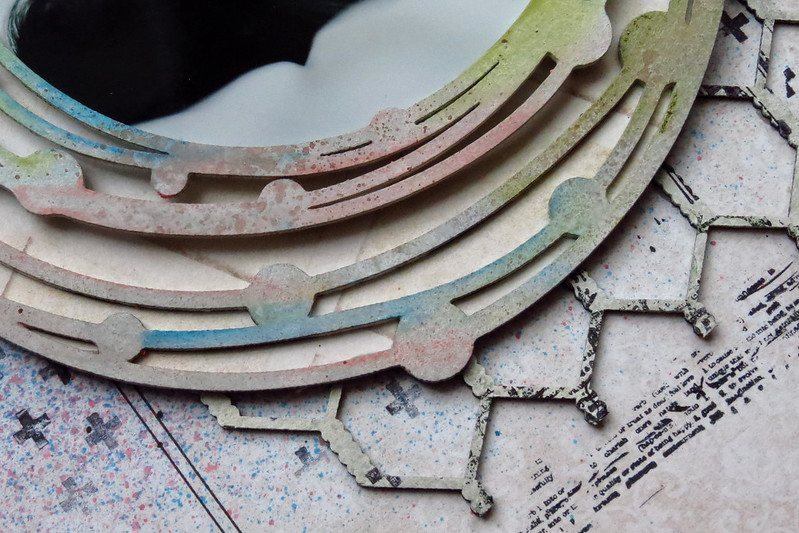
I also used two pieces of the Beaded Strings set. I used one as a frame for my photo and the other one as a second frame around it. I applied gesso and three different colors of Gelatos. I used a bit of water and the tip of my finger to blend the colors. I also sprayed a touch of brown mist.


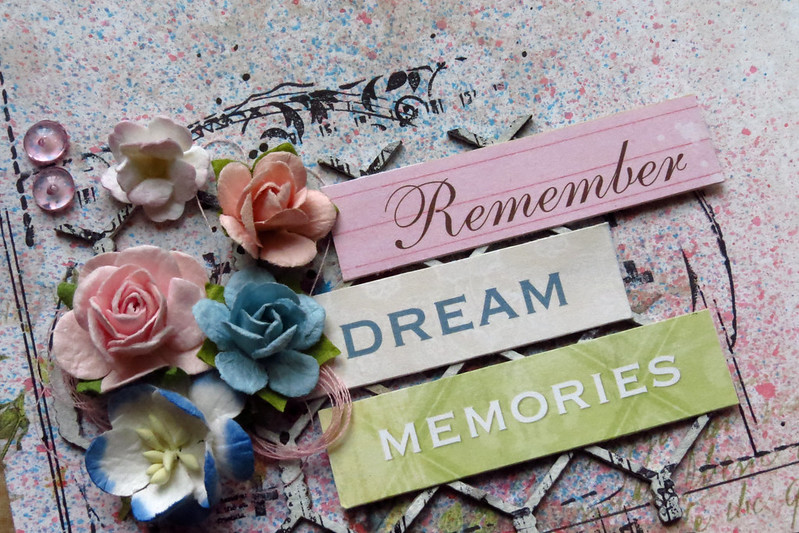
Then, I cut some words out of the Calling Cards paper and used them in the corners of my layout.


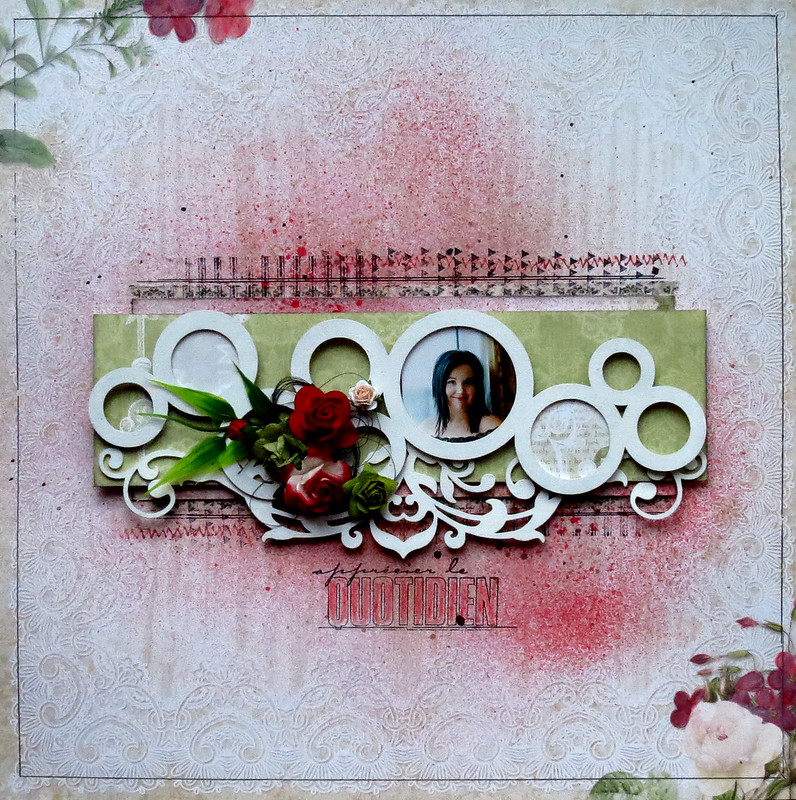
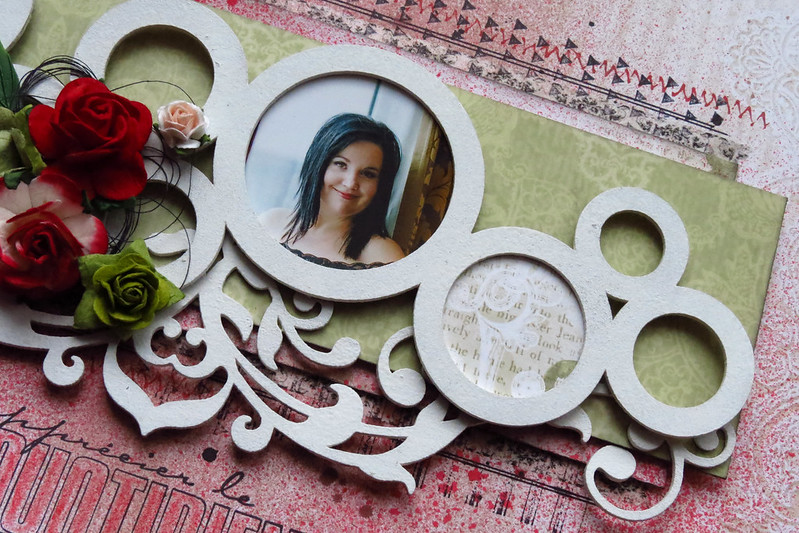
"Apprécier le quotidien" layout


For this clean and simple layout, I chose to use a color not found in the Blue Fern Garden papers, that is, red! :) Here's what I did. I chose a rather plain paper for my background (Parlour, B side). As you can see below, originally, the color blue was found on the paper:


Since I wanted it to match the rest of my layout, I used a watercolor pencil and added a touch of red to the blue flowers! :)


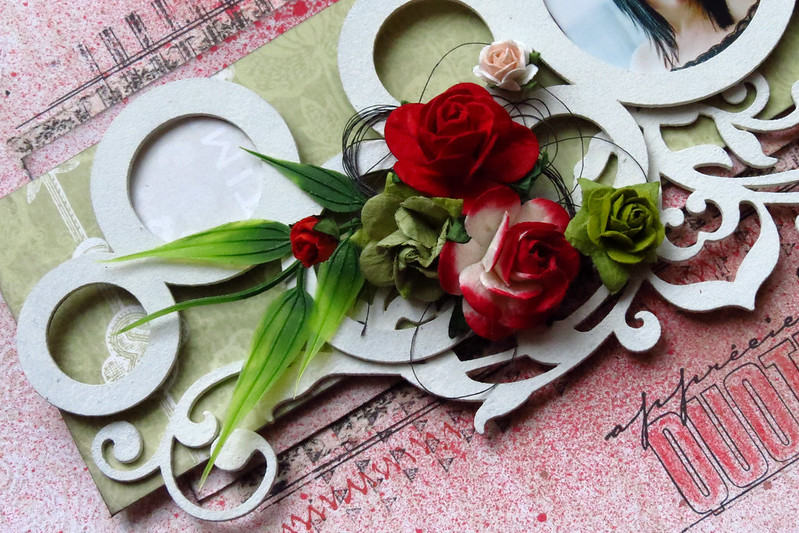
You also noticed that I only used a tiny picture. That is because I wanted to use a piece of chipboard from the Circle Groups set as a frame. I painted this piece of chipboard with white acrylic paint.


I used the Royal Border - Large, also painted with white acrylic paint, under the "frame" to add interest and texture to my layout.


Thursday, February 20, 2014

Blue Fern Garden Layouts and a Card with Rae

Hello everyone! It's Rae, and today I'm going to share some projects I've made using the fabulous Blue Fern Garden paper line, and some of the amazing BFS chipboard.

I am so in love with Blue Fern Garden papers! The style is so elegant, yet so versatile.

Dream Card

 For the base of my card, I used the the Blue Fern Garden "In Bloom" paper, distressed and inked. I also used the top corner of the "Parlour" paper to capture the beautiful image of a doily, butterfly, and dream dictionary snippet. I wanted to bring out the blues and and creams of that part of the paper, so I used those colors on the "Bordeaux Layered Frame."


I used a heavy layer of gesso on the bottom layer of the frame, and I sprayed it with Tattered Angels Glimmer Mist in Patina while it was still wet. I let it dry slightly, then added Silks Acrylic Glaze in Emperor's Gold in heavy random strokes.

The top layer of the frame is randomly colored with two brown tones of distress inks and then lightly grazed with a dark brown archival ink.


For this "Small Spring Iris" piece, I primed it with gesso, then used different green and gold mists for the stems. For the flower tops, I layered green, blue, and purple embossing powders.

I Love You More Layout


This is my layout based on the February sketch. I used "Timeless" and "Parlour," papers from the Blue Fern Garden line for the background and "Boudoir" to mat the photo.


In this closeup, you see two pieces of chipboard. The leaves are are a piece from the "Natural Sprigs Set" that I painted green and sprinkled with fine glitter while wet. I also used fine glitter on the "I Love You More" piece after I painted black and sprayed with some iridescent mist. I dusted off some of the glitter when it was dry for the random look. 

I cut a small piece of the "Chicken Wire Panel" and used a metallic distress stain as a base. Then, I brushed it with an archival ink pad for the worn look. The birds are just inked with black archival ink.


I coated the "Garden Window" with Martha Stewart Crackle Specialty Finish with a thick coat using a palette knife for an uneven "stucco" finish. And like the other pieces, I lightly brushed it with black ink.

There's still plenty of time to join us for the February sketch challenge


Magical Layout


I used the following papers from the Blue Fern Garden line: "Love Letters," "Boudoir," "In Bloom" and "Signature."


On the "Blooming Foliage" piece, I primed with gesso, used a metallic green mist, then used some green pigment ink over it, then used a brown chalk ink in random spots. 


On the "Romantic Page Dangles," I painted them with green paint, then randomly used a metallic distress stain. While the paints were still wet, I sprinkled a brown embossing powder to create this weathered look.


In this picture you can see the "Country Picket Fence" that I treated with gesso and crackle paint and brown chalk ink. The "Magical" title piece is from the "Winter Titles" set. I used three different colors of embossing powder to achieve this look. 


Thanks for stopping by the blog today! 


Rae