Showing posts with label Butterfly Grid. Show all posts

Saturday, July 19, 2014

Bright and Bold by Jackie Clark

Hello Blue Fern fans! Jackie with you here today, taking a break from our family's seaside summer vacation to share my July, summer-inspired projects. I have two very different projects for you today; the first light, airy and summery, and the second darker and more sultry, like those warm summer nights.

Sometimes you see a piece of chipboard, and a project starts to take shape in your mind. That's what happened for me with the Butterfly Grid. I saw it, and a project started to evolve. I knew that I wanted to pair it with the Butterfly Kisses title and the Tattered Butterflies, and my layout grew out of that.


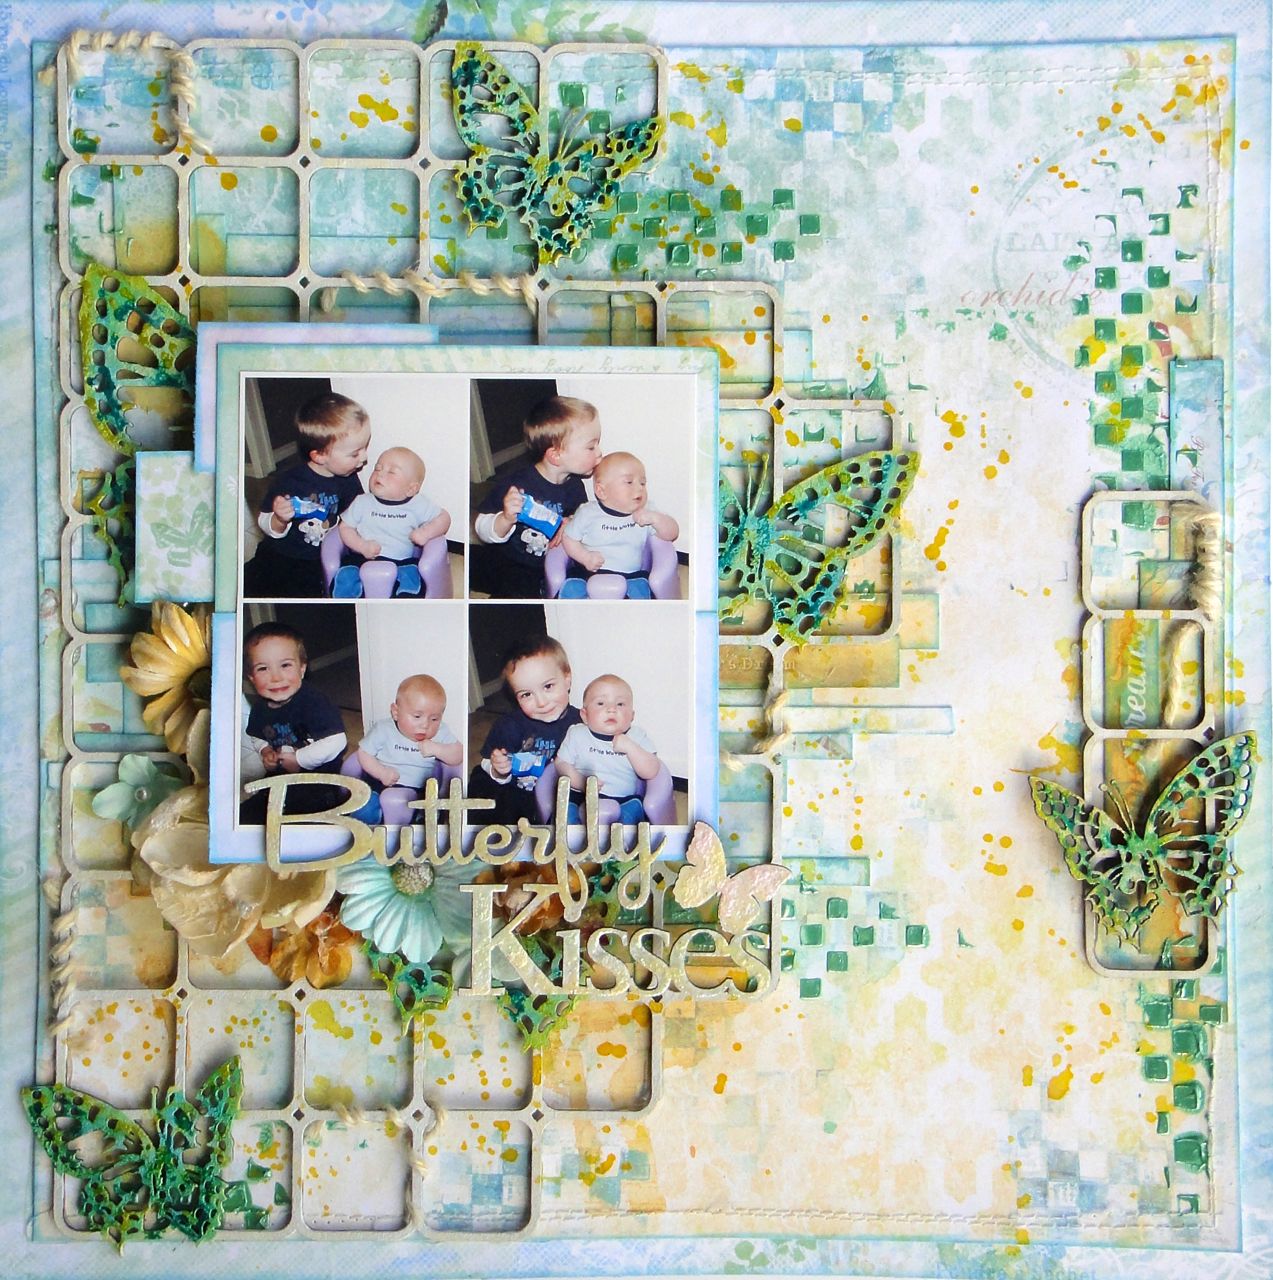
One of the glorious things about the Blue Fern Studios panels is the ability to cut them apart and use them in whatever way best suits your project. I cut mine into the big piece on the left and the smaller piece on the right, and have some leftover for another project. I primed the whole thing with gesso, and then set about colouring the butterflies with shimmery watercolour paints.


For the grid piece on the right I added one of the Tattered Butterflies to coordinate with the butterflies in the Butterfly Grid.


For the Butterfly Kisses title piece I sprinkled on embossing powders in pink, blue and yellow randomly and heat set them.


 The colours of the Ombre Dreams papers inspired my colour choices, and I loaded on media in the background to create a fun, sunny layout.


Blue Fern Studios Products:

- Ombre Dreams: Susan's Dream, Ginger's Dream
- Chipboard: Butterfly Grid, Butterfly Kisses, Tattered Butterflies


My second layout has a darker colour scheme, but it still evokes summery memories for me, as the picture was taken on my honeymoon, during a very hot summer in Bordeaux - that's my (then) new husband's hand holding the wineglass; hard to believe it's been 11 years!


Although the picture is anything but industrial in nature, the Industrial Corner and Working Parts chippies just seemed like a natural fit. For some reason I pictured them a deep, dark red, but I didn't have a red embossing powder. Not to worry, I used a red acrylic glaze, and added clear embossing powder overtop while it was still wet and heat set it. I then added embossing ink randomly throughout and added both gold and a silver/black embossing powder.

Here's a look at one of the finished pieces.


Thank you so much for stopping in to view my projects today! We love to see what you create with Blue Fern Studios products, so be sure to keep posting your creations to our Facebook page and our Gallery.

Blue Fern Studios Products:

- Chipboard: Industrial Corner, Working Parts

Saturday, February 22, 2014

3 New Projects by Lisa Griffith

Hello everyone! It's my turn to share my February projects today. I'm sure you've all
seen by now the gorgeous new line of papers by Blue Fern Studios. I love the soft 
colors and the sweet girly feel, I was inspired to create this...

"Flowers for Lily"


This is a photo of my niece Lily. My sister told me that last Valentine's Day her Daddy
brought her her very first bouquet of flowers, Lily just loved them and thought they were so special.
So, so sweet. I used the paper "In Bloom" as the background, and then cut up some pieces
of the "Calling Card"paper as layers underneath my photo. I have taken a piece from the
Manor Hinges and a piece of the Ironwork accents and painted them with cream colored paint
and then stamped them with Ranger Distress ink in Vintage Photo. For the
word 'Delightful' from the Optimist Word Set, I painted with the cream colored paint,
added a touch of pink mist and then a coat of Glossy Accents. 
Here is a close up:


Blue Fern Studio products used:
Blue Fern Studios "In Bloom"
Blue Fern Studios "Calling Card"
Ironwork Accents
Manor Hinges
Optimist Word Set

Next is a tag I created using Blue Fern Studios paper and several chipboard pieces, which I embossed 
in white and then splashed with a bit of blue and orange mist to match the flowers. I cut out 
some of the diagonal pieces of the Love Letters paper so that it would highlight the pattern.


And a close up:


Blue Fern Studios products used:

Blue Fern Studios "Love Letters"
Tattered Diamond Bits
Hearts from the Chunky Heart panel
Ever After Frame Set

And lastly I have a card to share. I really enjoyed making this. I am madly in love with
Blue Fern Studios panels! I love to give them a really distressed look by cutting them up
in jagged pieces and then adding different mediums, they add such a great textural element to any
project.  I painted both the Turkish panel pieces and the butterfly  with Ranger Antique Linen Distress 
paint, did just a touch of embossing with Ranger Antique Linen embossing powder and then 
once that was all dry, painted them with some Silks paint in Emperor's Gold.


I have to admit I haven't made many cards, but after seeing how adding a few
pieces of altered chipboard to a card makes it so pretty, I will definitely
be making more! It's so nice to send someone special something hand made 
and from the heart.

Here is that beautiful butterfly:


Blue Fern Studios products used:

Butterfly Grid Panel 
Turkish Panel

Thanks so much for stopping by today!

Hugs, Lisa xo