Showing posts with label Berry Stems. Show all posts

Monday, July 28, 2014

July's projects from Leila

Hi everyone

Leila's here again to show my 2 layouts for this month, in both I used Ombré Collection...

The first one is in pink, purple and black!


Some details:

Here I painted the title "The big day" with acrilic and spray ink and put some glitter. The "Berry Stems" i painted with distress ink and put liquid pearl in the dots.

The little camera I colored with black pen and put some colorless relief.

Again I colored the film strip with black pen.

BFS supplies:
- Charlotte's dream paper
- Wedding words
- Berry stems
- Picture perfect

My second layout is a "clean" page...


The little flowers I colored with spray ink and put in two corner of photo...in this case, less is more.


BFS supplies:
- Ginger's dream paper
- Bohemian flowers

So this it's for today. I hope you like it!

Tks for stopping by!

xoxo

Leila

Sunday, July 13, 2014

Three cards by Marie-Josée

Hello all!

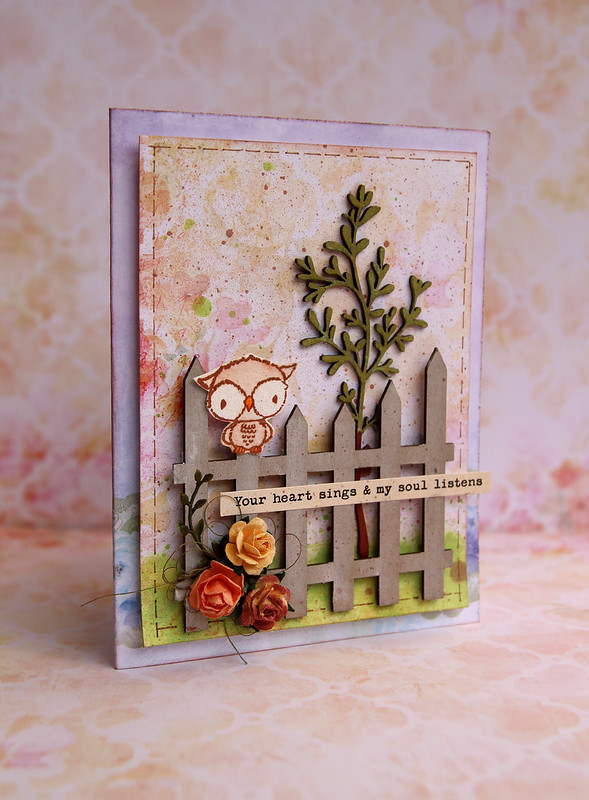
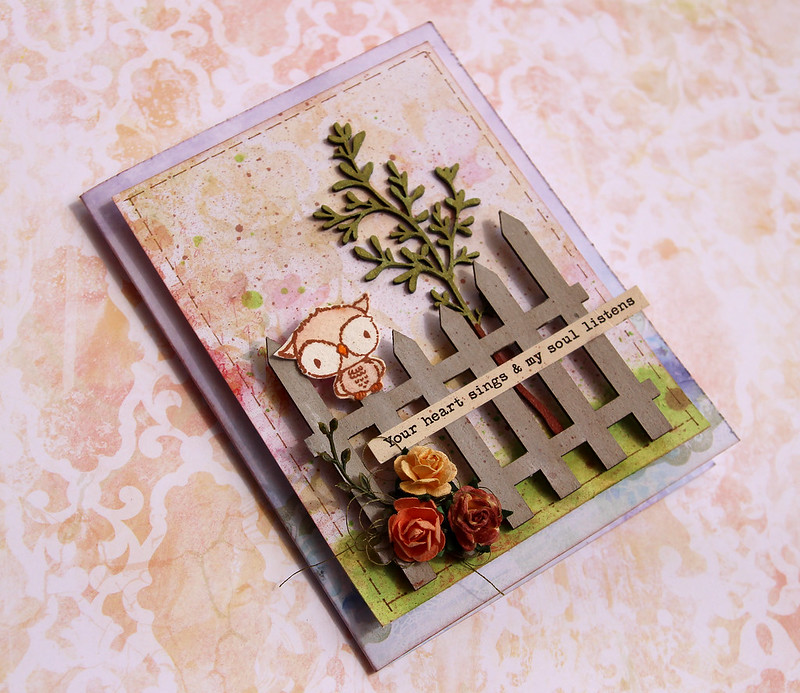
Today, I am featuring three cards that I created with the Ombré Dreams collection. Here they are!

For the first card, I used the Shannon's Dream and Joyce's Dream papers.

 
I also used two pieces of chipboard, a piece of the Layering Stems (altered with Silks Acrylic Glazes) as well as the Country Picket Fence (altered with Gelatos). I cut the fence because it was too big for my card.
 

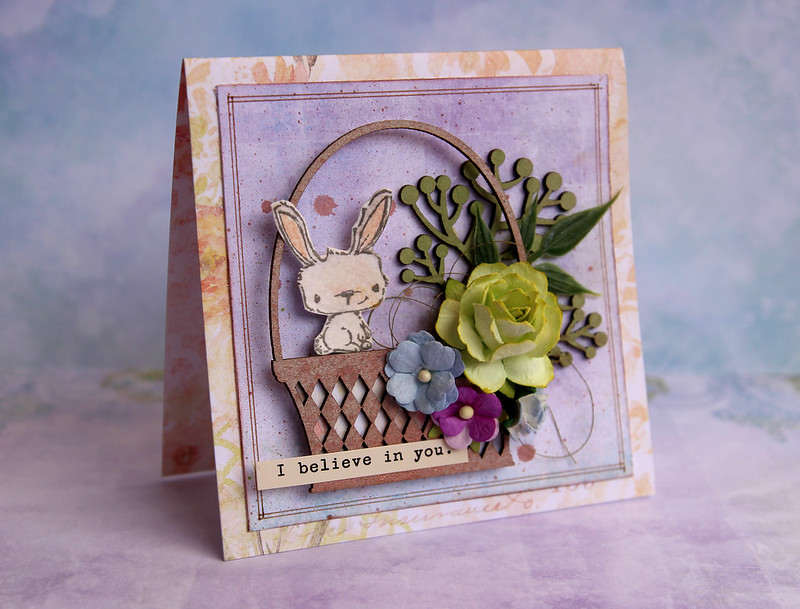
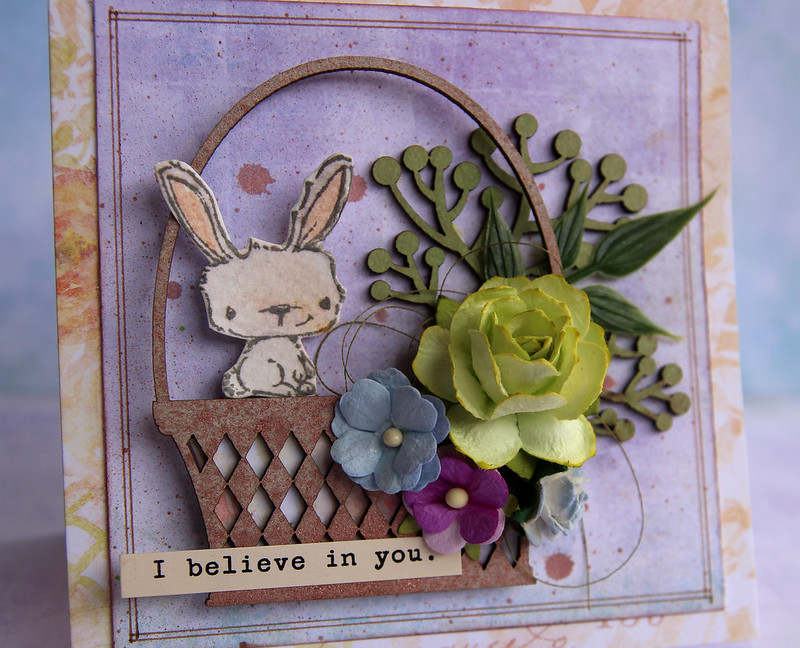
For the second card, once again, I used the Shannon's Dream and Joyce's Dream papers.

I also used two pieces of chipboard, a piece of the Berry Stems set as well as a piece from the Little Baskets set. Both were altered with mists.


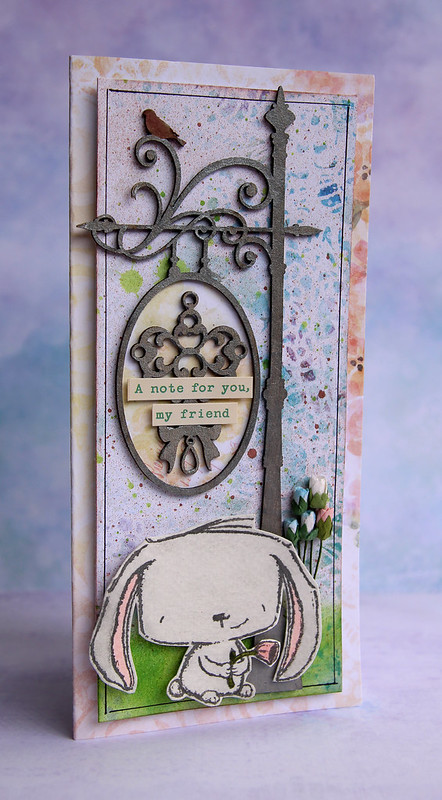
For the third card, I used the Charlotte's Dream and Shannon's Dream papers. I also used the Village Sign Post chipboard, altered with Silks Acrylic Glazes.


Wednesday, May 21, 2014

Kelly's May Projects

Good morning, Blue Fern fans! Kelly here today.
Have you had a peek at the new Ombré Dreams paper collection? It is absolutely stunning..and I had a chance to create with it in time for my post this month :)

"You Color My World"

I was immediately drawn to the purple/yellow colors in "Julianna's Dream" for my background paper. I added some mixed media work atop that, then layered in strips torn from "Shannon's Dream." My title was cut from the "Dream Cards" sheet.


In addition to the gorgeous new papers, I have used some new chipboard designs, as well, including this Treasured Floral Frame, which was given a coating of gesso and then sprayed with a few pastel mists to match the background colors.


I also cut a few pieces from the Quilted Page Panel, painted with gesso, sprayed with mists, then dusted gently with Primary Elements Artist Pigments for lots of shimmer.

"Simply Beautiful"

This next page is a bit more subdued and simple. I chose the Blue Fern Garden "Signature" paper for my background, as I thought the subtle texture and color was perfect for my photo. I then layered scraps from other Blue Fern Garden papers, cardboard, fabric, and tissue paper for lots of texture.


Above you can see I have used one of the Symphony Corners - Medium, which was embossed with two different embossing enamels, sprayed with mists, then gently dabbed with gesso. Into the cluster I also added bits of the Berry Stems.


At the top corner of my photo, I added one of the Symphony Corners - Small. This piece was treated the same as the other, and once again I tucked in pieces of the Berry Stems here and there.

"Dream"

This last page, I simply pulled various scraps from my stash, (including a few of the cut off strips from the bottoms of Blue Fern Garden papers!) and layered up my background. To really draw focus to the photo, I framed it twice using Circle Links and Beaded Strings. These were both given a coat of a few colors of chalk ink, then painted using Silks in various colors. The photo doesn't quite capture it, but they are super shimmery!


On either side of the photo I have also added an arrow from the Directions set. These were treated the same as the frames.


Blue Fern Studios products:
Directions
Beaded Strings
Circle Links
Blue Fern Garden Paper Collection
Ombré Dreams Paper Collection
Berry Stems
Symphony Corners - Small
Symphony Corners - Medium
Treasured Floral Frame
Quilted Page Panel

Thank you so much for looking through my projects today, have a great day!
*Kelly*

Friday, May 9, 2014

A Little Title Love

Hi everyone!  It's Valerie here today with a couple of layouts for May.  Do you sometimes struggle with titles?  I do, so I pulled out a couple of Blue Fern chipboard titles, and got started on my layouts. 

For this layout, I chose the Cute Stuff title from the Good Vibes set, and my very favorite sheet from the Blue Fern Garden Collection - In Bloom.  I also took advantage of some strips in my scrap pile to create some dimension in the background.


Here is a close-up look at the sweet title.  I primed it first with gesso, inked it with a light brown ink, and when dry, I used a make-up sponge (an awesome scrap room supply) to apply some Inka Gold.


I also used the smallest circle from the Graduated Circles set of 5 to frame the left side of the photograph.  
After priming the chipboard, I applied some pink ink, then heat-embossed it 
using a frosted embossing powder to add some sparkle.


The Berry Stems and Jeweled Trinkets were painted white and used as accents in the floral cluster.


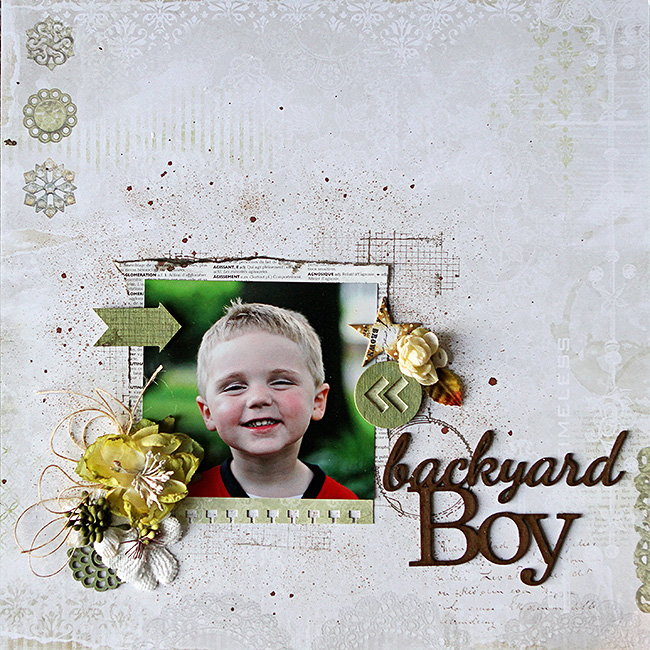
For my second layout, I chose the Backyard Boy title, and knew just which photo I wanted to use. 
 I'm sure many of you have photos that would fit perfectly with this title.  This title was super easy to alter.   
I applied some VersaMark ink and clear embossing powder, 
then heat embossed it.  The result was this beautiful chocolate brown. 
For the background I have used the back side of the Timeless paper from the
  Blue Fern Garden Collection.  


If you like arrows, you will love the Directions set.  It includes numerous arrows that can be used in so many ways.  I covered this arrow with Distress Ink, then stamped it with a texture stamp.


You can see another of the arrows from the Directions set in this close up, as well as the gloss that the embossing powder left on the title.


And here is a little flower from the Bohemian Flowers that I tucked in behind a flower. 
 It's a great assortment of 12 flowers. 


That's all from me today.   It was awesome to begin my layouts with a title and not have to worry about it at the end.  Give it a try!

Friday, April 25, 2014

April inspirations with Jelissa

Hi there Blue Fern fans, so happy to be back here to share some creations with you. 

"She Wanted to Fly"


I wanted to make something with the chippies from "Spread Your Wings" so that was how this layout came about. 


I used a piece from Manor Hinges and sprinkled embossing powder in both bronze and turquoise randomly. The turquoise gave a very nice burnished metal effect. 


For the wings, I applied some texture paste using a peacock feather mask which I had used throughout in my background. This was followed by some shimmery paint and I used turquoise glitter on the edges of the feathers for an oomph. For the Page Chains, I did some simple heat embossing. 

Blue Fern products used:

Spread Your Wings
Manor Hinges
Page Chains


My second page is a bright one where I experimented with watercolor paper and distress stains.

"Best of Times"


I altered the chipboard to match the overall colours and mood of the layout.


A frame from the Memory Frame set, which I inked with distress ink and doubled up as a title.


The Shabby Brick bits, which is perfect for background and layering. I patted three different coloured Texturez from Shimmerz on it randomly.


The Berry Stems which I left bare, only to accent the berries with some Texturez.

Blue Fern products used:
Shabby Brick Bits
Berry Stems
Memory Frame Set


My last share is the sketch created for Blue Fern Studios' April challenge, using the Blue Fern Garden collection.


I have a video tutorial as well showing how I put together this page and how I altered the chipboards.


Blue Fern products used:
Blue Fern Garden "In Bloom"
Charmed Page Dangle
Bits of Honey

That's all I have for now. Hope you've enjoyed my work and the video. See you all next month!

love,
Jelissa


Sunday, April 13, 2014

Three rainbow projects by Marie-Josée

Hello, Blue Fern Studios fans!

I hope you are doing great. Today, I will show you three different projects featuring the colors of the rainbow. The weather has been bleak here recently, so I needed a bit of color.

"Happiness" layout


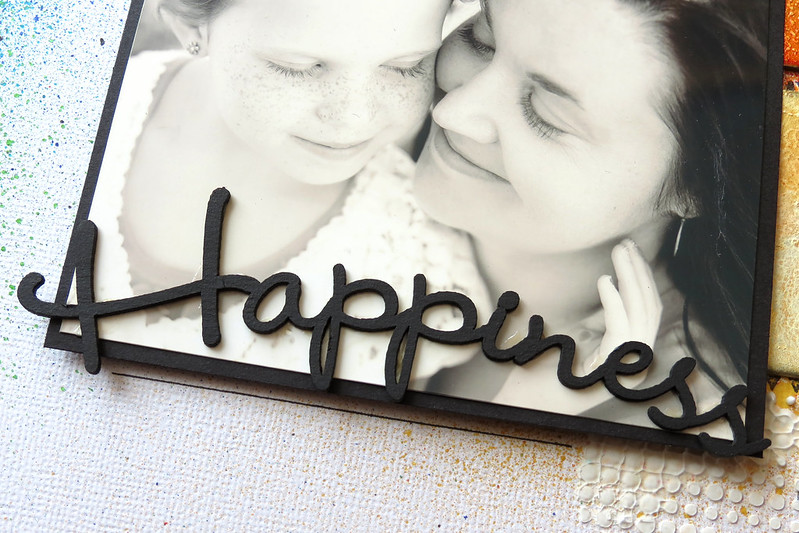
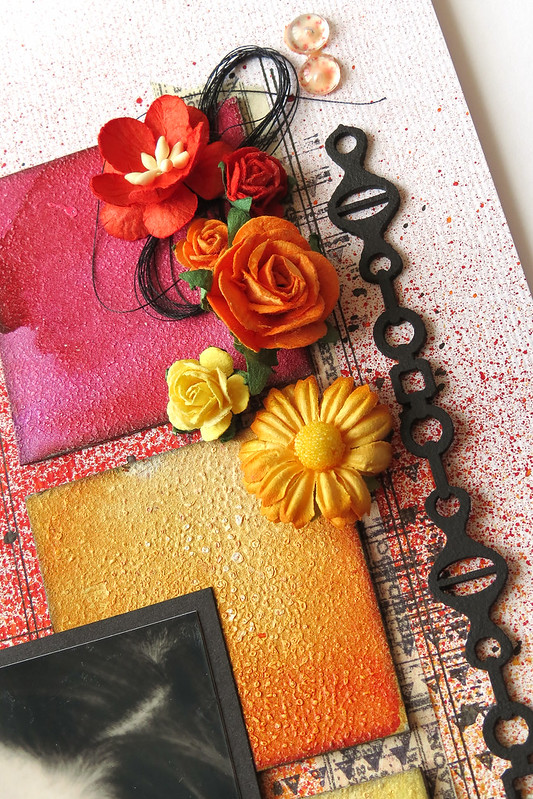
I will start by explaining to you how I created the squares, because it is a technique you can use on any Blue Fern Studios chipboard. For this layout, I used plain cardboard. I covered it with gesso using a sponge and used my heat gun to create texture (small bubbles). Then, I painted each square with three different colors of Twinkling H2O watercolors, starting with the lightest color in the middle of each square. You can also create a similar effect with any watercolor paint ou even with Gelatos.


Then, I used black gesso to alter my title, Happiness (from the Good Vibes set) as well as the two chipboards from the Mixed Chains set. I used a sponge to apply my gesso: it's quicker and less messy.

Here are some close-up views of my layout:


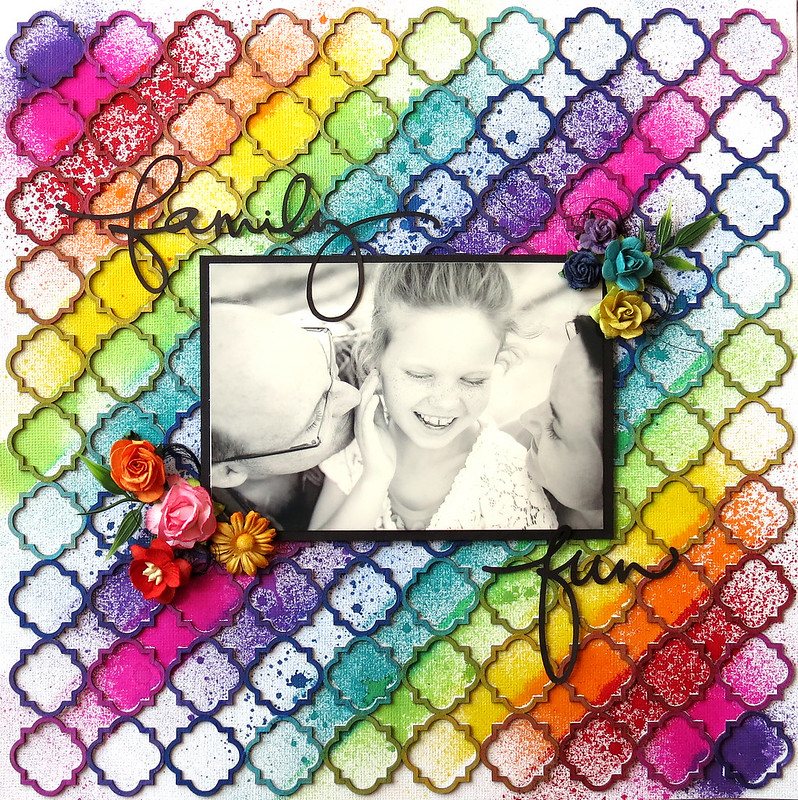
"Family" fun layout

 It took me a lot of time to create this layout, but since I like the end result, I am OK with it!

First, I colored each row (diagonally) of the Quatrefoil panel with various colors of Silks acrylic glazes. You have to be patient, because you will need two coats of paint for the lightest colors.


Then, I used some Dylusions mists to add color to my background. I protected my background with scrap paper and sprayed each row, one at a time. I had to use a lot of scrap paper because it would become wet and I did not want to have stains all over my layout.

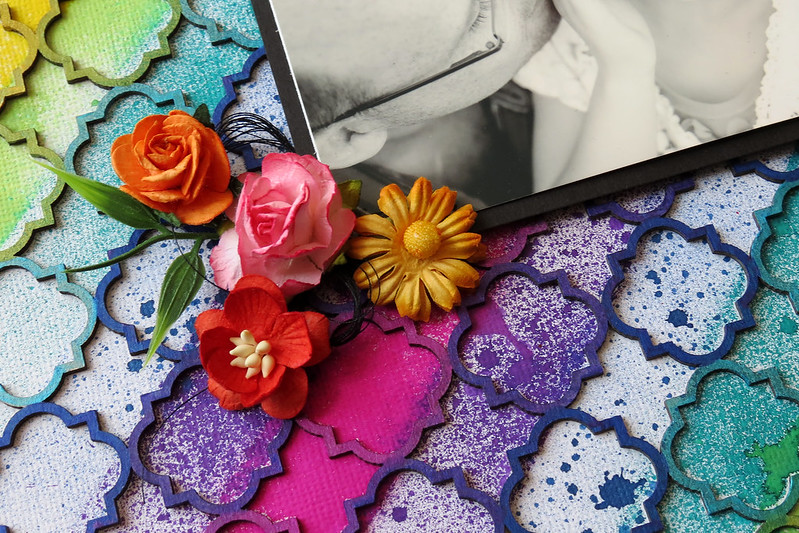
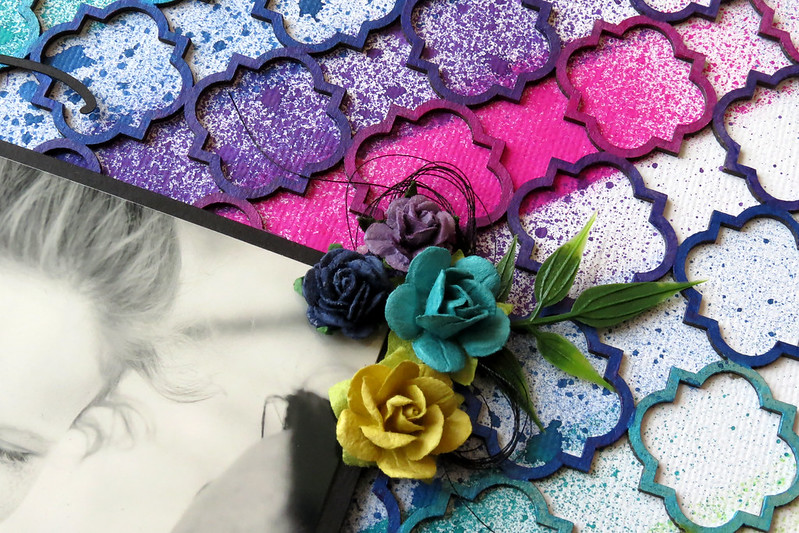
Here are some close-up views of my layout:


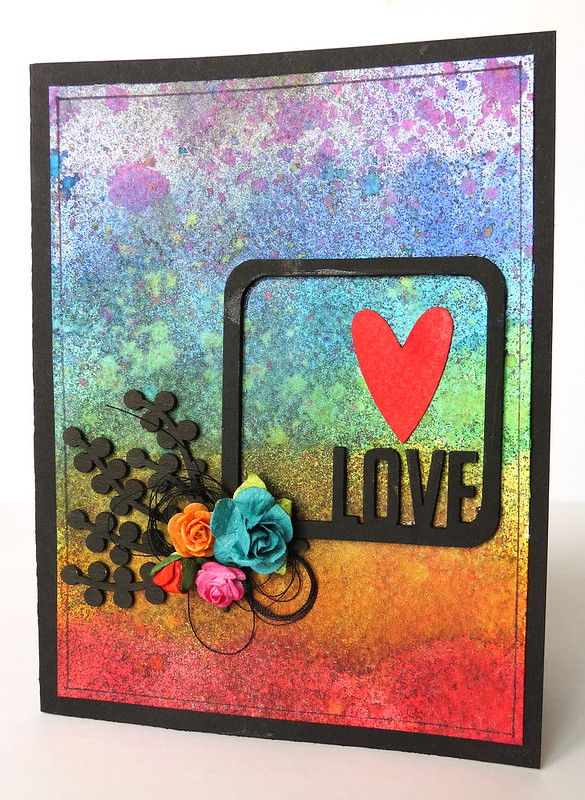
"Love" card

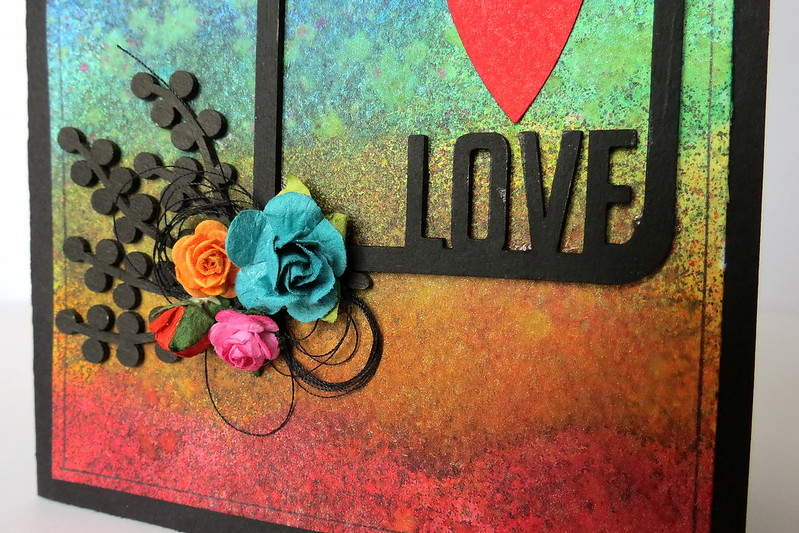
For this card, I used chipboards from the Memory Frames and Berry Stems sets, that I also altered with black gesso. The background was made with watercolor paper, Twinkling H2Os and various mists.


Thursday, March 20, 2014

Some Blue Fern Garden Projects with Rae

Hello! It's Rae with you to share some more projects I have made using more of the Blue Fern Garden papers. They are so beautiful and I am down to scraps now, but I have had such a fun time working with this beyond gorgeous collection!

"Perfect" Layout


I'm trying to use up every part of each piece of paper, so I used this "Boudoir" piece that I cut an oval out of already for another layout, and went from there for this layout. The back has some green cardstock and the "Love Letters" paper that I fussy cut the lattice out of. 

Here's a closeup of the berry stems that I used as part of my floral cluster:

Primed with gesso, and then sprayed with some green gold mist, I then added some archival ink in black to these "berry stems", then added some Liquid Pearls in black for accents.

This is a close up of the "sweetheart dressform" that I treated with gold Ferro, then sprinkled black embossing powder over while still wet, and dried with a heat gun to get this distressed effect. 


"Follow Your Heart" Card

Another project I made using the Blue Fern Garden scraps. 

The bird is from the "little birds set." I just used black chalk ink on him. :)

The frame is from the "petite boutique frames set" that I primed with gesso, sprayed with patina mist in random spots, then used some gold embossing powder.

The scrolls under the flower are pieces I cut from the "large royal border." I painted it with dark olive paint, then added some bright green microbeads.


"Good Things Jar" Altered Project

And, lastly, here is an altered project I made using a mason jar. I've made a few of these, and I give them to friends as gifts. I saw this idea on Pinterest: keep a mason jar handy and when something good happens, write it down on a piece of paper, fold it up, and throw it in the jar. At the end of the year, take all of the pieces out and read all of the good things that have happened for that year. In the pin, the mason jar is plain, but it's much better to have an altered jar on the counter!


The jar is covered with a piece of "In Bloom" paper that I stamped and distressed. The little flag is from the bottom strip of one of the papers.


The bird cage is from the "grande cages set." I covered it with Perfect Pearls in heirloom gold, which gives it a perfect finish- not to shiny! I added pearl strips and accented the butterfly with Smooch inks.

Here's the back: 


Thanks for taking the time to look at my projects today!


Rae