Wednesday, December 14, 2016

The Most Wonderful Time of the Year with Jelissa

Hello Blue Fern fans!

Boy, has time flown. It has been 3 amazing years on the Blue Fern Studios DT and looking back, I'm really thankful for the opportunity to create with these amazing products. I'm so deeply grateful for Leslie's generosity and also being able to work with such a talented team of ladies. Today will be my last post for Blue Fern Studios, and I will be featuring the Vintage Christmas 2 collection.


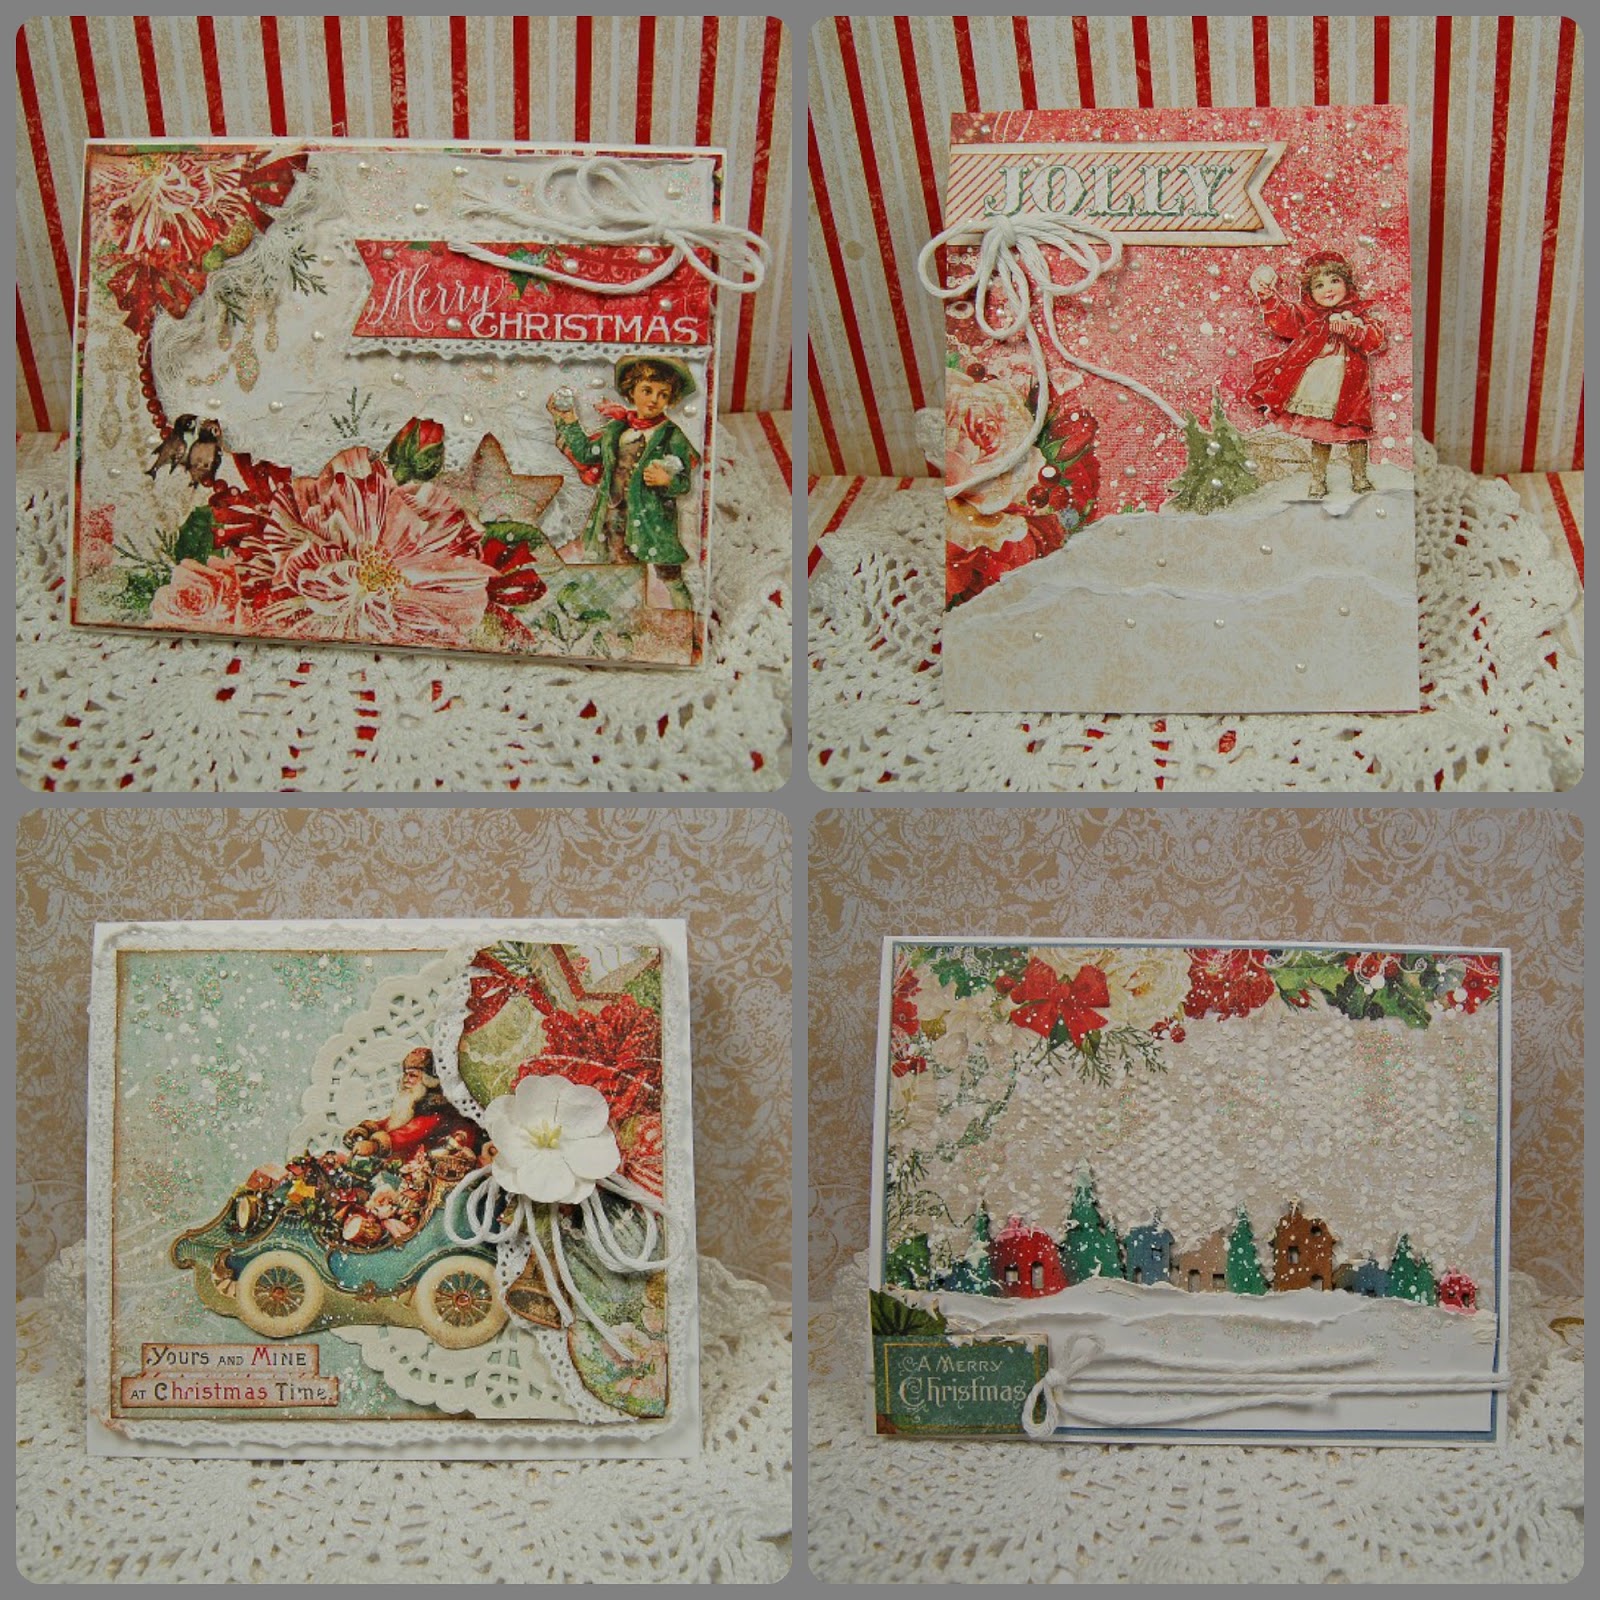
We don't have a habit of taking traditional Christmasy sort of photos so I've always used more generic ones when scrapping for the season. This is a winter scene that I found so lovely and matched the colors of the collection quite nicely as well. I deliberately used the paper "Let It Snow" because both the theme and colors were so suited for each other.

Some details in the close-ups:


My title - Wonder word. I had used a few layers of Imagine Ink EPs here - Snow, Icicle and Sea Mist together with Blue Diamond glitter. 


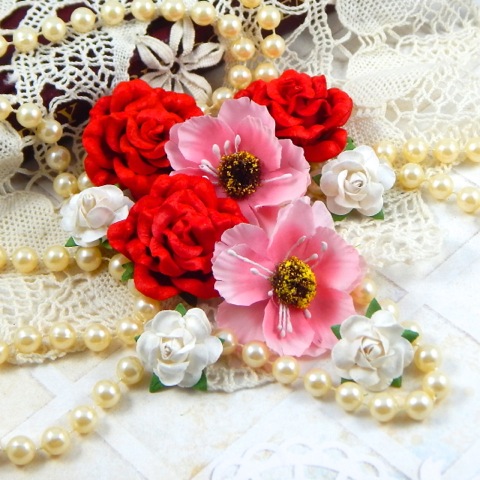
Some of the Christmas Blooms that I have used as embellishment. 


The Stars and Berries Frame which I had altered with Mushroom and Oatmeal EP. The Large Flake chipboard which I had also covered with Frozen EP (it really reminded me of Elsa's beautiful blue gown!) and Blue Diamond glitter.

Blue Fern Studios products used:

paper: Vintage Christmas 2 - Let It Snow, T'was the Night
embossing powder: Frozen, Oatmeal, Mushroom, Icicle, Sea Mist
glitter: Blue Diamond
chipboard: Large Flake, Wish; Wonder; Dream, Star and Berries Frame


My second share is a video tutorial, and features much more of the festive and bright colors in the collection.


In my background, I have created a wreath with modeling paste and paints to complement the colors of the papers. Plus the fussy-cut elements here and there and the chipboards in the layers, it makes for quite a rich look without having to use additional embellishments.

some details in the close-ups:


Little doilies with Christmas emblems that I cut out from the "Tree Trimmings" paper. Tucked beneath are the Tree Toys chipboards which I had altered with Magenta and Grassy Knoll EPs and Phoenix and Summer Leaves glitter.


Part of the Stars and Berries Frame which I had altered with Oatmeal EP and snipped off for a slightly rustic touch. Hiding in my paper layers is a fussy-cut design from "Jolly".


Lastly, my title "Colorful Candles Burning Bright" which I had altered with Ruby, Ginger and Coral EPs and sprinkled with Autumn glitter.

Here is the video of how I put together this page:


Blue Fern Studios products used:

paper: Vintage Christmas 2 - Holida Treats, Greeting Cards, Jolly, Tree Trimmings
embossing powder: Oatmeal, Grassy Knoll, Magenta, Ruby, Ginger, Coral
glitter: Phoenix, Summer Leaves, Autumn
chipboard: Star and Berries Frame, Tree Toys, Colorful Candles Burning Bright

Tuesday, December 13, 2016

Introducing Heartland!

Our hearts are aflutter with the announcement of our new collection, Heartland.  This 10 page double-sided collection has all the excitement, emotion and mystery associated with love.   The colors are a striking palette of blue, yellow, pink, and green, in a range gorgeous shades.  The details include all the beauty you have come to expect from Blue Fern Studios and designer, Michele Singh. 


We also have 2 flower collections that will perfectly compliment the Heartland collection!

Heartland Roses and Blooms


Heartland Blossoms


Chipboard?  Of course we have chipboard, stamps, embossing powder, and glitter, but we are saving that for another day.  Be sure to check back!

Monday, December 12, 2016

Vintage Christmas cards...

Hello! If you are in the process to make your Christmas cards and you are thinking how to make them without much dimension and easy to mail, I'm going to share with you four cards that I made thinking in those two things. I worked with the Vintage Christmas 2 collection.

 Merry Christmas-card #1
This collection are so beautiful that you don't need much to create a cute card. I just cut out some of the image and around the design to make my scene. I added textures with a stencil with  gel medium and glitter.

I added lace and a bow of twine for a Shabby Chic look.
 Jolly-card #2
Here I worked the background with lot of textures, I made white paint splatter to create a snow effect. I cut out the adorable image is from one of the papers and  I tear the white paper to recreate the snow and make my scene.

The title Jolly is from the Holidays cards paper.

I worked the background  with white paint splatters and added textures with gel medium, glitter and a stencil. The adorable image of  Santa and the flowers were cut  from the papers. 


I framed the card with lace and added one flowers from  the new soft blooms.
 A Merry Christmas- card#4
In this card I painted the chipboard with distress ink to create a colorful village, I combined the colors with the paper. I also tear the white paper to create the snow hills effect.
I used modeling paste with a stencil to create the snow effect.

I hope you find inspiration to create cards without dimension.  Thanks for stopping by..until next time!

Marilyn Rivera

Sunday, December 11, 2016

Farewell 'Christmas' Projects
by Nicole Doiron


What a bittersweet post this is for me, as after a year of being on this wonderful team,
this is my last post as DT member on the Blue Fern Studios blog.
Through the year, I have been blessed with wonderful scrappy friends,
fabulous quality products from generous owner Leslie and inspiration galore.
I am forever grateful of having been given this amazing opportunity
and will forever hold a special place in my heart for Blue Fern Studios.

***

I've got 3 projects featuring the very festive 
Vintage Christmas collections 1 & 2.


The Vintage Christmas collections not only offer beautiful Christmas patterns, 
but also include lots of papers that are perfect for Winter-themed layouts like this plaid print.  


To go along with it, I chose several Winter chipboard pieces including the Snow Medley board, covered in Snow embossing powder with a touch of glitter dust, and these adorable mittens from the Cozy Christmas set on which I used It's a Girl and Blue Sky. 


You see below the Dangled Flake piece which I cut in half as I wanted to save some of it 
for another project. I added several flowers from the new kits, Christmas Blooms 
and Soft Blossoms.  I sprinkled lots of silver microbeads throughout my page.


I chose A Wonderful Life, covered in Snow, as the title to which I added the word Cozy 
which I 'stole' from the Cozy Christmas piece, as that is exactly the word that comes to mind
 when I look at this picture of Yves and I cozying up to each other 
for a selfie during a Winter stroll.


Blue Fern Studios products used:


Patterned Papers: Vintage Christmas 1 (Greeting Cards); 
Vintage Christmas 2 (Let It Snow, 'Twas the Night, Holiday Cards)
Chipboard: A Wonderful Life, Snow Medley, Cozy Christmas, Dangled Flake
Flowers: Christmas Blooms, Soft Blossoms
Imagine Ink: Embossing Powders (Snow, Blue Sky, It's a Girl)

***

My next project is another layout, this time documenting a very special Christmas wish.


Before I met Yves, I had spent many a Holiday season surrounded by family and friends, but still somewhat lonely, wishing for true love, the kind of love that lasts a lifetime. My wish came true in 2006 and, since then, I get to spend every Christmas with my life partner, my soulmate, my best friend.  This picture was taken on Christmas eve a couple years ago. That is why I chose the title 'Twas the Night Before Christmas as the title, on which I used the new Santa's Suit embossing powder.  It's red and glittery and perfect for any Christmas project!


On my background, I used the Weathered Doilies stamp with the Ebony powder.
I added Holly Springs, covered with Sage and Santa's Suit, to my flower cluster and 
bits of Mixed Chains, covered in 14Karat, along the top and bottom of my picture.


Here you see a piece of the Holiday Vine, all decorated in gold.


And a final close-up of my Christmas wish come true!


Blue Fern Studios products used:


Patterned Papers: Vintage Christmas 1 (Magical, Greeting Cards)
Vintage Christmas 2 ('Twas the Night, Jolly)
Chipboard: 'Twas the Night Before Christmas, Holiday Vine, Holly Sprigs, Mixed Chains
Flowers: Christmas Blooms, Soft Blossoms
Stamp: Weathered Doilies
Imagine Ink: Embossing Powders (14Karat, Ebony, Santa's Suit, Sage)

***

I realize this has turned out to be quite a long post, but bare with me please... it is my last! :)

And speaking of last, this is my last DT project... a trio of Christmas cards.


What is great about the Vintage Christmas Greeting Cards and Holiday Cards papers 
is that they are full of beautiful journaling cards and images, perfect for card making.


On this card, I used the Holiday vine and some Holly Sprigs chippies.


I also took a cream flower from the Soft Blossoms and turned it red using
the Santa's Suit embossing powder.


On Card 2, you can see the leftover Dangled Flake from my Winter page above.


These little leaves are the negative pieces from the Holly Sprigs.


I love all the beautiful vintage imagery from these papers.


Card 3 is set up on a misted and stenciled background.


You can see here that I added red gems on the Holly Sprigs.  The leaves were treated with Clover embossing powder and then dabbed with white paint for my signature white washing.


I cut a side of the Stars & Berries Frame, covered it in Snow embossing powder and
added a touch of the new Vintage Gold glitter on the stars.


Blue Fern Studios products used:


Patterned Papers: Vintage Christmas 1 (Wonderland, Magical, Greeting Cards)
Vintage Christmas 2 ('Twas the Night, Holiday Cards)
Chipboard: Holiday Vine, Holly Sprigs, Dangled Flake, 
Stars & Berries Frame, Leafy Page Accents
Flowers: Christmas Blooms, Soft Blossoms
Imagine Ink: Embossing Powder (Santa's Suit, Snow, Clover, 14Karat), Glitter (Vintage Gold)

Thank you for all your support this last year!
It was a pleasure creating for you all!
~ Nicole ~