Wednesday, November 18, 2015

Snow Fun-with Vintage Christmas by Keren Tamir


Hello everyone,
It's Keren here with my November post for Blue Fern Studios.
As you might have seen already, Blue Fern Studios has released a brand new collection called Vintage Christmas. Its a beautiful holiday and wintery paper collection and it was perfect for scrapbooking last year's winter photos. I used it for both of these layouts.

"Snow Angel"

For this background I used the "Magical" paper from the Vintage Christmas collection.


I'm not too fond of winter as I don't like feeling cold. However my kids love playing in the soft fluffy snow. Here is my daughter making snow angels on the snow. I framed her photo with the Snowflake Frame chipboard which I simply covered in white gesso. I wanted to create the most monochromatic layout I could so I could showcase the whiteness of winter. I used flowers and cheese cloth to enhance the feel of winter, too.


<<<<<<<<<>>>>>>>>>

"Snow Sparkles"

For this background I used the "Auld Lang Syne" paper from the Vintage Christmas collection.


I framed my daughter's photo with the Holiday Frame. I primed it with white gesso and then sprinkled it with diamond dust to give it a snowflake texture feel. Finally I used some Imagine Ink Pyrite glitter to add some golden highlights around the frame and on the background.


I used the Blue Fern Studios Persimmon, white and golden spray to add some texture and sparkle to the background.


Finally I used the "Sparkles" chipboard word from the "Winter titles" set. It was sprayed with gold ink.


Thank you so much for visiting the Blue Fern Studios Blog
Have a wonderful day!!

Keren


Monday, November 16, 2015

Goodbye fall, welcome winter !


It becomes serious now, winter is coming up .
Well, in Switzerland it does...
A lot of snow coming this way.
With this in mind I remembered this lovely picture I wanted to scrap for some time.
The Vintage Winter collection can be used for non related Christmas themes, 
 as you see on my winter scene layout.

My idea was to keep the page simple in the colors of the picture.
I added gesso and misted the page over the wet gesso.
Stenciled snowflakes here and there .


The Berry Stems did get two coats of gesso, just dabbed on.


For the beautiful snowflake dangle I first gesso the chipboard .
In the wet gesso I sprengled some good old fairydust .
I did the same on the bird.


The title stamp FRAGILE comes from Blue fern too.
It is on of the stamps from the Postal textured stamp set


Thanks for visiting the blog
x Wilma x


Vintage Christmas With Debbie

Hi everyone!  Debbie here with you today sharing 3 layouts I created with the new Vintage Christmas paper collection!  This is such a beautiful paper collection.    

My first layout features the Deck The Halls paper.  Beautiful hues of reds and pinks! I layered underneath my photo with the Noel paper.

I used 4 different chipboard pieces here, Blooming Curls, Royal Border, Classic Ornament and Twinkle from the Winter Titles.  I misted the Royal Border and Classic Ornament with the Imagine Ink Cotton Candy Mist and added some micro beads.  I painted my title dark red and added some of the Petal Embossing Powder.

 When using the Blooming Curls chipboard, I cut it apart and used it in three different places on my layout.  I also cut the Classic Ornament piece in half and used in on the top and bottom of my photo.

Another piece from the Blooming Curls shown here.

My next layout features Auld Lang Syne, Noel and Wonderland papers.  I primed my background with some clear gesso and did some random masking.  Then I added some Imagine Ink Cotton Candy Mist.

Love this old photo of my grandfather !  I cut apart the Holiday Frame chipboard and added a piece to the bottom of the photo that I misted with the Imagine Ink Winter Mint and Jingle Bells mist and then added some micro beads.

Tucked beneath the pink rose is another piece from the Holiday Frame chipboard.

Here I used a piece from the Damask Panel, misted with Imagine Ink Winter Mint and Jingle Bells.

Love the details in the Winter Sleigh chipboard.  I covered it with gesso and then added some Pyrite Glitter.

My final layout was created using the  November sketch.
I used the Auld Lang Syne, Noel and Wonderland papers.  After adding some masking to the background, I misted with the Persimmon and Jingle Bells Imagine Ink Mists
 
My title Magical is from the Winter Titles.  I painted it white and then randomly sprinkled it with Pyrite Glitter.

Pieces of the Berry Stems chipboard are placed with my flower clusters.  I pained the stems brown and added  Phoenix Glitter.

On each side of my photo I used The Holiday Vine Chipboard which I painted brown and added Phoenix, Pyrtie and Fern Glitter.

                       
I hope you have enjoyed my layouts.  Don't forget that you still have time to enter our November Sketch Challenge.  You can find all of the details here.

Thanks for stopping by!
. . . Debbie

Sunday, November 15, 2015

What's New at Blue Fern Studios?

Hi everyone!  We hope you are having a wonderful weekend.  We have some new chipboard pieces that we can't wait to show you.  So many of you love to use our chipboard titles and words on your projects, so we have some new ones for you.  We also have some Valentine Hearts, an Ornate Wreath, and a set of 4 Banner Flags.  


For our Spanish-speaking customers, we are excited to add some titles created just for you!


We continue to add to our Image Ink line of products.  Take a look at these beautiful colors of embossing powder. 


If you haven't added embossing powder to chipboard, it's something you must try.  It's such a beautiful effect!

Saturday, November 14, 2015

Two layouts , two different collections by Wilma Voermans

                          I cant believe it is already a month ago my last blogpost was on.
                                              And only 6 weeks untill Christmas!
                           But let us first say goodbye to fall , my most favorit season.
                                               Fall in Switzerland is so beautiful .

                             Lets go over to my first layout I would love to share with you.


When I start a scrapbookpage, I never know what I am going to do excactly.
I grab a picture, and choose the papers.
For this paper from the Love Story collection I had a masculine page in mind.
Well, as you see it ended up as a feminine page.
The picture I used was not that great in the start, a lot going on in the background.
But my daughter in law has beautiful eyes , so I decided to use just that part.


The chipboard piece I used is the crosshatch frame .
I first embossed it in red, but I changed my mind and dapped it random with black patina.
Here and there I left a little red peeking through .

On my background I used the glitter Phoenix , I just spread here and there on my wet gesso.
In real life it gives a great effect!
*******


The second layout I like to share with you is light as spring .
My daughter asked for a layout with this picture.
I think it is perfect for the Ombre Dreams collection.
I made this layout after the beautiful November sketch, a design by Michele Singh.


The chipboard piece Tech panel is versatile.
I choose it to get some grunch feeling and tone down all that sweetness :) 
I am a big fan of the chipboard negatives.
They give the chipboard sturdyness for shipping.
But they also give me fun and crazy shapes, I never throw them away!
Here I took out the circles from the tech panel , colored them ,
 a few doodles and there you have small embellishments


The techpanel piece is just painted with silver/iron colored paint .
To match the iron my granddaughter holds her hands on in the picture.

*******

Thank you for visiting the Blue Fern blog today and have a great weekend!
x Wilma x


Friday, November 13, 2015

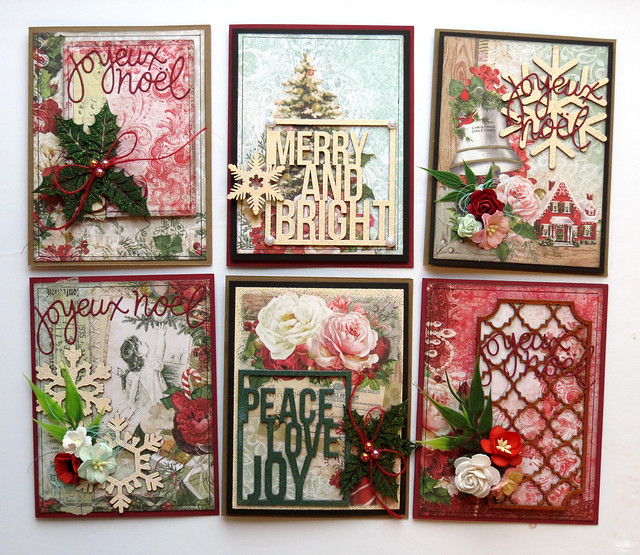
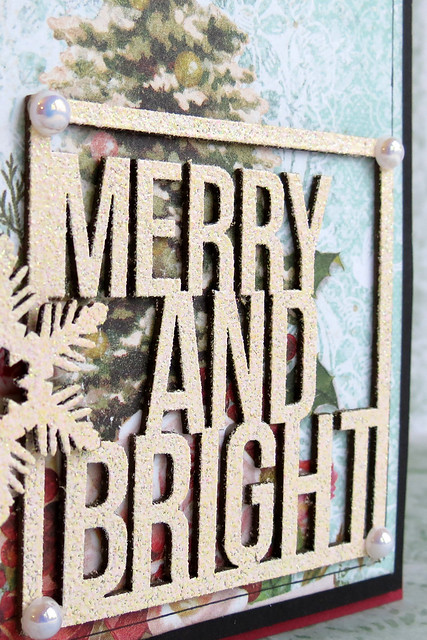
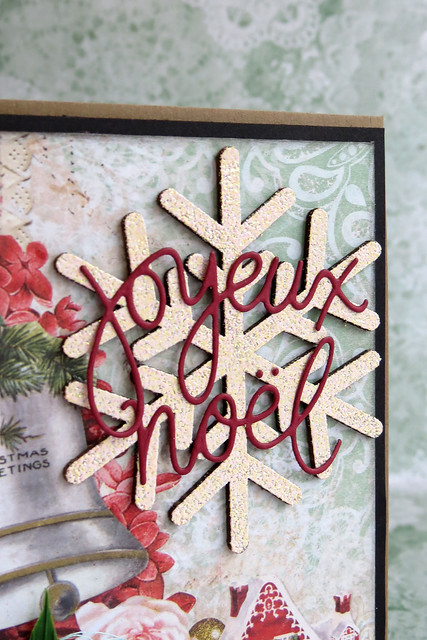
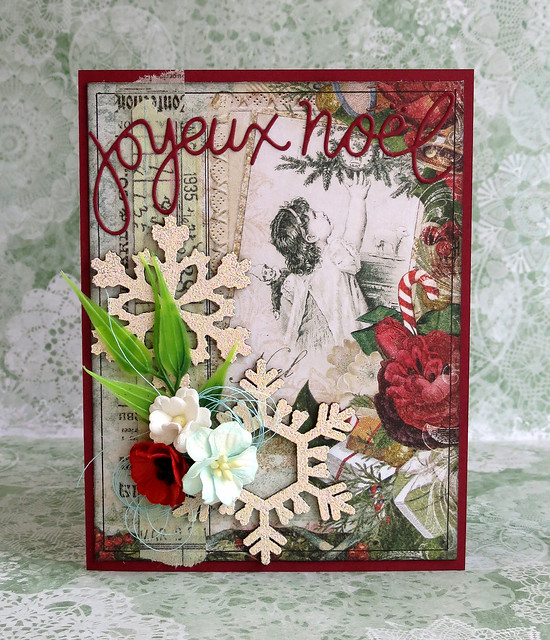
Six cards with the Vintage Christmas collection...

... and the Imagine Ink embossing powders!

Hello, Blue Fern fans!

Today, I will show you six cards that I created with the beautiful Vintage Christmas collection and the new embossing powders.

I used the embossing powders with Versamark ink on the raw chipboards, without painting them or altering them in any way before. 

Here are the colors I used :
Petal (rosy white)
Fern (teal)
Poinsettia (red gold)
Lucky (green)

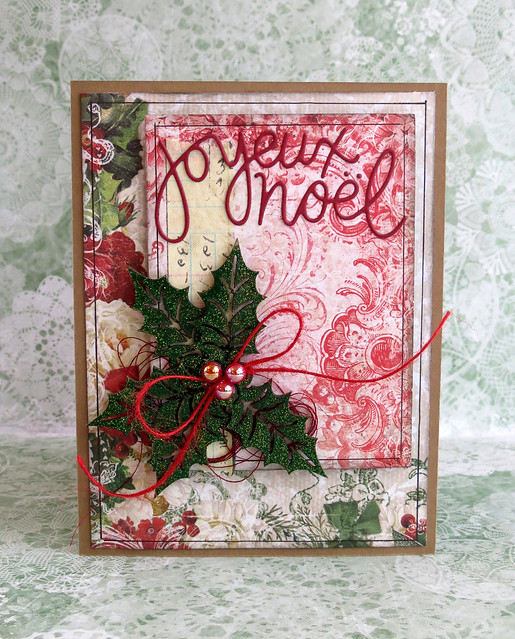
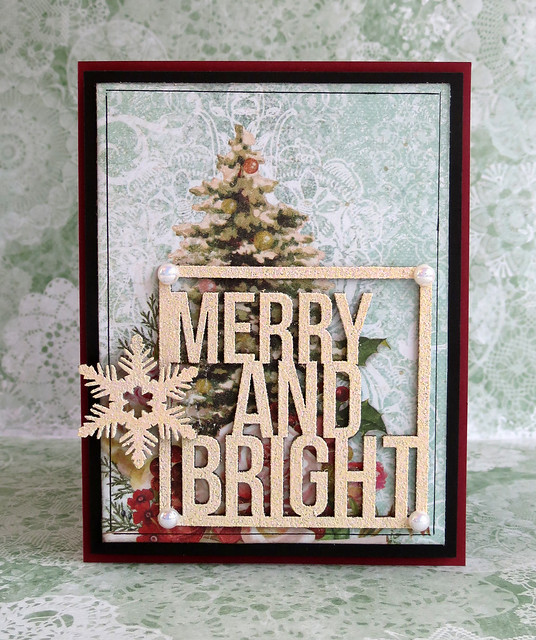
I also used chipboards from four different sets: Framed Winter Words (Peace and Joy and Merry and Bright), Holly Sprigs,Winter Flakes, and Quatrefoil Garden Panels.

Here are my cards!


Wednesday, November 11, 2015

A desk calendar with tutorial by Elena Morgun

Hello everyone!
Today Elena Morgun is here. I am happy to share my newest creation - a desk calendar. I also made with a video tutorial.

Everything is quite easy, but the result is quite impressive!
New Blue Fern Glitter is just wonderful! I glued it with Sticky Embossing Powder. This is one of the most convenient ways to me. You need to try it out, if yo haven't done so yet.
The clip helps to swap the months. I like it when home decor is not only pleasing to the eye, but also useful!
Enjoy the video!

Blue Fern Studios product used
  • Autumn Anthology: Balcony
  • Vintage Christmas: Wonderland
  • Stamp: Essential Textures
  • Stamp: Postal Textures
  • Chipboard: Floral Lattice Bits
  • Chipboard: Roman Clock Set - Small
  • Chipboard: Memory Frames 
  • Imagine Ink: Embossing powder - Fern
  • Imagine Ink: Glitter - Pyrite
Also I would like to share a CD envelope today. In October I created a video tutorial to show ow I make them. Today I used two types of fabric and made it more boy-ish.


Blue Fern Studios product used
  • Montage papers
  • Chipboard: Directions
  • Chipboard: Arrow Words
  • Chipboard: Seeing Stars

  • Imagine Ink: Embossing powder - Fern
Have a great creative time, friends!
Elena