Thursday, May 15, 2014

Watching YOU Put Our Designs to Work!

We've been on the search once again for projects around the web featuring our products...and like any good treasure hunt, we came up with riches! SO many gorgeous samples out there to choose from; we're absolutely blown away by the beautiful talent that has taken our designs and created such incredible things!

Here's a sampling of what we dug up:


 Tracy Christine Funk

Absolute pure gorgeousness!!

Thank-you wonderful ladies SO much for sharing your inspiration with us, and for loving our products as much as we do :)

If YOU would like to be featured in our monthly "WATCH" post, be sure to upload your projects to our gallery {HERE}; include a blog link too so we can make sure everyone else can find you! Thanks so much and we wish you a beautifully creative day!

Wednesday, May 14, 2014

2 Projects by Evgenia Petzer

Hello dear BFS friends! Its Evgenia Petzer with you today with my 2 May shares.

First i have got a feminine card, that also uses BFS papers

Blue Fern Studios products used: Grande Cages, Organic Vine Corner Large, Blue Fern Garden papers

And some close ups:
 The cage and the large organic vine corner (i have used only one third of it on this card) are coverd with tattered angels glimmer glam.


And second is the fabric notebook


Blue Fern Studios products used: Fancy Birdcage, Vintage Keys
 The cage is covered with 2 colors of acrylic paint, the glossy accent over it and sprinkled with some microbeads

 The hand-died in coffee sheets  that ive more vintage look to it.
I hope I have inspired you a little bit:) Have a good and crafty day everyone.

Evgenia.

Tuesday, May 13, 2014

Two layouts with the Blue Fern panels by Marie-Josee

Hello all!

I hope you are all doing fine! Spring is finally here in Canada and the weather is great. Flowers are blooming everywhere, so I was inspired to create these two colorful layouts with the Blue Fern panels.

If you have been reading the blog for a while, you know that I am a huge fan of those panels and that I don't really like to cut them: I like to use them as a background on my layouts. Without further ado, here are my two projects! :)

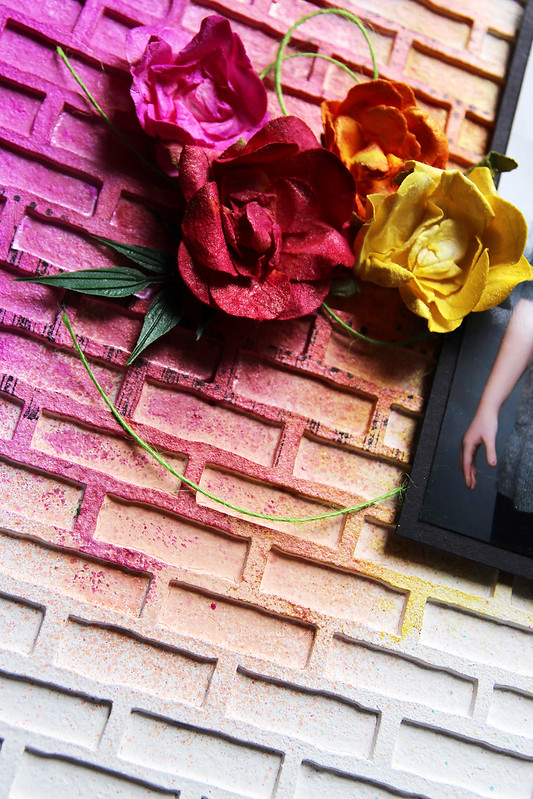
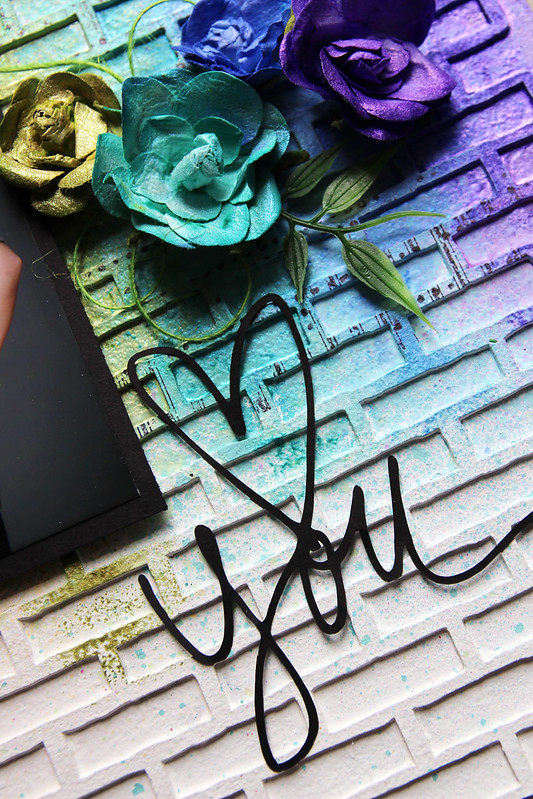
"Heart You" layout
To create this layout, I used the Shabby Brick panel. I glued it to my background (I used a piece of 12 x 12 chipboard) and applied gesso with a sponge.


Once dry, I applied all the colors of the rainbow, plus pink, using various mediums: Twinkling H2Os, Silks and various sprays. Here are some close-up views:


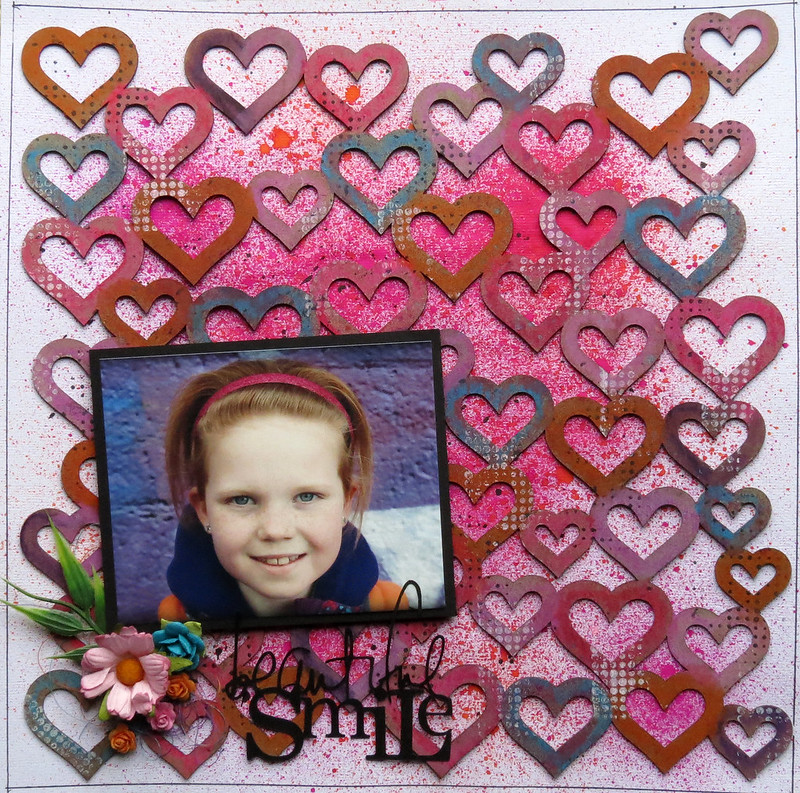
"Beautiful smile" layout:

For this layout, I used the Chunky Heart panel. I altered it with various colors of Gelatos. 


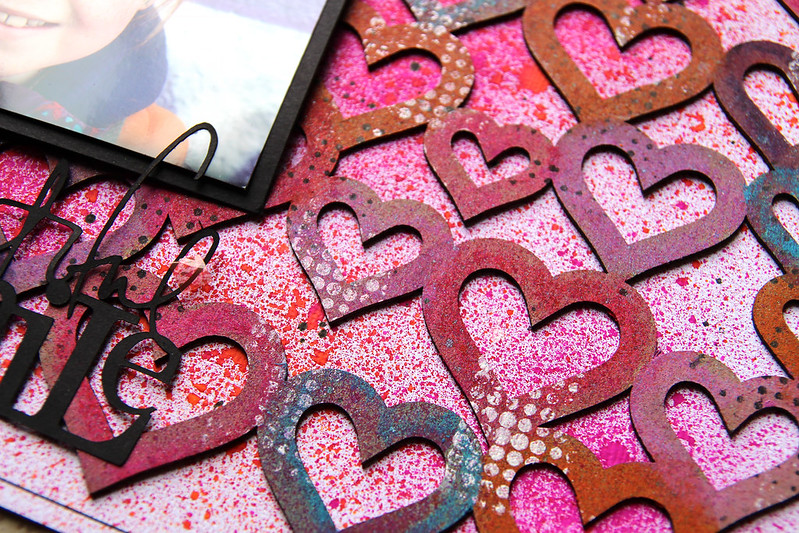
Then, I glued the panel to my white cardstock and sprayed some mists on top. I also added patterns with stamps and black and white ink.

Here are some close-up views:


Monday, May 12, 2014

A card and something altered from Maja

Hi all Blue Fern Lovers. I´m here today to share some small projects I made using  papers from the "Blue Fern Garden" line  and of course some of BFS lovely chipboard. First up is a card.


Blue Fern Products used:
Papers: Love Letters, Timeless and Calling Cards.
Chipboard: Grande Cages


My next projects turned out to be some kind of a frame. I have used a small wooden "box" or what you should call it. I ordered some resin embellisment and got them in this box. I started with painting the box with white paint and then used some of BFS papers, BFS chipboards and flowers to decorate it.


The beaded sting that I have used around my photo here is painted with crackle texture paste.


I have chalked the chipboard pieces. On the word "Love" I also used some Glossy Accent.

Blue Fern Products used:
Papers: Parlour
Chipboard: Petite Boutique Frames, Little Bird Set, 2Hearts Set, Beaded Srtings and Veranda Cage Set.


Thanks for stopping by =)

Sunday, May 11, 2014

Designer Inspiration: Mixed Media Madness!

Today we want to give you an  

Inspiration Overload!

{Hey, we're nearing the end of the weekend and we NEED it, right??}

And if you love mixed media, then today you've most definitely come to the right place! We've compiled for you a batch of projects from several of our design team members using various mixed media technique and {of course} plenty of Blue Fern Studios chipboard!

Evgenia Petzer

Jackie Clark

Kelly Foster

Keren Tamir

Leila Cardoso

Maja Stokk

Marie-Josee Hamel

Rae Moses

Yuko Tanaka

Such lovely mixed media inspiration, ladies!! 

{Is it just me, or is there suddenly an incredible need to snatch up the nearest mediums and let playtime begin?!}

Thanks for coming on over for some weekend inspiration. We hope you find a moment to be creative today, and always :)

Saturday, May 10, 2014

Jackie's May Projects

Hello Blue Fern Studios fans! It's Jackie here today with two of my May creations.

The first is a layout of my husband while we were biking around Central Park in New York City. The My Bike chippy was perfect for my photo!


Don't you just love the details on the bike? I'm amazed at how thin and yet sturdy the spokes are! I added Glossy Accents to the wheels to give them a little fullness and shine.


The Mini Ring Things are always a perfect finishing touch.


I included some rusted Widget Works gears in my clusters for a masculine touch.


Blue Fern Studios Products:

- My Bike
- Mini Ring Things
- Widgetworks

My next project is a birthday card I made for my son's friend. I don't know about you, but I can't make cards ahead of time - I need to have a person and event in mind to get in a card frame of mind. This one was made for my son's friend, who was turning, you guessed it, eight. I used plastic alphas from my stash to create the title, and crafted the rest of my card around it.


Pretty doesn't work for me for boys' cards - especially not at this age, so I went for a grungy look.


To create my background, I started by stencilling using gel medium, then painted over everything with a thin layer of white gesso so that the woodgrain pattern of the In Bloom paper would show through. The gesso over the gel medium leaves the texture, but gives the mists and paints you add on top something to adhere to.


Because the Blue Fern Garden papers are so thick, they are perfect for tearing and rolling back to create peek-a-boos and hold their shape really well. The Bits of Honey chipboard was treated with Distress Crackle paint, while the arrows from the Directions set were treated to a coating of chalk ink.

Blue Fern Studios Products:

- Blue Fern Studios - Blue Fern Garden: In Bloom
- Blue Fern Studios Chipboard: Bits of Honey, Directions

Thank you for stopping by! 

Friday, May 9, 2014

A Little Title Love

Hi everyone!  It's Valerie here today with a couple of layouts for May.  Do you sometimes struggle with titles?  I do, so I pulled out a couple of Blue Fern chipboard titles, and got started on my layouts. 

For this layout, I chose the Cute Stuff title from the Good Vibes set, and my very favorite sheet from the Blue Fern Garden Collection - In Bloom.  I also took advantage of some strips in my scrap pile to create some dimension in the background.


Here is a close-up look at the sweet title.  I primed it first with gesso, inked it with a light brown ink, and when dry, I used a make-up sponge (an awesome scrap room supply) to apply some Inka Gold.


I also used the smallest circle from the Graduated Circles set of 5 to frame the left side of the photograph.  
After priming the chipboard, I applied some pink ink, then heat-embossed it 
using a frosted embossing powder to add some sparkle.


The Berry Stems and Jeweled Trinkets were painted white and used as accents in the floral cluster.


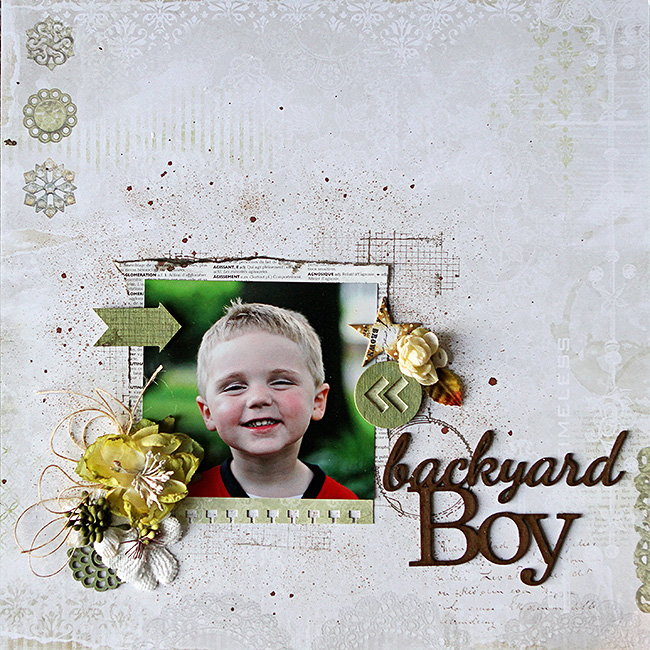
For my second layout, I chose the Backyard Boy title, and knew just which photo I wanted to use. 
 I'm sure many of you have photos that would fit perfectly with this title.  This title was super easy to alter.   
I applied some VersaMark ink and clear embossing powder, 
then heat embossed it.  The result was this beautiful chocolate brown. 
For the background I have used the back side of the Timeless paper from the
  Blue Fern Garden Collection.  


If you like arrows, you will love the Directions set.  It includes numerous arrows that can be used in so many ways.  I covered this arrow with Distress Ink, then stamped it with a texture stamp.


You can see another of the arrows from the Directions set in this close up, as well as the gloss that the embossing powder left on the title.


And here is a little flower from the Bohemian Flowers that I tucked in behind a flower. 
 It's a great assortment of 12 flowers. 


That's all from me today.   It was awesome to begin my layouts with a title and not have to worry about it at the end.  Give it a try!