I am so in love with Blue Fern Garden papers! The style is so elegant, yet so versatile.
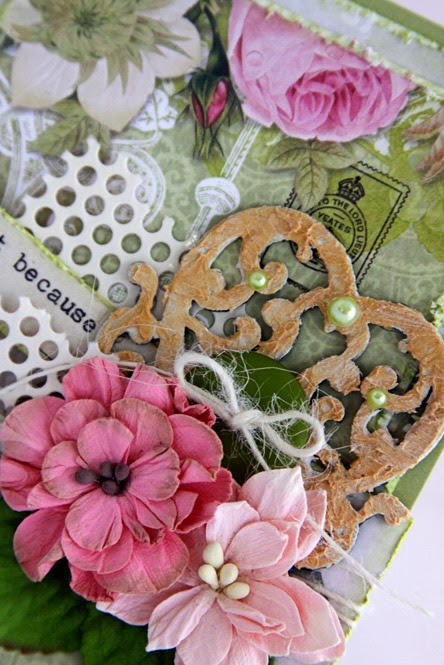
Dream Card


I used a heavy layer of gesso on the bottom layer of the frame, and I sprayed it with Tattered Angels Glimmer Mist in Patina while it was still wet. I let it dry slightly, then added Silks Acrylic Glaze in Emperor's Gold in heavy random strokes.
The top layer of the frame is randomly colored with two brown tones of distress inks and then lightly grazed with a dark brown archival ink.

For this "Small Spring Iris" piece, I primed it with gesso, then used different green and gold mists for the stems. For the flower tops, I layered green, blue, and purple embossing powders.
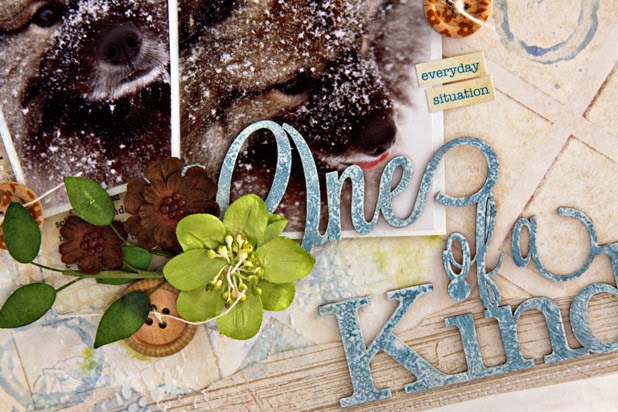
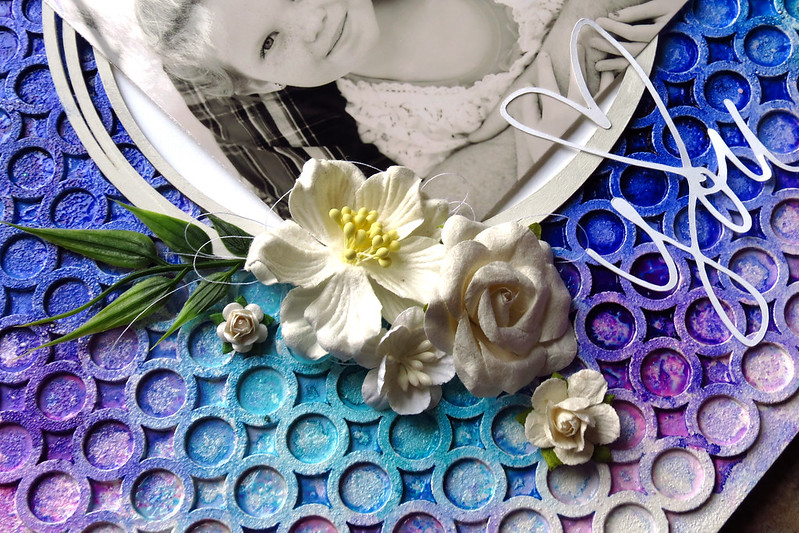
I Love You More Layout

This is my layout based on the February sketch. I used "Timeless" and "Parlour," papers from the Blue Fern Garden line for the background and "Boudoir" to mat the photo.

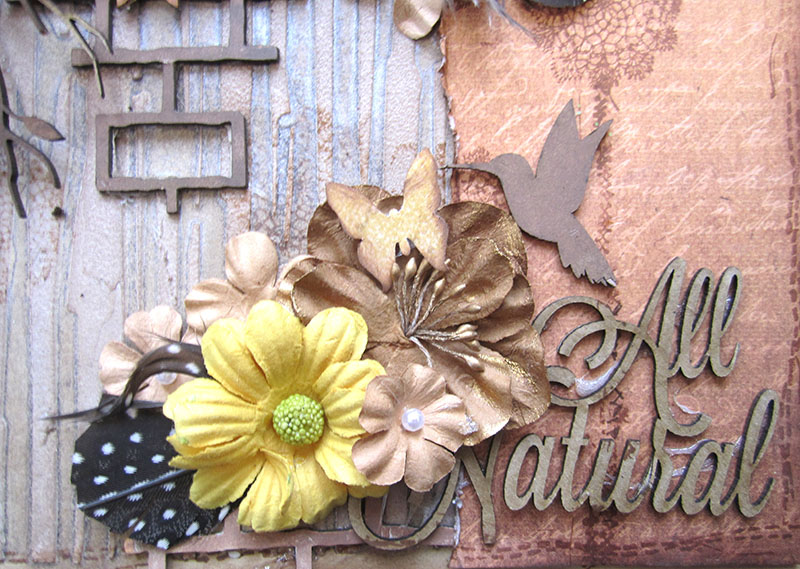
In this closeup, you see two pieces of chipboard. The leaves are are a piece from the "Natural Sprigs Set" that I painted green and sprinkled with fine glitter while wet. I also used fine glitter on the "I Love You More" piece after I painted black and sprayed with some iridescent mist. I dusted off some of the glitter when it was dry for the random look.

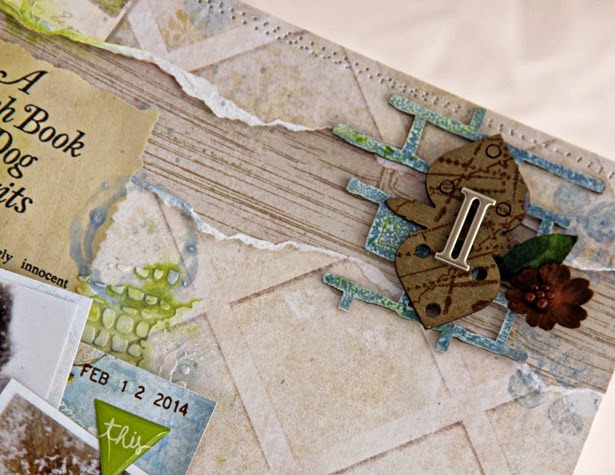
I cut a small piece of the "Chicken Wire Panel" and used a metallic distress stain as a base. Then, I brushed it with an archival ink pad for the worn look. The birds are just inked with black archival ink.

I coated the "Garden Window" with Martha Stewart Crackle Specialty Finish with a thick coat using a palette knife for an uneven "stucco" finish. And like the other pieces, I lightly brushed it with black ink.
There's still plenty of time to join us for the February sketch challenge!
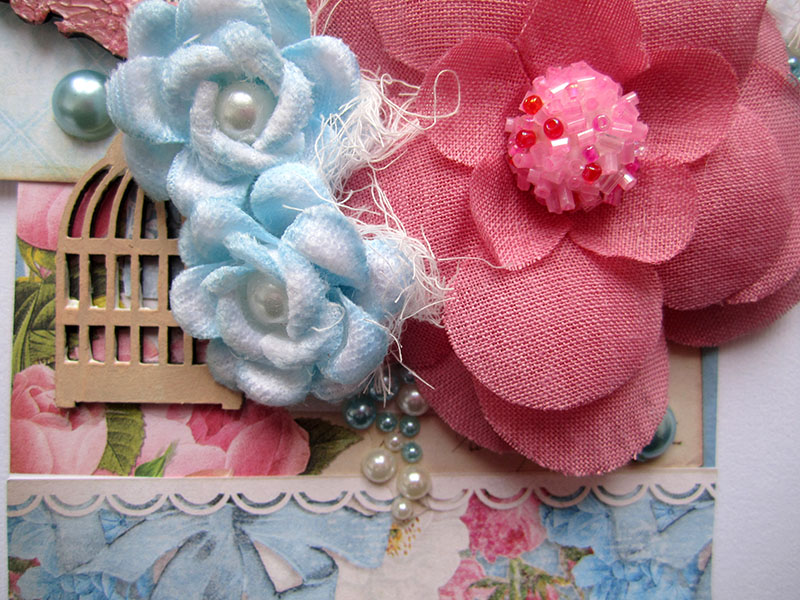
Magical Layout

I used the following papers from the Blue Fern Garden line: "Love Letters," "Boudoir," "In Bloom" and "Signature."

On the "Blooming Foliage" piece, I primed with gesso, used a metallic green mist, then used some green pigment ink over it, then used a brown chalk ink in random spots.

On the "Romantic Page Dangles," I painted them with green paint, then randomly used a metallic distress stain. While the paints were still wet, I sprinkled a brown embossing powder to create this weathered look.

In this picture you can see the "Country Picket Fence" that I treated with gesso and crackle paint and brown chalk ink. The "Magical" title piece is from the "Winter Titles" set. I used three different colors of embossing powder to achieve this look.
Thanks for stopping by the blog today!
Rae