Tuesday, February 18, 2014

Special Moments- By Keren Tamir


 Keren here and its my turn again to showcase my work on the Blue Fern Studios blog.
 I'm thrilled to feature the new Blue Fern Garden Collection today for you.


Capture the Moment


I really loved combining these two colours: green and pink. Its from the Picnic paper of the new Blue Fern Garden collection. 


I painted the beaded circles in matching colours using Shimmerz paints. Of course I first primed the chipboard with Gesso.


Products
Blue Fern Studios:
Blue Fern Garden- Picnic
Blue Fern Garden- Calling Cards
Capture the Moment title
Beaded Strings

<<<<<<<<>>>>>>>>

Natural Beauty Tag


I created a tag with some of the leftover bits from the Calling Cards paper from the Blue Fern Garden collection. I even added a piece of Blue Fern Studios chipboard packaging.


I altered one of the Ever After Frames by covering it in crackle paste. Once dried (which dried clear) I painted it with Pink Shimmerz paint. The bird and the cage were primed with gesso and then inked with a chalk edger.


Blue Fern Studios Products:
Pacakging
Blue Fern Garden Calling Cards
Veranda cage set
Little Birds
Ever After Frame set

<<<<<<>>>>>>>

Finally I want to show you, in some more detail, my Layout for the monthly sketch challenge on the Blue Fern Blog.
I didn't use the Blue Fern Garden collection for it because my package came well after the sketch was revealed. 
I used very earthy colours for this layout and combined it with many different Blue Fern Studios chipboard pieces.


All Natural

The February sketch is very versatile.
I've rotated it 90 degrees to fit my design.


This is a picture of my daughter watching the ducks by the pond. I really wanted to give this layout an earthy natural feel. I used flowers, feathers and nature themed chipboard to create this look.


The Blue Fern Chipboards I used are: All Natural set, Little Birds set, Bordeaux layered frame, Shabby brick bits and Twiggy branch.


I altered the frame by painting it with butterscotch coloured acrylic paint and then stamping it with brown archival ink. The bricks, bird and branch I simply inked in brown fluid chalk and the title I left raw.


Blue Fern Studios Products
Bordeaux layerez frame
All Natural set
Little Birds
Captured Words
Shabby Brick bits
Twiggy Branch

Thank you so much for visiting the Blue Fern Studios blog today!!
I hope you get a chance to come and play with us with the the February sketch.
Have a wonderful day!!

Keren

Monday, February 17, 2014

Mixed Media Canvas, and two layouts featuring the Blue Fern Garden paper line

Mixed Media Canvas by Joyce:

I almost threw away this canvas because my technique on the corrugated elongated heart didn’t come out as I planned.  Fortunately, I recently completed a lace organization project, which I will share with you on March 17th, and remembered I had a large piece of lace.   I draped the lace over the elongated heart and my heart jumped for joy when it came out looking better than my original plan.  Sometimes your mistakes can turn out to be “happy accidents.”   This project features one of those darling little birds from the Little Bird collection.  Some white paint, mist, water color pencil, and a white marker pen helped give this sweet bird some life. You’ll also see some of those bohemian flowers painted, and a leafy page accent piece treated with the fiber tissue paper technique.


Close up of Little Bird:


More close ups:

Vintage Layout featuring the Blue Fern Garden Papers:

Oh these papers are truly lovely with those pretty images on each paper.  The soft pinks and browns inspired me to create something vintage with the Romantic Page Dangle and Royal Page Bauble chipboard pieces.  These dangles are my new favorites from BFS, they’re so original, versatile, and there is nothing else like them on the chipboard market. Both the dangle and the bauble were treated with some white paint, clear gesso, various colors of brown/copper mist, black and white marker pens, and some very small and thin metal charms to add some vintage flair. The strand of pearls on the bauble were coated with a heavy gel medium, a brown, dark brown, and copper colored mist, and a dab of white paint.


Another layout using the Blue Fern Garden "Timeless" paper with many Blue Fern Studios chipboard pieces:
 
 The Tuscan Window frame was treated with white paint, green mist, and some brown glaze with a dry brush technique around the edges of the chipboard; Some dimensional pearlescent paint was added to the ribbon on the Rose Border chipboard piece; some white paint, green mist, brown glaze and a piece of a white paper doily was added to the button chipboard piece.


Thank you for viewing my projects, and I’ll see you on March 17th with an idea to help inspire you to organize your lacy bits featuring some Blue Fern Studios chipboard pieces of course.


Sunday, February 16, 2014

Mixed media tutorial by Marie-Josée Hamel

Hello all! I am really happy to show you my first Blue Fern Studios tutorial. Today, you will learn how to create your own mixed media background.

Supplies:


- 12 x 12 chipboard or very sturdy piece of cardstock 
- Glue
- Gesso
- Gel medium (glossy or matte, as you wish)
- Sponge
- Mister to spray water
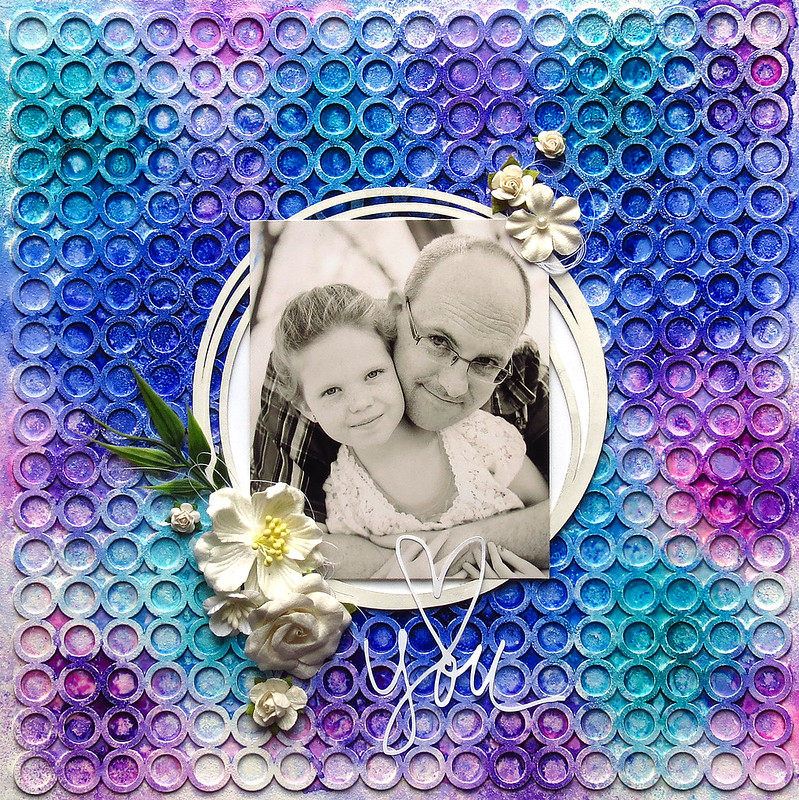
- Three different colors of water-soluble mists (I used the Dyllusions sprays: After Midnight, Vibrant Turquoise and Crushed Grape)
- Embossing heat tool

Directions:

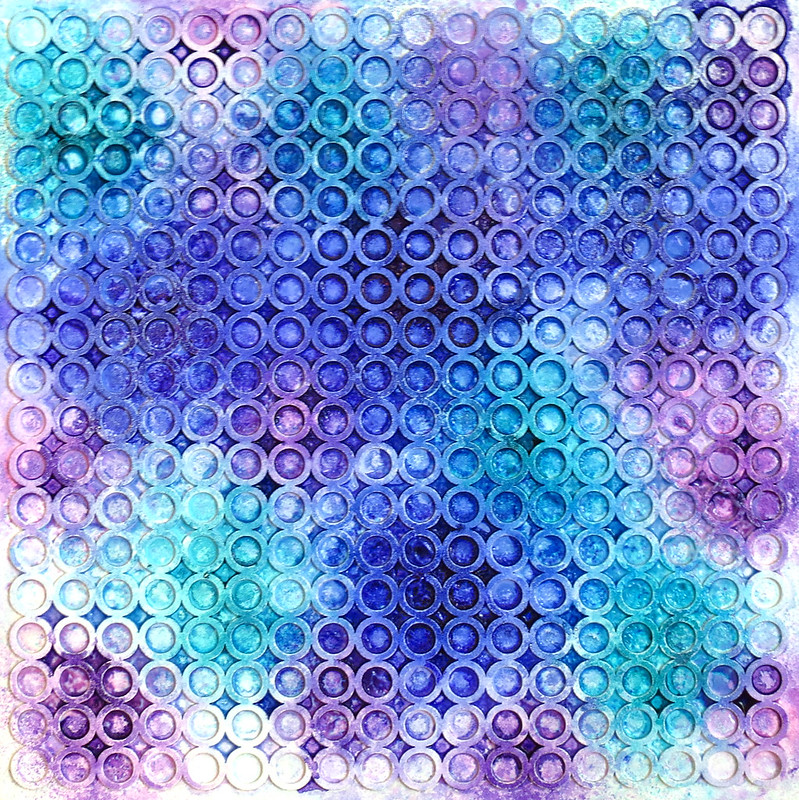
1) Glue your Blue Fern Studios panel to your 12 x 12 chipboard. With the sponge, apply gesso on top. Try not to leave bare spots. Once it is dry, apply gel medium all over, again with the sponge. Use your embossing heat tool to make it dry faster.


2) Spray the three colors randomly all over.


3) Spray water on top and watch the colors blend! Add more water and/or more color if needed.


4) Use your heat tool to dry the colors. Your background is now ready to use!


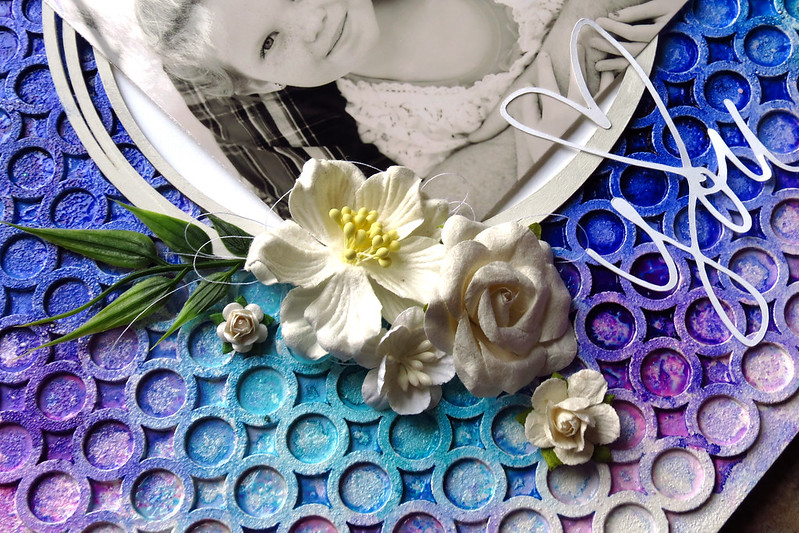
5) And here’s my layout. I also added another chipboard, the Graduated Circles. Since it's a really colorful and busy background, I used only white embellishments:


Saturday, February 15, 2014

Watching YOU Put Our Designs to Work!

It never gets old seeing our customers and fans put our chipboard designs {and now paper!} to work. We've found some fabulous examples out there and we'd love to take the opportunity to share a few of them with you today.

Kathleen White
Paper Used: Signature; Chipboard used: Brigitte Butterfly Set

Angelica
Chipboard Used: Romantic Page Dangles

Caroleanne Wright
Chipboard Used: Good Vibes

Dollscrap
Chipboard Used: Blooming Beauty

Heidi Kelley
Chipboard Used: Veranda Cage Set

Ulrika Blomfelt
Chipboard Used: Floral Clock

Donna
Chipboard Used: Enjoy the Journey, Graduated Circles

Congrats to our features this month!
Feel free to upload YOUR Blue Fern Studios product projects to our gallery any time- we'd love to see you there!

Friday, February 14, 2014

2 projects by Evgenia Petzer

Hello ladies! Its Evgenia Petzer with you today and I want to share 2 of my new projects with you.
First up is a fabric cover for a CD. I love to take photos and this one was a gift for one of the girls' photos that i took.

She loves lavender color so I made it using these shades.

Blue Fern chipboard used:
doily bunting, Lattice Fence and Berry Stems

Some detailed photos:
 The fence is covered with a paint and then i applied the glossy accent and sprinkled some microbeads on top.
 And inside it looks like this.

 And my second project for today is the card for my son's friend. She is turning 6 this weekend and we are going to a birthday party and will give this card to her.
Blue Fern Studios chipboard used:
Berry stems, Bits of Honey

And some close ups:
Bits of honey in yellow of course:)


Thank you for checking my projects, hope I have inspired you to go and play a bit with your BFS chipboard:)

And don't forget to play in our sketch challenge this month, you still have half a month to join:)

Thursday, February 13, 2014

Two layouts with Blue Fern panels by Marie-Josée

Hello all,

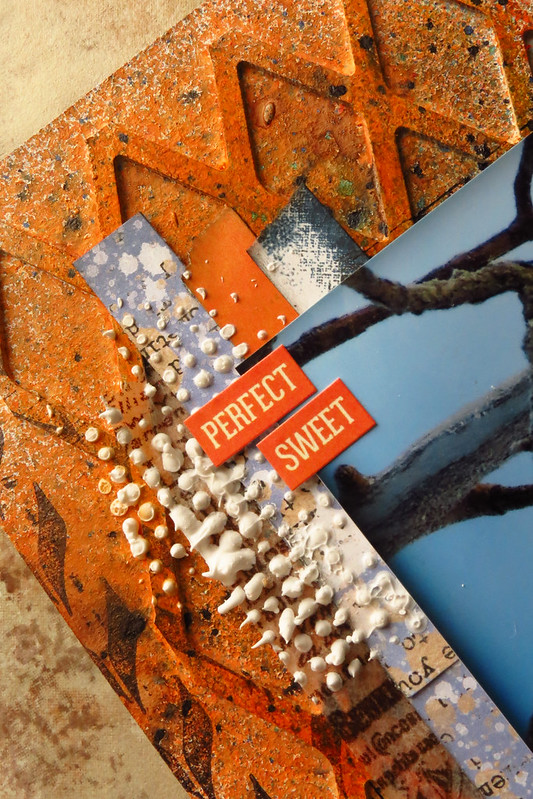
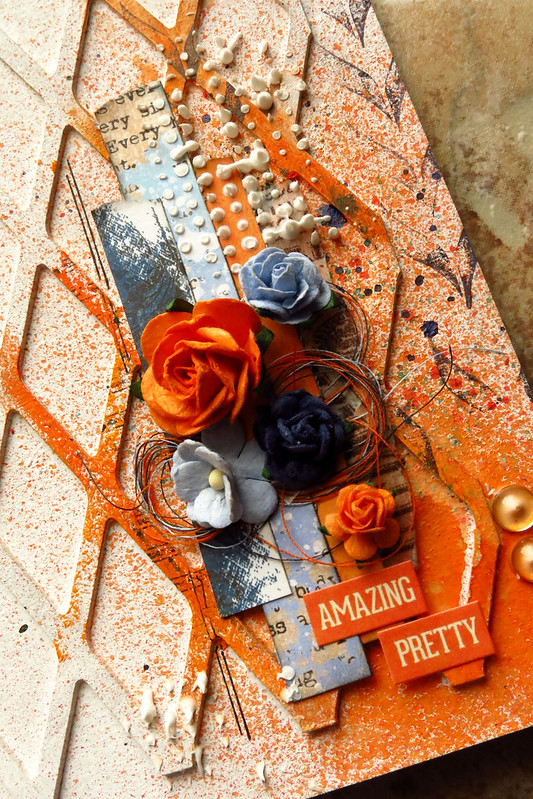
Today, I will show you two layouts I created with the Blue Fern panels. I love the panels: they are great if you want to add texture and interest to your backgrounds. Here are two differents ways to use them.

Be sure to come back here on February 16th too; I'll be featuring a tutorial to show how to create your own mixed media background, again with a Blue Fern panel.

Without further ado, here are my layouts.

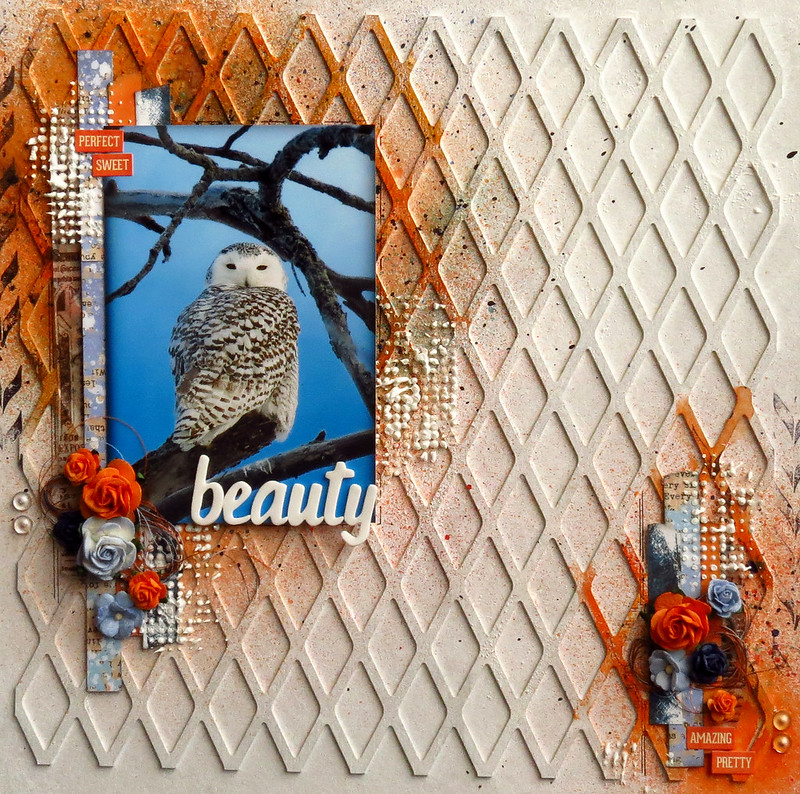
"Beauty" layout
 

Do you love birds and snowy owls? I do, and I am particularly lucky to have two hanging around very close to my house this year. I go see them almost every day and I take lots of pictures! :) Here's one that was taken at the beginning of February.

I used the Harlequin panel to create the background of this layout. I glued it to a 12 x 12 piece of chipboard and covered the whole thing with gesso.

First, I sprayed various mists in the opposite corners.


Then, I altered some parts of the chipboard with two different colors of Gelatos.


I also added a bit of texture with a stencil and modelling paste.


"Family" layout


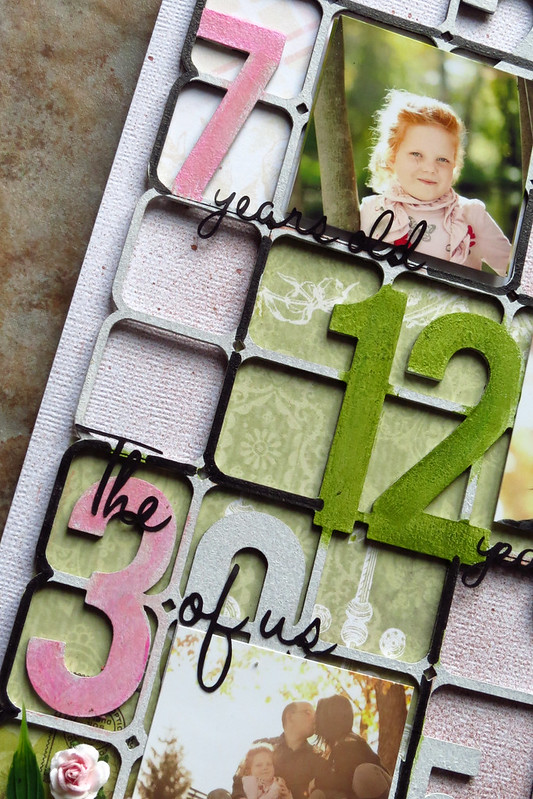
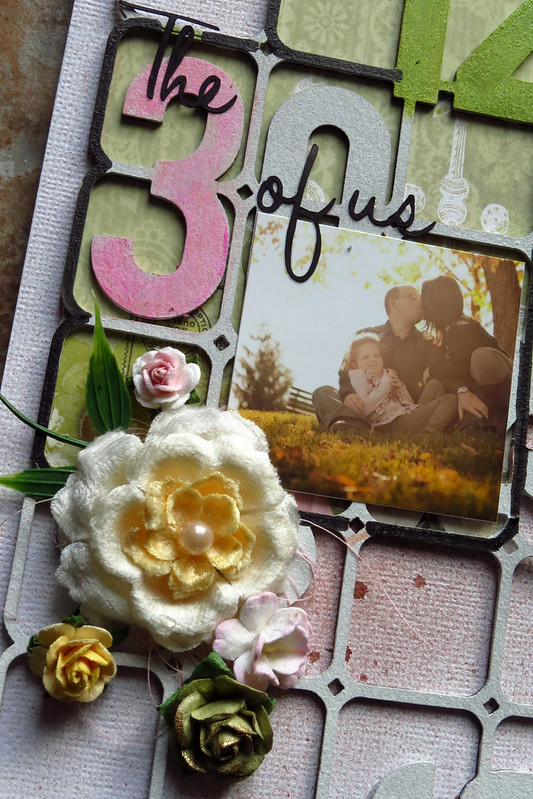
For this layout, I used the brand-new Number Grid panel, which was released in December. I used the big one, but there is also a smaller version.

First of all, I primed my panel with gesso and let it dry.


I chose a few significant numbers in the grid and colored them with Silks Acrylic Glazes to make them stand out. I then put the relevant pictures beside those numbers. I also used my Silhouette to cut some words and create phrases with my numbers.


Then, I used pieces of the new Blue Fern Garden papers here and there under the grid.


I also added various embellishments and words here and there.


Wednesday, February 12, 2014

Shadowbox and two layouts

Hi! Maja here today to share with you some projects I have made. It´s just a couple of days left to Valentines day so my first creation out is a little shadowbox with love... The chipboards are painted with gesso and acrylic paint.


BFS products used Gabrielle Butterfly and Memory Frames

Next out is a layout of me and my hubby using the new gorgeous "Blue Fern Garden" papers. Love the colours and patterns in theese papers. I cut the beaded sting in two halves and put some chalk on it, some glossy accent and glitter. I treated the Charmed Page Dangles in the same way.


BFS products used are Beaded Strings, Charmed Page Dangles and Tweet Friends.


Finally a layout with lots of fuzzy cutting and layers with emellisment and papers.  I treated the chippies with chalk and Glimmer Glam.


BFS products used are Circle links and Dare To Dream.

Thanks for stopping by and happy Valentines day to  all of you Blue Fern lovers =)