Hi there.
Today it's my turn to blog some Blue Fern goodness and to start with I have a page that I made
with the lovely Autumn Anthology.
with the lovely Autumn Anthology.

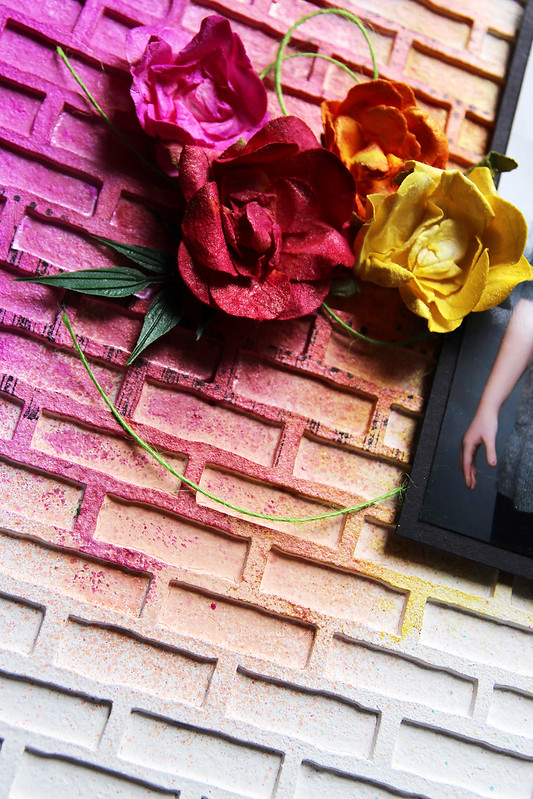
I used the Robin paper as a base and the Cottage paper on top. I used a brayer to add a thin layer of gesso to prime my paper for the Imagine Ink Sky mist and the Love Story 2 stamp set.

I cut a piece from the Shabby Brick Panel chipboard and haphazardly painted it white. I then just gave it a slight splash of the same mist I used earlier.

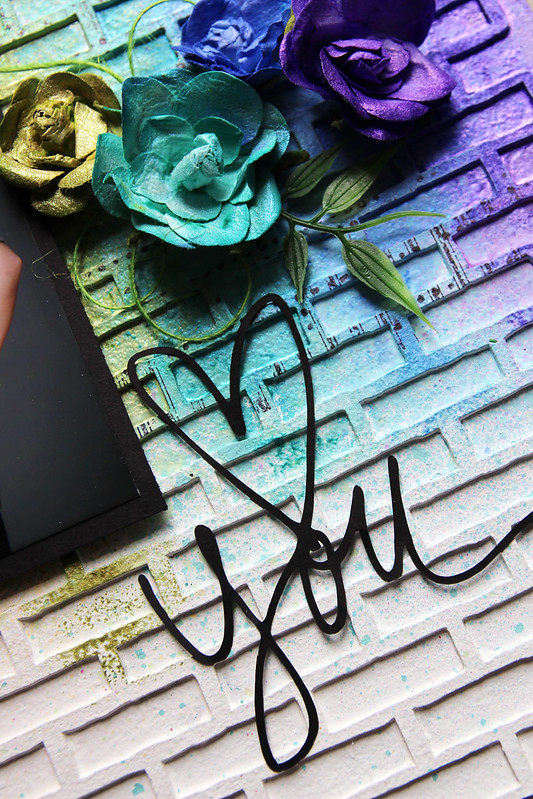
I picked a choipboard title to suit my page and after priming with gesso I paintd it with blue acrylic paint. To finish the look I added some Distress stickles on top. I useda third choipboard piece here as well, but it may be hard to detect,....-It's the arrow from the Directions set.
But instead of painting it, this time I covered it in a cute washi tape.

So here's a last look at the pretty colours in this page, and as you see I also cut some strips of other pretty papers in this collection just so I could do a little layering.
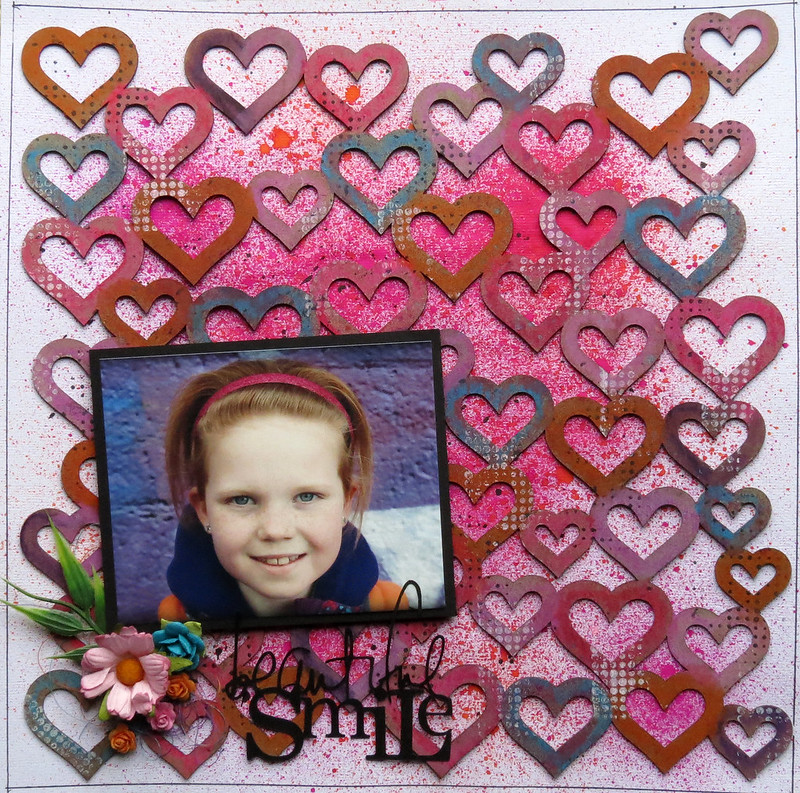
My second project is a little different for me. I don't usually do scrap on canvas,
but this round one looked fun, so I decided to give it a try!
Here's how it turned out;

As further inspiration for this canvas I used the October sketch. I turned it upside down and took a free approach as you should with a sketch, but I think you can still see the resemblance.
Here's the sketch:
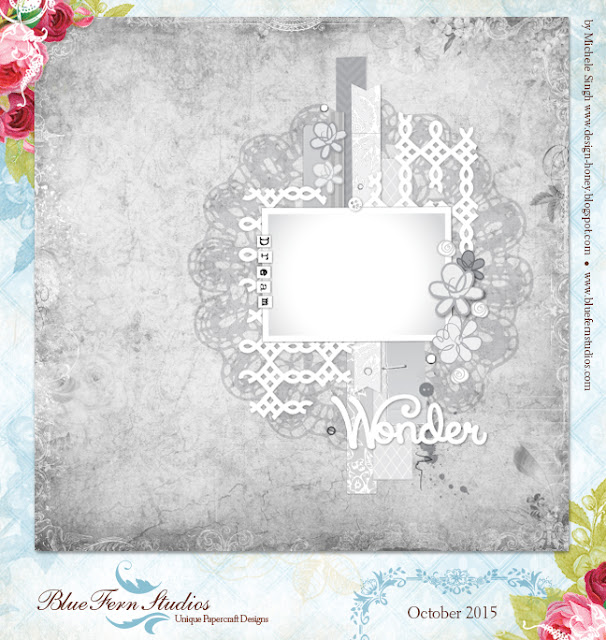
Here's the sketch:

Read all about the challenge HERE.

I used calling cards from the Frolic collection as a title for my canvas/page.
The Butterfly Friends chipboard rceived a coat of white paint, some glitter and a light application of the green mist Imagine Ink Leaf. Also the large Frolic Mesh Bits chipboard was treated similarly.
I added a few leftover pieces of chipboard here and there, you can see them in the photo above.
I dont ever throw those little tresures away :-)

Finally a close up of the gorgeous Butterfly Friends again!

Thank you so much for looking in today :-)