Greetings from Joyce in Southern California! I came
on the scrapbooking scene three years ago when I came into possession of some
old family vintage photos. I decided to preserve them and tell my
family’s stories through those photographs. My intention was to only scrap
these photos and put them away for future generation’s enjoyment. However, I came down with the hoarding
ailment so many of us have caught, and I started stalking art stores for
supplies, joined an online monthly scrapbooking kit club where it exposed me to
the terminology, trends, and manufacturers.
I immediately became smitten with this art form because it allowed me to
incorporate all my previous skills of drawing, watercolor painting, bead work,
home and apparel arts, and a legitimate excuse to buy more art supplies. I’m
excited to be back designing for Blue Fern Studio’s (“BFS”), because I enjoy
taking something raw like chipboard and transforming it into a pretty
embellishment. But most of all, I enjoy sharing
ideas and techniques for the BFS Follower. My style?
Well, I will leave that up to those of you that view my work. You can find me here at BFS on the 17th
of each month, and every day on my blog at http://scrapsofelegance.blogspot.com.
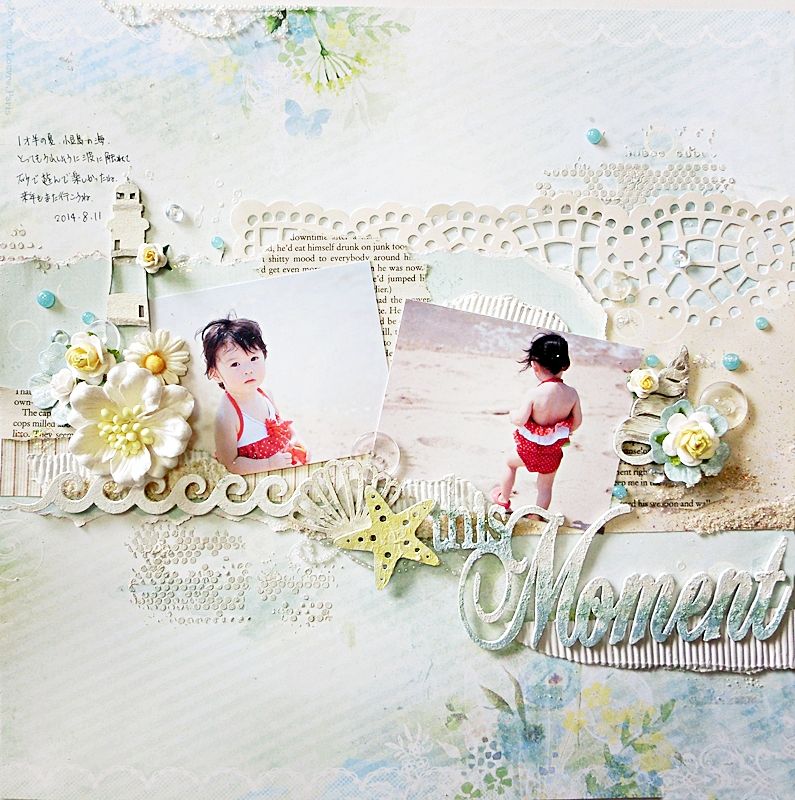
Today, I am sharing a project inspired by the colors of sea
glass, and using a fiber tissue technique to create structure, texture and
dimension on some of the chipboard pieces.


Technique: Apply gesso, or white paint, to the chipboard
and allow to dry. Then apply glue to the
chipboard and tear off small pieces of the fiber issue paper and work it in and
around the defined areas of the chipboard and set to dry thoroughly. I normally add several layers, and fold and
scrunch the paper as I mold the paper to the chipboard. Once the fiber tissue paper is dried, apply
clear gesso (do not use the regular opaque gesso) and let the application dry. Apply mist in the same color family with a
small paint brush in three stages starting from the lightest to the darkest
color, and allow each stage to dry before continuing to the next stage. Save the darkest color application for
valleys created by the fiber tissue paper (don’t over work the valleys too much
with the dark color, it should be done sparingly). After the final application is dried, apply a
light application of metallic paste on the peaks of the fiber tissue paper. To
further enhance the design of the chipboard piece, use a water color pencil
around the shape of the chipboard, and into very small crevices.
The small 4 x 4 canvas below is transformed by adding the pretty
delicate leafy page accent chipboard using the same fiber tissue paper
technique on top of a hand-cut corrugated heart. You can see the water color
pencil work better on this chipboard piece.
Check back with me here in the future, because I’ll be
providing a pictorial tutorial on the fiber tissue paper technique I created on
one of my future design team projects for you.
Tip for the Day: Use clear gesso instead of opaque gesso on
your chipboard when you’re creating with light colored water based mists. The opaque gesso acts as a resist and repels
light colored water based mists, and you’ll waste your mist product. The clear
gesso will absorb the color beautifully and allow you to work with lighter
color mists.
Thank you!

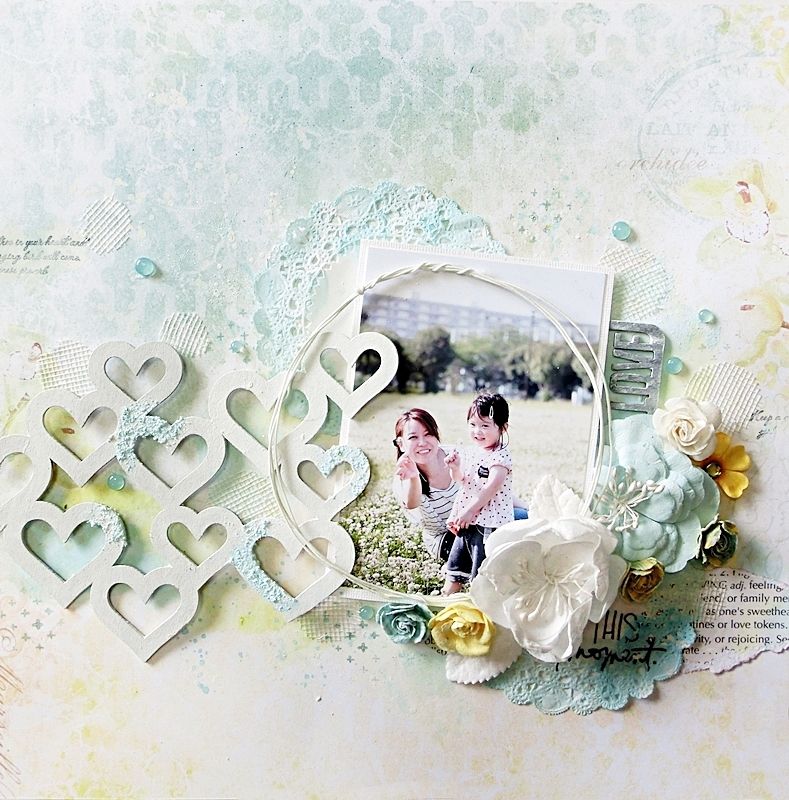 I liked cardboard of the heart
of
this big (12
inches of size)
very much!
I liked cardboard of the heart
of
this big (12
inches of size)
very much!