Showing posts with label Petite Boutique Frames. Show all posts

Thursday, March 20, 2014

Some Blue Fern Garden Projects with Rae

Hello! It's Rae with you to share some more projects I have made using more of the Blue Fern Garden papers. They are so beautiful and I am down to scraps now, but I have had such a fun time working with this beyond gorgeous collection!

"Perfect" Layout


I'm trying to use up every part of each piece of paper, so I used this "Boudoir" piece that I cut an oval out of already for another layout, and went from there for this layout. The back has some green cardstock and the "Love Letters" paper that I fussy cut the lattice out of. 

Here's a closeup of the berry stems that I used as part of my floral cluster:

Primed with gesso, and then sprayed with some green gold mist, I then added some archival ink in black to these "berry stems", then added some Liquid Pearls in black for accents.

This is a close up of the "sweetheart dressform" that I treated with gold Ferro, then sprinkled black embossing powder over while still wet, and dried with a heat gun to get this distressed effect. 


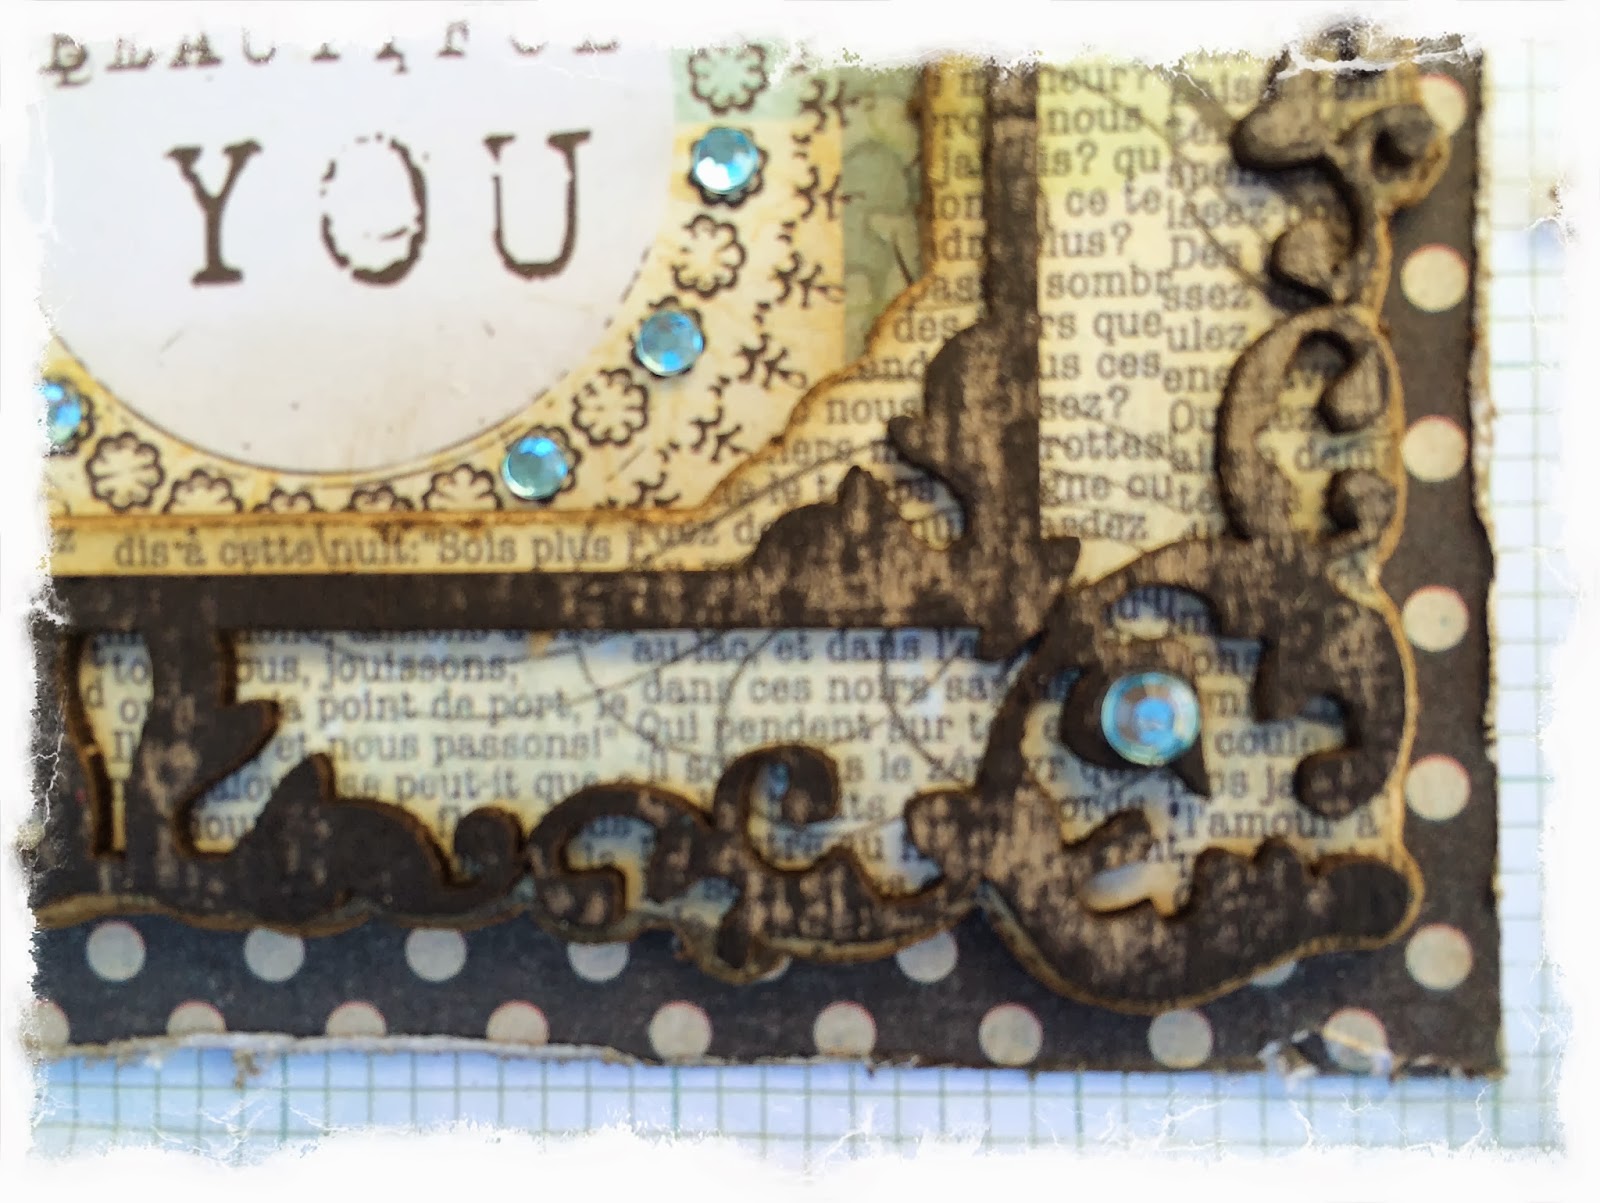
"Follow Your Heart" Card

Another project I made using the Blue Fern Garden scraps. 

The bird is from the "little birds set." I just used black chalk ink on him. :)

The frame is from the "petite boutique frames set" that I primed with gesso, sprayed with patina mist in random spots, then used some gold embossing powder.

The scrolls under the flower are pieces I cut from the "large royal border." I painted it with dark olive paint, then added some bright green microbeads.


"Good Things Jar" Altered Project

And, lastly, here is an altered project I made using a mason jar. I've made a few of these, and I give them to friends as gifts. I saw this idea on Pinterest: keep a mason jar handy and when something good happens, write it down on a piece of paper, fold it up, and throw it in the jar. At the end of the year, take all of the pieces out and read all of the good things that have happened for that year. In the pin, the mason jar is plain, but it's much better to have an altered jar on the counter!


The jar is covered with a piece of "In Bloom" paper that I stamped and distressed. The little flag is from the bottom strip of one of the papers.


The bird cage is from the "grande cages set." I covered it with Perfect Pearls in heirloom gold, which gives it a perfect finish- not to shiny! I added pearl strips and accented the butterfly with Smooch inks.

Here's the back: 


Thanks for taking the time to look at my projects today!


Rae

Sunday, January 26, 2014

2 projects by Yuko


Hi everyone!  my first post with Blue Fern Studios !
 I am so honoured and delighted to be join this team.


  My name is  Yuko Tanaka and I live in Japan.
   I live with my husband and a beautiful daughter.
   After I got married in 2006,I started sorted our wedding photos and organizing
   so that I could start “scrapbooking” in 2007.
    I gave birth to the daughter of the wish to 2012. 
    Now   I  eager in leaving the growth of the dearest daughter 

Please visit my blog!    My blog "with colors"

Here is my first project.

<A Moment in Time>

I use BFS chipboard"A Moment in Time""Tatterd Diamond Bits"

I liked very impressive is this chip boards of large characters.

After acrylics paints colored, the liquid pearl was applied partially and, 
finally lame was attached. 


    I colored "Nature Spring "   to image autumn, and to look like "dead leaf"

<Memories> 

It is the photograph which my daughter photographed in a dress on a 2nd birthday

BFS chipboard "Garden Gate"is very beautiful!
This was very aroused my imagination!!!


I used  "Petite Boutique Frames".
I colored this frame with gesso, ceramic stucco.


BFS chipboard "Veranda Cage "
This is easy-to-use in just right size.

You can see more of my work close-ups 
 on my blog at  http://wihtcolors.blogspot.com/

See  You :)

 YUKO

Monday, January 20, 2014

A Layout and a Card with Rae Moses

Hello, everyone! I'm Rae and I am so honored to be a part of the Blue Fern Studios Design Team! This is my first post, so I'll here's a little bit about me:

I live in Colorado with my husband and three children. I used to be a high school teacher, but I currently enjoy being a stay-at-home mom. I enjoy spending time with my family, reading, and crafts of all kinds! I've been scrapbooking for about six years, and I am hopelessly addicted! I love creating layouts and altered projects of all kinds. I love the shabby chic, elegant, and grungy styles. I love layers and distressing!

Here are a couple of my first projects I have made for this month:

"Delightful" Layout 


If you follow the BFS blog, then you've seen this layout already because it's my take on the January Sketch Challenge. :)  But, I thought I would share some closeups of how I treated the chipboard. 

For this snowflake dangle, I painted it with gesso, then added some Distress Glitter.

I also painted this dangle with gesso, and once it was dried, I used some purple chalk ink on the bows and outlined the heart. I finished it off with Tattered Angels Glitter Glam.


 For the "delightful" piece, I painted it with gesso, then I pressed the purple chalk ink onto it in a random fashion.
Chipboard used: Winter Dangles, The Optimist Word Set

"Beautiful You" Card


I just adore this Shabby Layered Frame! I thought it would make a perfect fit for a card, so I made one with it. And, because I was going for a basic distressed look, I decided to cover the bottom layer of the frame with paper. I simply traced the frame on the paper I wanted to use, and cut it out and glued it to the chipboard, and then used a file to sand the paper to show the fine details of the outline.

For the top layer, I decided to simply "brush" it with black archival ink, careful to leave some of the raw chipboard showing.

Chipboard used: Shabby Layered Frame

"Blooming Beauty" Layout


There is A LOT of chipboard on this layout!

For these Graduated Circles, I used basically the same technique that I did for the card above, but I used brown archival ink.


On this Spring Branch, I started out with a heavy layer of gesso, then I randomly poured clear microbeads on it while the gesso was still wet. Once dry, I used Silks Acrylic Glaze paint in Guatemalan Green. It was a little brighter than I wanted, so I applied Distress Ink in Walnut Stain to make it match better with my color scheme of my layout.

For this frame from the Petite Boutique Frame set, I put on a heavy coat of Croco paint from Viva Decor. Once it dried, I dabbed on some Vintaj Patina paint, and finished it off with brushing it with Distress Ink in Walnut Stain.

And, for my title, I used the Blooming Beauty piece. I used the technique I used on the frame above for the "Blooming" part, then I covered the "Beauty" with black glitter.

Chipboard used: Graduated Circles, Spring Branch, Petite Boutique Frames, Blooming Beauty

Thank you for taking a look at my projects! And, thank you so much to Leslie and Valerie for having me as part of this team!

Monday, November 25, 2013

LO's and Project life by Kotlyarova

Hi there!
Olga is here today to show few layouts and Project Life spread.

I've decorated shipboards with different ways, hope you like it :)
For this Clean&Simple lo I've used two Blue Fern pieces. I've made ombre effect with acrylic paind and glossy accent. Looks great, isn't it?

BFS Chipboard Used:
All natural set 
Valentine's Word Set 

 I've made this lo with 7dots paper and two Blue Fern Studios pieces I painted with acrylic paint
  BFS Chipboard Used:
Brigitte Butterfly Set
Petite Boutique Frames

And the third lo is with my little cutie too:)
I wanted to add a little brown color here, so I didn't paint chipbord and just covered it glossy accent.

BFS Chipboard Used:
Quatrefoil Panel 
 All Natural Set 


And one week from my Project life album. I like use simple color cheapboards for making accents in it.


 BFS Chipboard Used:
Mini Ring Things 
Chunky Heart Panel 
 Picture Perfect

Have a nice week :)
Olya

Wednesday, October 9, 2013

Glittery Christmas Cards with Yana Smakula

Hello everyone! While folks around here are barely seeing the first signs of Fall I've entered the phase of holiday card making. I try to prepare myself and my home for Christmas ahead of time and this means making lots of holiday cards in the preceding month of October and November. 

Today I'd like to share some of my first holiday cards this year. For some reason, I'm all about using glitter in my projects and today's cards are no exception.

I don't yet have any of the new Blue Fern Studios fabulous holiday chipboard so I decided to challenge myself to use what I had on hand - regular non holiday shapes and incorporate them into festive holiday cards. To achieve the look on my cards below I simply covered all of the chipboard pieces with embossing powder with a mixture of glitter. I used regular embossing powder with silver glitter and chunky white with a bit of gold embossing powder and some glitter. Both powders are from Stampendous and work great for project like this.

Believe in the miracle:


Chipboard used:
Petite Boutique Frames
Blooming Foliage

Merry Christmas:


Chipboard used:
All Natural Set
Fancy Birdcage

Wishing You Holiday Cheer:


Chipboard used:
Petite Boutique Frames
Icons Set Three
Thanks for stopping by!