Today, I have 3 different layouts done in 3 different styles showing you how you can use the Blue Fern Studios products to create something unique and wonderful no matter what style you like to craft in!!
If you haven't had a chance to check out the Blue Fern Studios Sketch Challenge, be sure to do so and get entered in for your chance at one of their awesome prize packs!!
Here is this month's sketch:
And the following is my take on the sketch using the Blue Fern Serendipity Collection to show you how you can use Blue Fern Studios products to take it to the Masculine, Grungy side of paper crafting:
I started with a layer of Serendipity-Chronicle Paper, and then took a layer of Serendipity-Imagination Paper,
did some tearing and then heavily inked the edges.
Next, came a layer of corrugated board that I misted in different layers, and then added Black Microbeads mixed with glitter glass to the torn edges on, and randomly onto the surface.

I am one of those people who does not like to waste, and so I took the large pieces that housed the Blue Fern Circle Links that I used on a layout last month, (yeah the part that most people throw away), and I stamped it with clear embossing ink and stamped it with the grid pattern from the Blue Fern Essential Textures Stamp, coated it with Imagine Ink Ginger Embossing Powder, heat setting it with my heat gun.
I took more of the Serendipity Chronicle Paper, cut and curled the edges, then added my photo, and "hung" it with an Office Metal Piece.
I wanted to add some details, without adding flowers, so I splatter painted the paper and then sprinkled Imagine Ink Ebony Embossing Powder and Silver Microbeads into the paint and heat set it. I set some silver brads in a zig zag pattern and then wrapped them with silver wire.
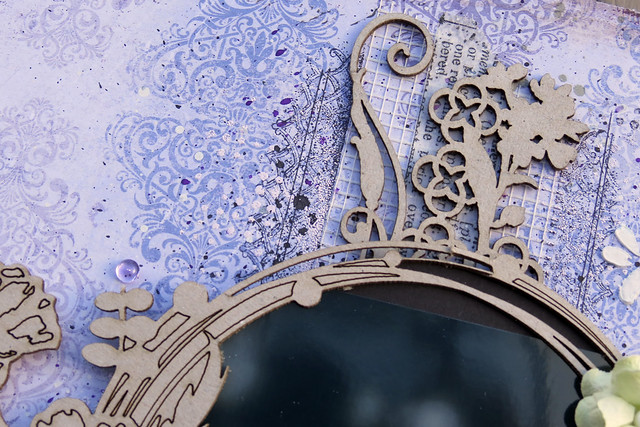
I created this completely FABulous large piece by taking a Blue Fern Working Parts Chipboard Piece and Grunging it up. I inked the brown part, used Imagine Ink Ebony Embossing Powder on the gear pieces of the design and used Imagine Ink Snow Embossing Powder on the chain and gear teeth part of the design and then just splatter sprinkled the Snow Powder to get a worn look. I then added some bolt heads to give it a really cool industrial look.
I continued the piece, actually making it look like one large piece, using the Blue Fern Studios Cogs and Gears Chipboard. I embossed the cog pieces with the Imagine Ink Snow Embossing Powder , and the Gears with the Imagine Ink Ebony Embossing Powder and attached the pieces to the Working Parts piece with a bolt head, and attaching the cogs with some screw brads. I love how combining those pieces created an amazing focal piece for my layout!!!
For the Title work, I stamped the "Photos" using the Blue Fern Studios Photography Stamp, and embossed the stamping with the Ebony Embossing powder, then tore the piece out of the paper and heavily inked it, attaching it with an office metal clip with the word "capture" on it and adding a metal tag with the word "Collections" on it.
To bring out the teal color in the paper, I took some Blue Fern Studios Grid Bits Chipboard, heat embossed it with some Imagine Ink Peacock Embossing Powder, and tucked them into some of the tears and layers of my layout.
Here you can see all those layers of Masculine, Grungy goodness that the Blue Fern Products allowed me to achieve, and absolutely no flowers!!
I love doing masculine work! It completely stretches my imagination and makes me think outside the box!
Blue Fern Studios Supply List:
Paper:
Serendipity-Imagination
Serendipity-Chronicle
Chipboard:
Cogs & Gears
Working Parts
Grid Pieces
Circle Links (Leftover Pieces)
Stamps:
Essential Textures
Photography
Imagine Ink:
Ebony Embossing Powder
Icicle Embossing Powder
Ginger Embossing Powder
Peacock Embossing Powder
Next up, I have a layout using the Blue Fern Serendipity Paper Line that shows you how you can use the Blue Fern Products to create a Vintage/Heritage style piece:
I started with a layer of Serendipity Fascination Paper. I liked that it had that notebook edge to it, lending a perfect setting for the look I wanted to achieve. I then cut down a piece of the Serendipity Chronicle Paper, and punched the top and bottom with a lace look punch. I added some vintage look lace to add a touch of softness and femininity.
I then wanted to capture the feeling of time, so I took the 2nd Sized Clock from the Blue Fern Large Roman Clocks Chipboard Set,
and I heat embossed it with Imagine Ink Oatmeal Embossing Powder. I then stamped it randomly with the pattern stamp from the Blue Fern Bottled Sentiments Stamp Set, used the Imagine Ink Garnet Embossing Powder on the stamping and heat set it.
I created some layers to place my photo on using more of the Serendipity Fascination Paper, and a piece that I cut from the Serendipity Calling Cards Paper that repeated the notebook paper pattern, and then topped it with my photo.
I then added a metal office clip topped with a pearl and let it "hold" one of the Calling Card Paper pieces with the "Serendipity" definition.
I created a base for my flower layers using the Blue Fern Whimsy Flourish Chipboard Set that I heat embossed with Imagine Ink Sage Embossing Powder,
stacking the 2 pieces to make a continuous base to place my flowers and foliage onto.
I then added some of my handcrafted Secret Crush Butterflies on, and they pulled out the pattern in the background paper wonderfully!
At the top of the clock, I added more flowers and foliage.
Here is a side view to help you see all the Vintage elements and how you can achieve a time worn look using the Blue Fern Products.
Blue Fern Studios Supply List:
Paper:
Serendipity-Chronicle
Serendipity-Fascination
Serendipity-Calling Cards
Chipboard:
Roman Clocks
Whimsy Flourish
Imagine Ink:
Oatmeal Embossing Powder
Sage Embossing Powder
Ginger Embossing Powder
Garnet Embossing Powder
Stamp:
Bottled Sentiments
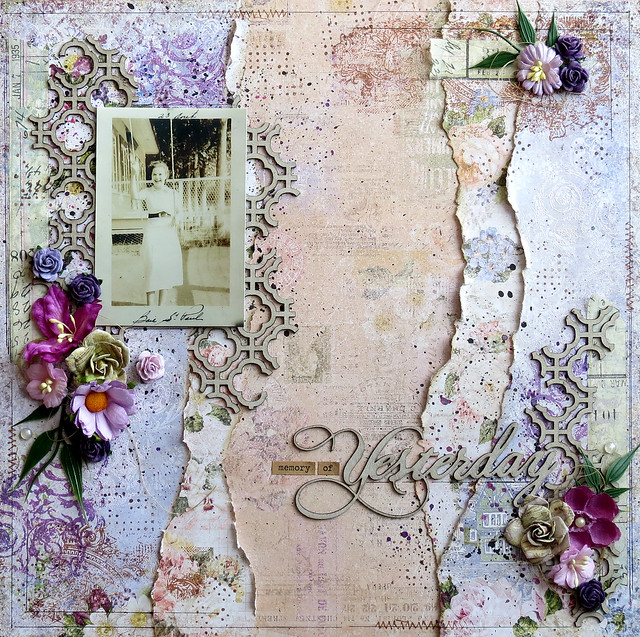
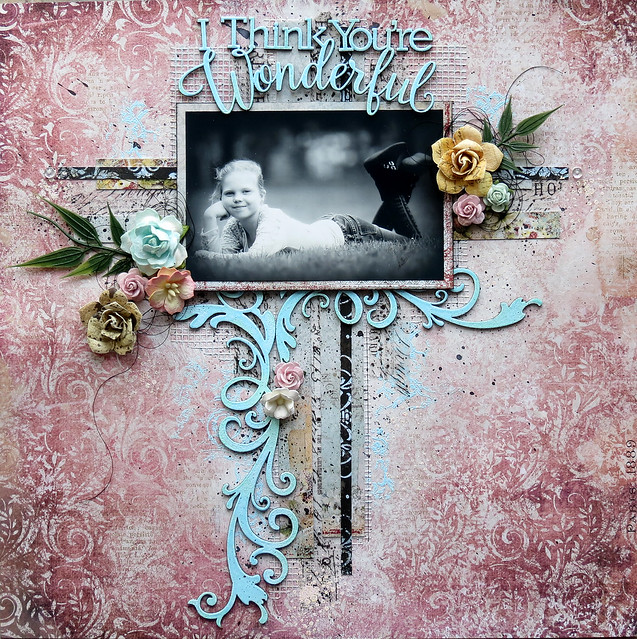
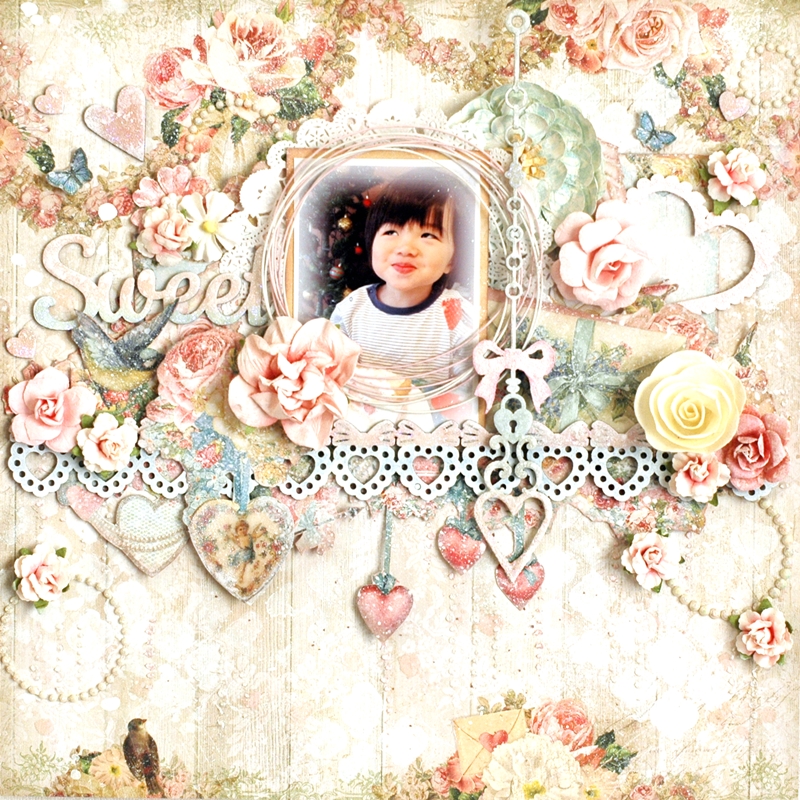
For my last layout I created a super romantic, Shabby Chic look using the brand new Courtship Lane Line that has just been released:
I started the layout with a layer of the Blue Fern Courtship Lane-Bourbon Avenue.
For the next 2 layers, I wanted to create torn, book page layers to carry out my Fairytale Book theme from the photo, so I used a piece of the Courtship Lane-Town Gossip Paper, tearing a side piece off, flipping it and using the backside for the under layer and the front side for the top layer.
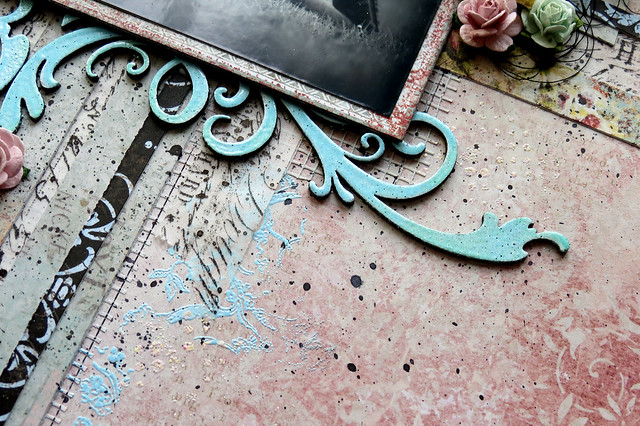
To get the wrinkled look, I just water distressed the edges and then kept working the paper with my hands to break it down a bit and then pushing it until I got the look I wanted and then drying it with my heat gun to form the look of pages.
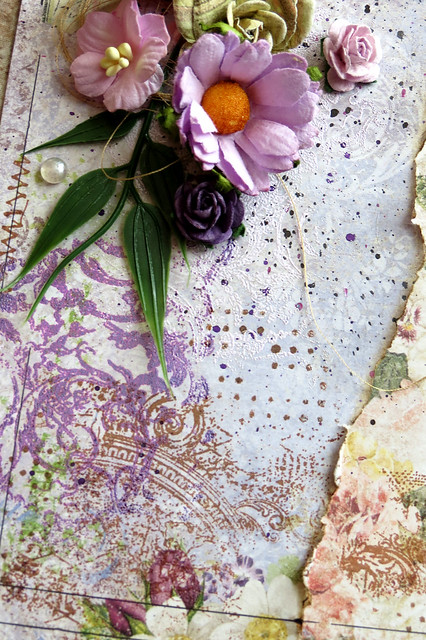
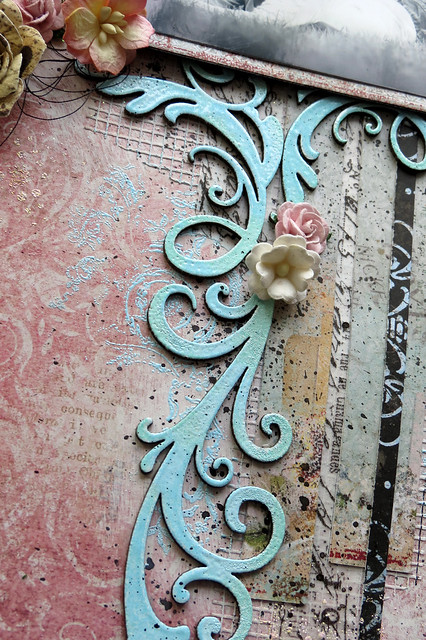
I then used a Doily Stencil and texture paste to create the raised pattern on the papers.
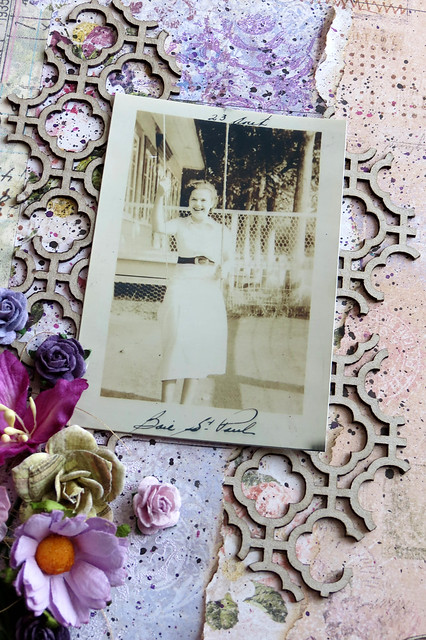
I layered my photo on and then topped it with the Circle Flourish Chipboard that I heat embossed with Imagine Ink Snow Embossing Powder and then added faux pearl accent to.
The butterflies are some of my handcrafted Snow White Butterflies and really added to the soft look of my layout.
I love how the Imagine Ink Embossing Powders give the chipboard a wonderful, textured look when heat embossed. It makes creating gorgeous chipboard pieces a snap!
To add some Shabby Chic softness, I layered on some frayed cheesecloth,
Then added on Mulberry Paper flowers and foliage, and a sweet metal adornment that I coated with Gesso and added a little silver key to.
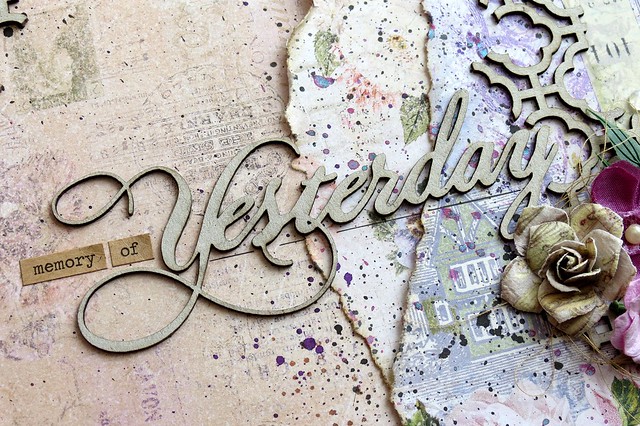
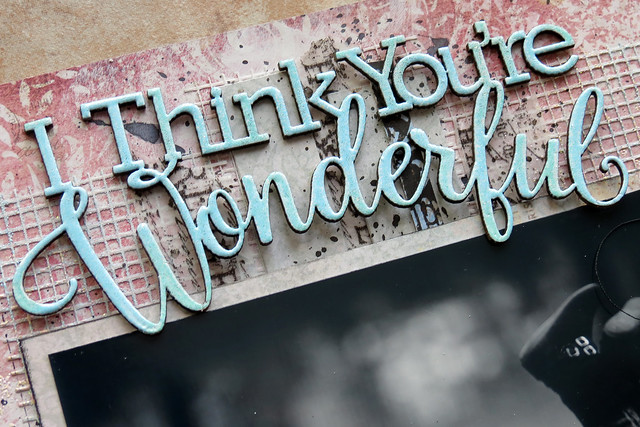
For my Fairytale title, I used the Fairytale piece from the Blue Fern Story Fairytale Magic Chipboard Set, that I first coated in Gesso then inked with a pink ink, and then created a coating using a mix of glitter glass and Imagine Ink Dusty Rose Glitter. After that dried I inked randomly with a tea dye ink to get an aged look. I then distress crackle painted areas on my layout to add to the aged look of the piece.
I created a book latch using a metal latch coated with Gesso and added it to my "pages"
I then took some Blue Fern Garden Lattice Bits Chipboard that I painted with Gesso and then coated with some more of that glitter glass and Imagine Ink Dusty Rose Glitter mix, and added some more faux pearls and tucked the pieces under the water distressed edges.
I just love how you can use the Blue Fern Studios products to achieve so many different looks!! The papers are so high quality and hold up to technique abuse and heavier layering, the chipboard allows you to create such amazing focal points and accents, the stamps allow you to create beautiful images or textural accents and the Imagine Ink Embossing Powders and Glitters allow you to create amazing colors and textures easily. I hope you get a chance to try some out for yourself! I promise you will be hooked!! Hugs ~Renea
Blue Fern Studios Supply List:
Paper:
Courtship Lane-Bourbon Avenue
Courtship Lane-Town Gossip
Chipboard:
Circle Flourish Chipboard
Story Fairytale Magic Chipboard (Fairytale Piece)
Garden Lattice Bits
Imagine Ink:
Snow Embossing Powder
Dusty Rose Glitter