Showing posts with label Floral Clock. Show all posts

Tuesday, July 21, 2015

Bente's July inspiration.

Hi, I hope all of you in the northern hemisphere are enjoying a lovely Summer, 
and that the Winter is not too bad on the rest of you :-) 

Today I have some layouts to share with you that are absolutely 'fresh from the press' so to speak.
I was in the UK last week celebrating my eldest daughters graduation from university and 
when I got back I had to finish my projects rapidly!! 
-But with such awesome products to play with it's not a problem:-)


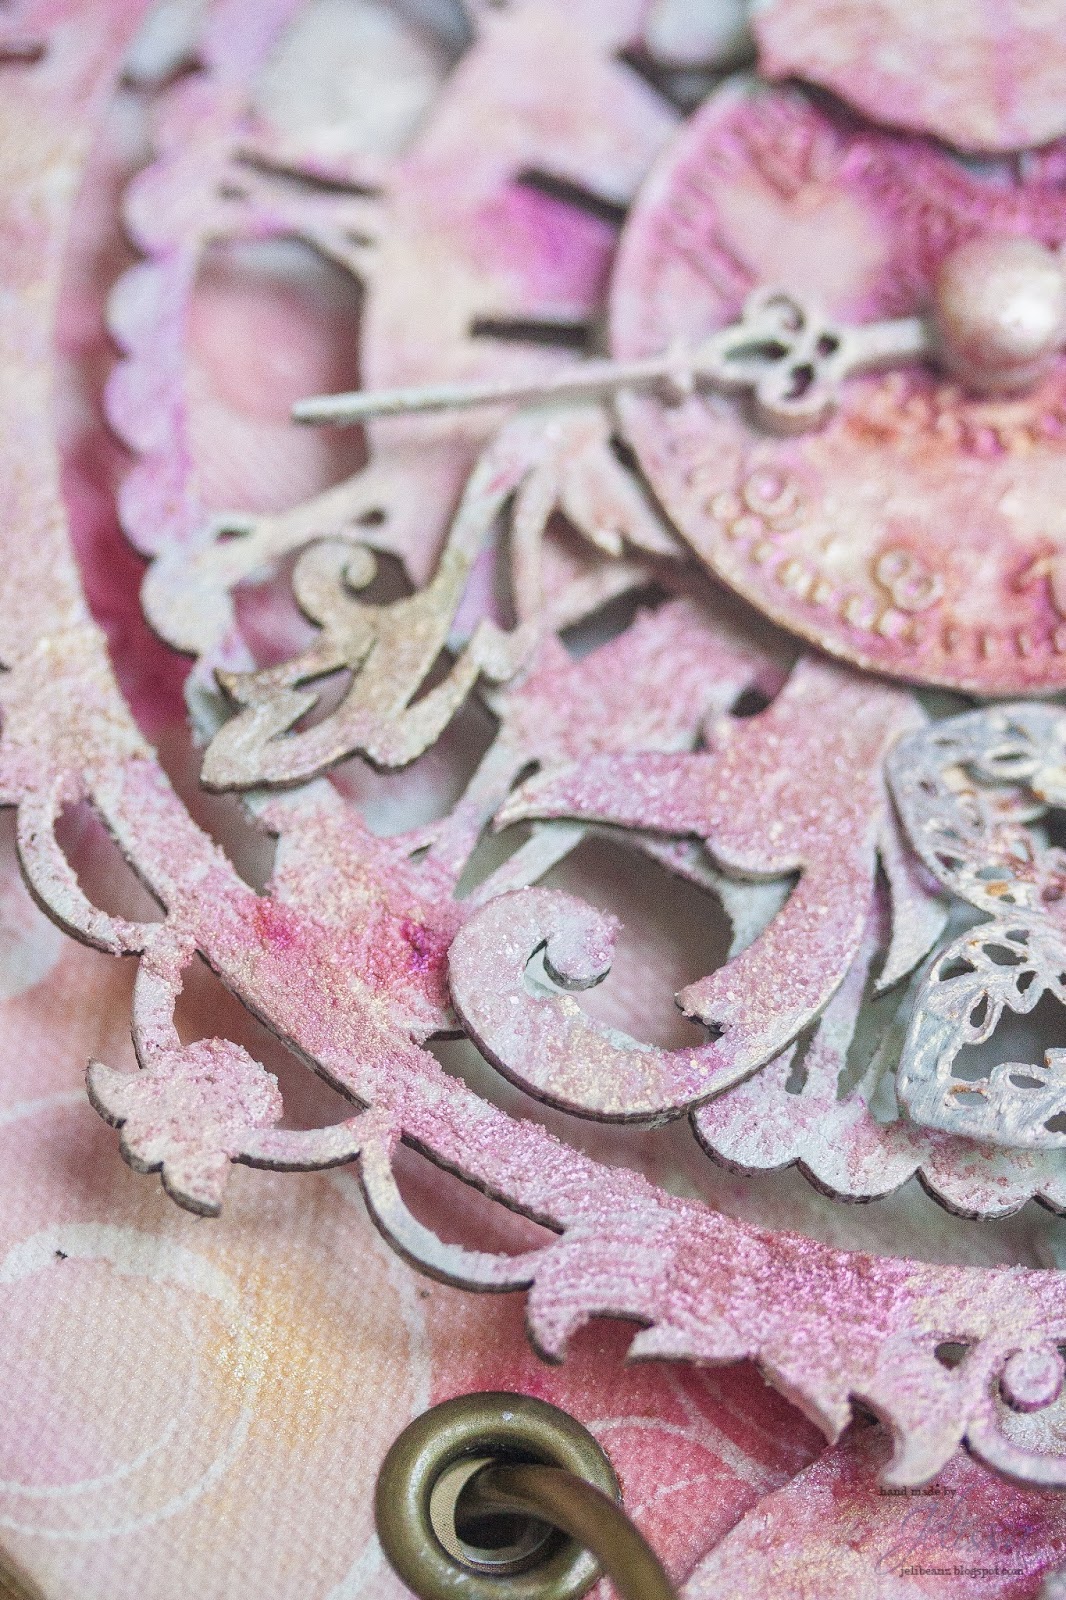
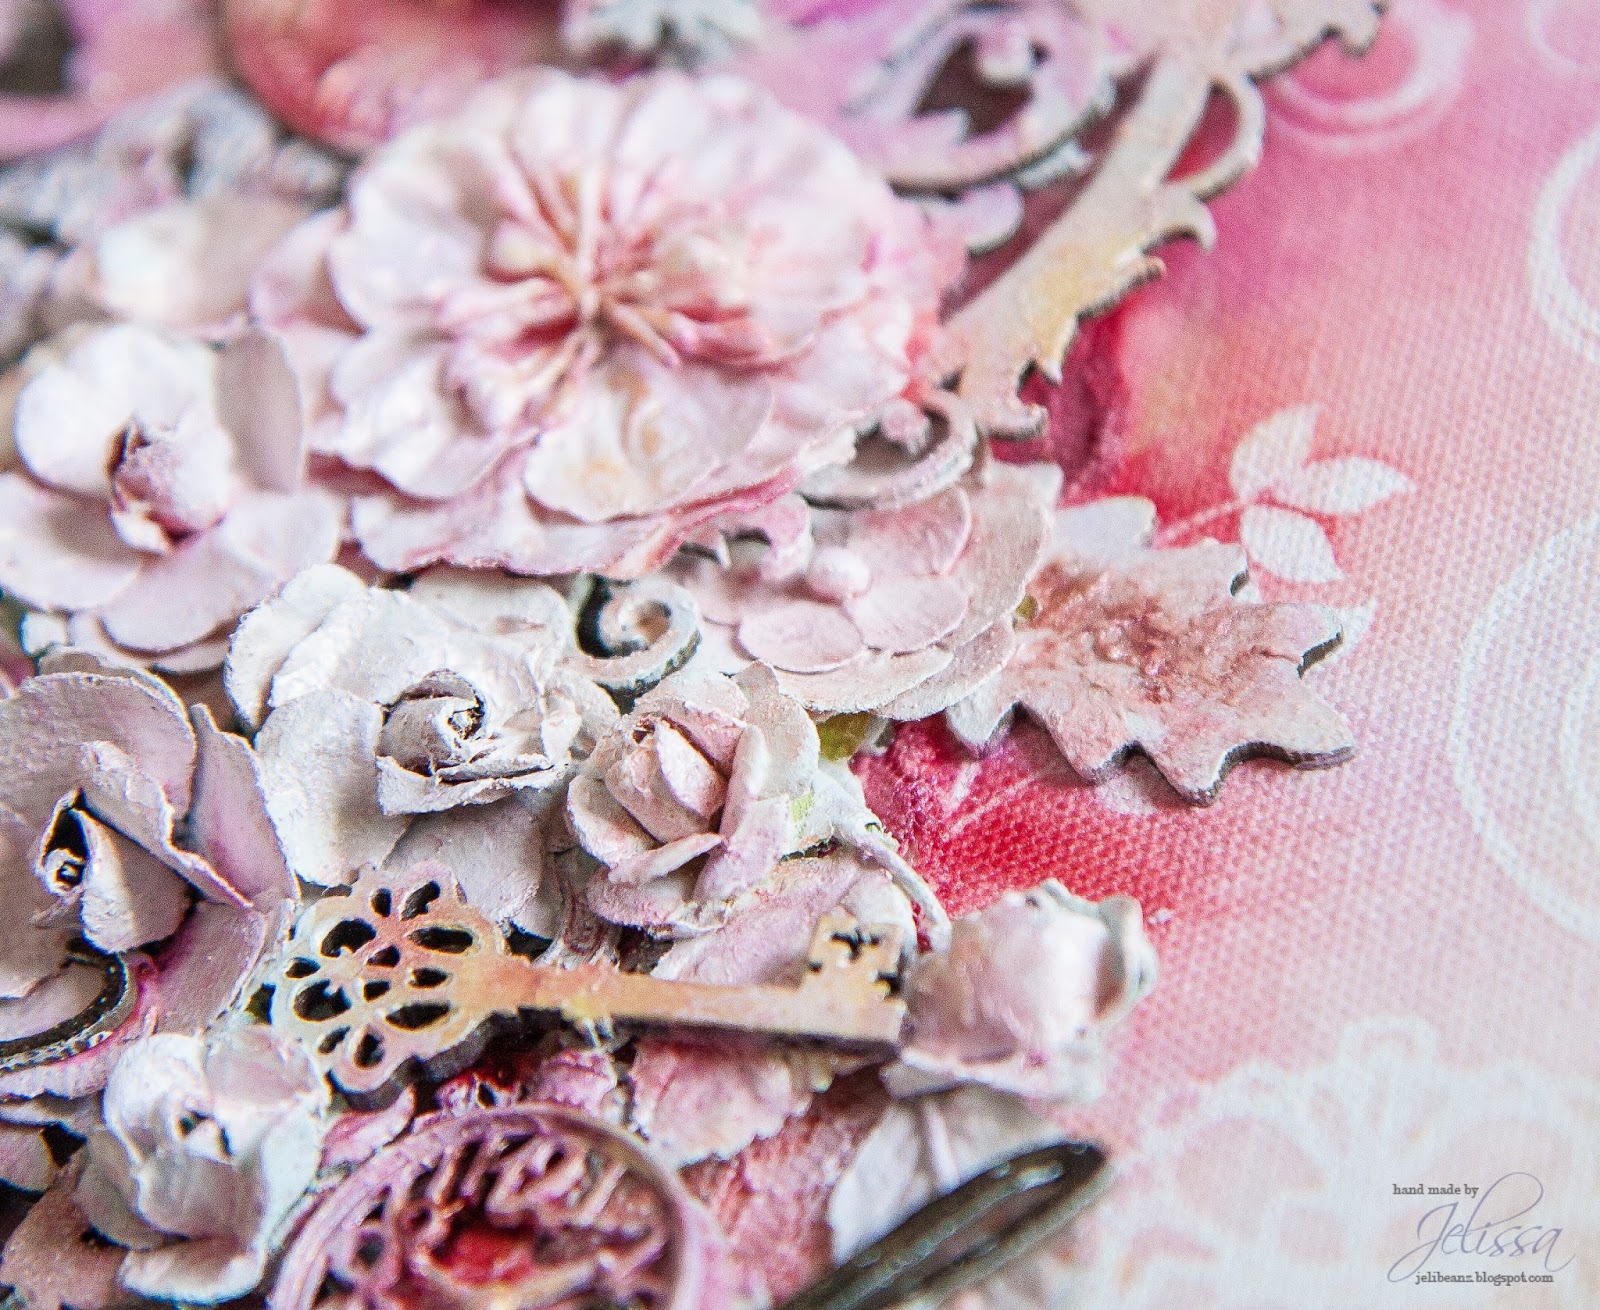
My first page is based upon a pink paper from the Montage collection. 
On top is a paper from the Deja Vu collection. As yo can see the collections mix very well.
-Especially when you add a litttle mixed media here and there. :-)
I 'framed' the whole page with the largest sized Graduated Squares, painted white then inked around.


 The gorgeous piece of chipboardbelow the picture is one of the recent shapes and called
  Rock Wall Bits. I painted it beige , stapmed on it and addedsome pink glitter. The part of the Grunge Frames chipboard piece above the photo was given the same treatment. I just love to add glitter to my pages at the moment :-)


The cute small dots scattered all over my page are the insides of then alpha stickers that I used.


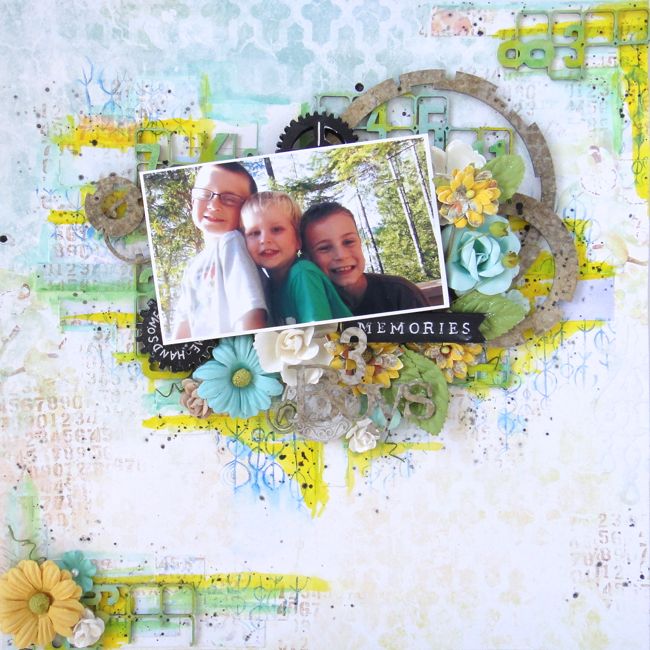
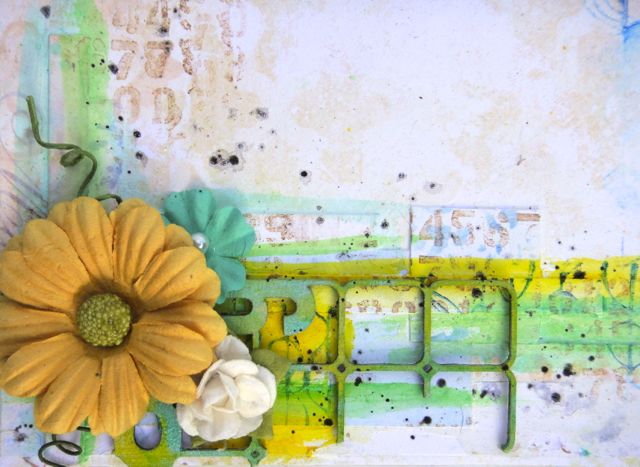
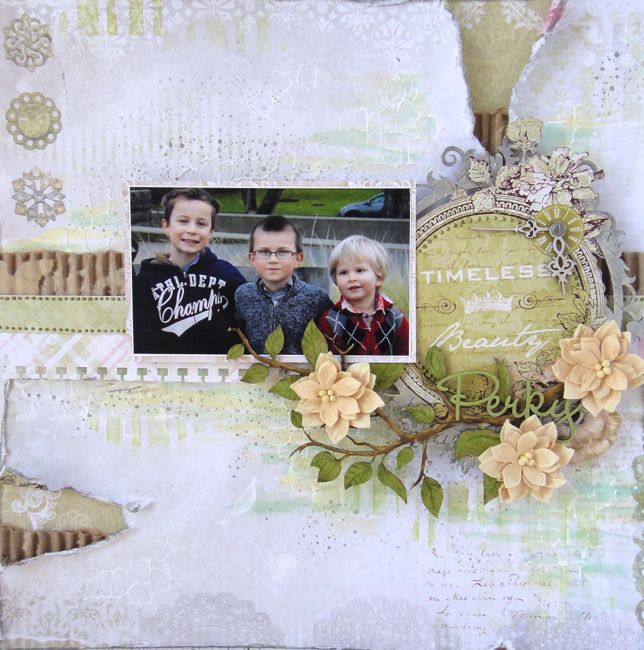
I used the Montage collection for my second project. I love all the lovely yellow papers in that collection:-)


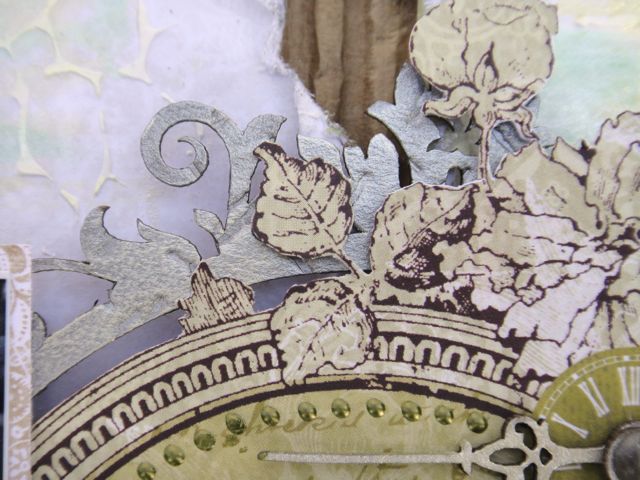
And here are some close ups of the details.

I used one of the Memory Frames as my title and hid it partially behind my photo.


The arrows are from the Directions set and simply painted black.


Making banner-pieces or mats behind the photos are such great ways to use up those left over pieces from your favourite patterned papers.


And finally here is my page for the current sketch challenge that you can find HERE.


The chipboards I used are:
Laughter, Happy, Smile and Floral Clock.

And a closer peek at some of the details:


That's all from me for today!! 
Have a good week! 


Thursday, March 19, 2015

Love Story Layouts with Angelica

Hello Friends! Today I'd like to share with you three layouts I created with the Love Story Collection.  I've made seven layouts thus far with this collection. I can't get enough...I just love it!

For my first project I made a masculine page.  When going for those boy pages I prefer not to use flowers. So embellishing is a little light than my usual. I layered the Film Strips and used the chippy Handsome for the title. I did a small bit of a mixed media background using mist and molding paste. I did some light distressing on the Amazing Heart, Twenty One and True Harmony papers.  I used the Love Story: Stamp 2 .


After doing the masculine page I wanted to go back to girly...lol! Here I used the Floral Clock and Dreams Come True Chippys. My little one was Cinderella a couple of years back and I thought the Grand Ball paper was a perfect fit. I did some stamping with the Forever Stamp.


For my last page I picked the title Angel Eyes from the Spiritually Speaking set.  I also used the Ironworks Accents. I did paper layering use four different sheets: Concerto, Calling Cards, True Harmony and  Amazing Heart.


Thank you for taking a peek at my March projects! I hope that I've inspired you!

Friday, January 2, 2015

New Beginnings with Jelissa

Hello Blue Fern Studios fans, and welcome to the new year!

I'm up on the blog today with a video tutorial of how I put together a mixed media journal cover, using nothing more than Blue Fern Studios chipboards, some metal bits and flowers. I was very inspired by one of our former creative team member Joyce Kers who kept a journal on inspirational women in her family, and I wanted to make a similar journal for myself but of my family tree which I hope to fill up in the year 2015.

This is the project:


and close-ups (warning: graphic-intensive!)


I have always used papers, cloth or canvas to create my layers but for this journal cover I decided to create my layers with the chipboards from Blue Fern Studios instead. The intricate laser-cut designs are perfect as every layer they form has lots of interesting details to catch the eye.  


I wanted a blank white base to start with so that I can get to play with the new mediums I got for Christmas, but didn't want my chipboards to feel boring. So all the chipboard pieces were covered with different texture mediums. 


My title piece which I kept simple.

Here is the video of how I put everything together:


Blue Fern Studios products used:

Floral Clock
Fall Foliage
Little Birds Set
Leafy Page Accents
Notebook Edges
"Family" word 

Thank you for dropping by the blog!
love,
Jelissa


Saturday, August 16, 2014

Multi dimensional canvas

Hello All Blue Fern studios Fans. It's Olga here.

Today I have for you multidimensional canvas based on BFS products. I use floral clock as main element, Layering Stems and Mini Flourishes as decorations in my composition and Dream Big as title of my work .

If you wonder how i did this work you can watch my video from Creative process. And don't forget to suscribe our You Tube channel

and here is my work

And some deatails :

Sunday, August 10, 2014

Jackie's August Creations

Hello Blue Fern Fans! Jackie with you today to share my August creations with you.

We are experiencing an amazing summer here on the West Coast of Canada, and the long, hot, sunny days, and the sunshine and blue skies inspired the colours for this first layout.


One of the things I love about Blue Fern's panels is the ability to cut them apart into pieces that I can spread throughout my layouts. For this layout I started with the Number Grid Small, which I primed with Gelatos then coloured randomly in blue, yellow and mint green, and cut apart into one big piece to back my photo and two smaller pieces for my corners.


These little bits look good embellished with flowers or just on their own.


On both of my layouts this month I've layered on several layers of chipboard. Because chipboard is so lightweight and can be altered in so many ways, it is easy to make a striking composition using several different pieces. On top of the Number Grid I placed some of the Techno rings. To get the water-stained effect, I first sprayed the rings with a couple colours of brown mists, then stamped overtop with a number stamp.


For my last layer, the title, I cut one of the 3s out of the Number Grid and cut the "Boys" from the Boys Will Be Boys chippy.


Blue Fern Studios Products

Ombre Dreams papers: 
- Ginger's Dream
- Charlotte's Dream
- Susan's Dream
- Shannon's Dream

Blue Fern Studios Chipboard:
- Number Grid Small
- Techno Rings
- Boys Will Be Boys

My second layout has a softer palette, inspired by the colours in my photo.


I started by adding some texture to the background inspired by the printed images on the paper with paint, texture paste and stamping. I love how multilayered the images on the papers are - it makes it so easy to add custom background work.


 For this layout I also layered multiple chippies. The top layer is the word "Perky" from The Optimist Words set, which I treated simply with green chalk ink.


 The next layer is the Spring Branch, which I painted with several colours of chalk ink to create dimension for the bark and leaves before adding a couple of flowers.


My last layer is the Floral Clock. I fussy cut the "Timeless Beauty" section from a second sheet of Timeless paper, and used the clock hands from the Floral Clock to top it off. The Floral Clock itself is behind the paper, providing an ornate frame.


 To add a little dimension to the Floral Clock, I first dry embossed it, then painted it with several colours of metallic paint.


Blue Fern Studios Products

Blue Fern Garden papers:
- Timeless x2
- Picnic
- Calling Cards
- Parlour

Blue Fern Studios Chipboard:
- Spring Branch
- Floral Clock
- The Optimist Words set

Thank you so much for stopping in today. Remember to keep sharing your Blue Fern Studios creations with us - we love to see what you create with our products!

Monday, April 21, 2014

Kelly's April Projects

Hello there, Blue Fern fans :)
Kelly here today. I have a long post...three layouts today, so I'll get right to it!!

"So Sweet"

For this one, I went back to one of my all time favorite pieces of BFS chipboard...the Floral Clock
I covered this piece with embossing ink, then sprinkled three different embossing enamels..gold, ivory, and copper for a variety of color and texture. For the clock center I added another clock embellishment and clock hands.


Tucked into the bottom of this cluster is another "older" favorite, the Ornate Medallions. This one was also given a coating of copper embossing enamel.


"Perfect Moment"

I chose to use the gorgeous Blue Fern Garden papers for this one, as the colors worked perfectly with my photos - I love when that happens!

I started with the "Boudoir" paper, and layered strips from other Garden papers.  Over the paper strips, I added  two of the Jeweled Page Dangles, which were embossed with a light pink embossing enamel. I also have used one of the Flourish Hearts, which I cut apart and tucked the heart half, and the flourish half on either side of my photos.


"I Love You So"

For this one, I fussy cut the beautiful rose and bird cage motifs from the Blue Fern Garden papers, and placed them strategically on my page.  Below I have used one of the Memory Frames, simply painted white.


I added one of the Grande Cages, which was first painted white, then given a brushing of chalk ink.


The small flower border piece below is the "cut out" from one of the Floral Hearts. Once again, I just painted it white to make it really stand out!


Blue Fern Products:
Floral Clock
Ornate Medallions
Blue Fern Garden: Boudoir
Blue Fern Garden: Calling Cards
Blue Fern Garden: Signature
Floral Hearts
Flourish Hearts
Grande Cages
Memory Frames
Jeweled Page Dangles.

I hope you've enjoyed my projects today :)
Have a wonderful week!
s
Kelly