
Hi everyone, Debbie here with you today to share my layouts.
My first layout was created for the September Mood Board Challenge. Absolutely love the mood board with all of the beautiful colors and textures. You can find all the details of the Mood Board Challenge here. I chose to create a beach themed layout using the Seaside Cottage collection. I was inspired by the colors, the shells, the sun and the textures of the sand and water.

I used the Whitewash paper from the Seaside Cottage collection for my background and added some subtle inking with peach ink to pick up the colors in the sunset. Lots of layering under my photo with the Voyage, Mermaid (side B), Glory and Calling Cards papers.
 I embossed the Blooming Flourish chipboard with a mixture of Mushroom and Sea Mist embossing powders. Tucked beneath the flowers I used The Crackle Bits chipboard which I embossed with Snow and In The Navy embossing powders and added some Blue Ice Glitter. I used flowers from the Attic Charm Daisies and Tranquil Roses.
 Here you can see an additional flower from the Seaside Lilies and some shells along with some micro beads on the Crackle Bits chipboard.
 I love mixing colors of the Imagine Ink Embossing Powders. On my title, I used a mixture of Mushroom, Sea Mist and Petal.
My next layout was created using the Sanctuary and Tranquility paper collections.
 I found the cute vintage picture on Pinterest. Love the angelic little girls and the pop of pink coloring added to the picture. I used the Sanctuary Conservatory paper for the background. I added some subtle inking with some berry ink to the background paper. Layering under the picture includes Sanctuary Calling Cards and Tranquility Serenity paper. I cut out some doilies using the Tranquility Serenity paper. I ripped the doilies into pieces to add some additional texture to the layout.
 The Boston Lattice chipboard sits under my picture. I embossed it with some dark brown embossing powder from my stash and added some Fuchsia and Mushroom Imagine Ink Embossing Powders.
 To the right of the picture I used the Garden Daisies - Large Chipboard, embossed with Mushroom and Fuchsia Embossing Powers with a touch of brown. I used the Attic Charm Daisies and added some brown micro beads in the centers and tucked in some brown Courtship Blooms.
 The title is part of Laughter, Happy, Smile. Embossed with a mixture of Mushroom, Fuchsia and Brown Embossing Powders.
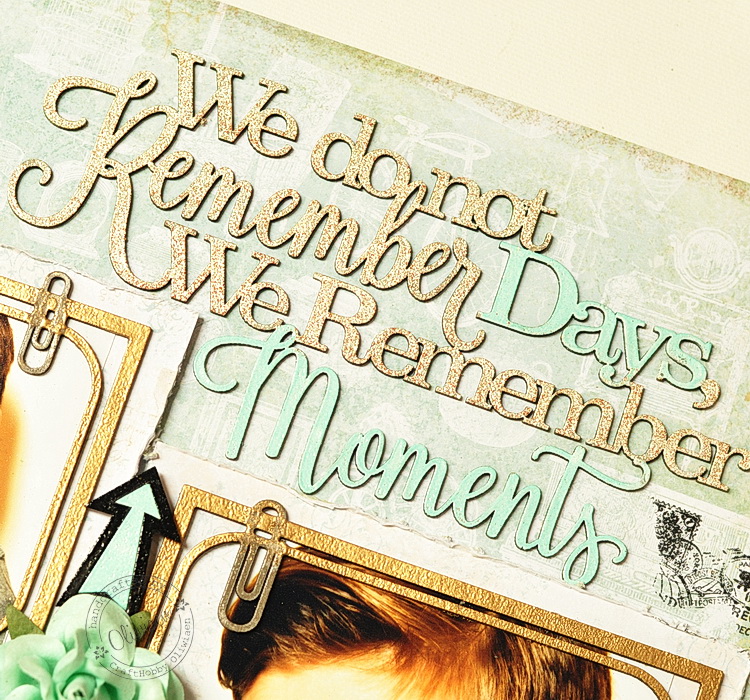
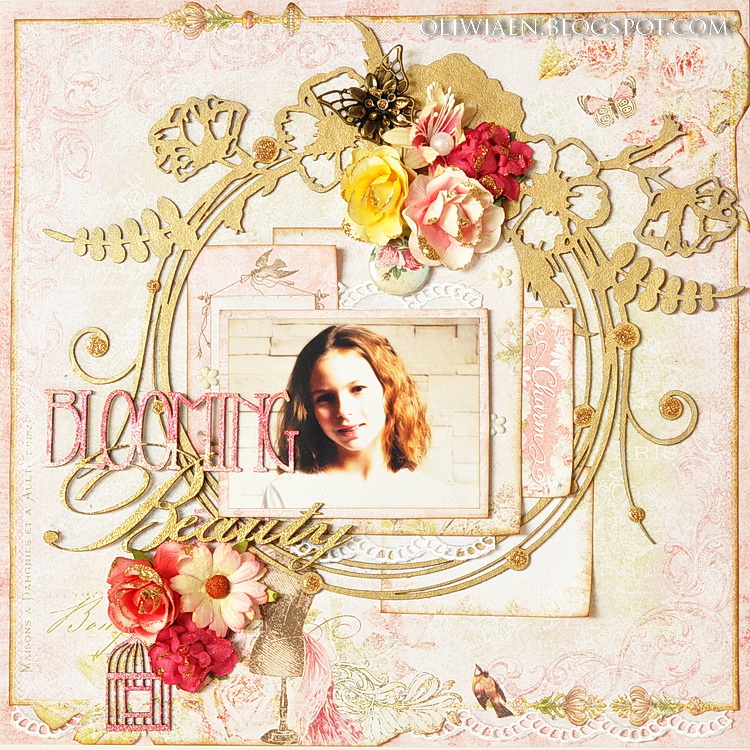
My final layout was created with papers from the Deja Vu and Love Story paper collections.
 I used the Atelier paper for the background. I added some white inking around the outer edges of the papers and some random masking of small dots around my photo. Layering under the photo includes the DejaVu Calling Cards, Tresors and from Love Story, Calling Cards.
 I embossed the Floral Wreath with a mixture of Black Sand, It's A Girl and Petal Imagine Ink Embossing Powders. I cut the wreath into pieces and placed it around the picture. Some micro beads were added for texture. I used Attic Charm Daisies and Attic Charm Glitter Roses.
 Underneath the photo I used a Doodle Corner chipboard, embossed with Black Sand, Its' A Girl and Petal Embossing Powders.
 The title piece is from Blissful, Jubilation, Patience. I chose Patience for the title as I thought the girl in the photo looked so patient as she stood there waiting to get her picture taken. I embossed it with some Petal and Buttercup Embossing Powders and added some inking.
I hope I have inspired you today.
Thanks for stopping by!
. . . Debbie


My next layout was created using the Sanctuary and Tranquility paper collections.


My final layout was created with papers from the Deja Vu and Love Story paper collections.


I hope I have inspired you today.
Thanks for stopping by!
. . . Debbie


