Showing posts with label Chunky Heart Panel. Show all posts

Saturday, July 26, 2014

ï¼’Projects from Yuko


Hello! it's Yuko.
Today I will  share 2 projects "LOVE"&"this Moment"


【LOVE】

 photo jji_zps51006706.jpgliked cardboard of the heart of this big (12 inches of size) very much!
This gives a very good impact and tightens a work.


I paint cardboard with modeling paste and attach structure.
I colored it use gelatos.

I painted the snow tex to chipboard heart.
Mixed shimmerz paint the snowtex.


<Blue Fern Studios Products>
 papers:       Ombre Dream(Ginger's Deream)
 chipboards: Memory Frames/Chunky Heart Panel


【This Moment】
  photo hh_zpsd556ea40.jpg
 It's summer layout!
However, it is a picture of last year.
And looking forward to going to the beach this year!


This time, all paint of this LO used Shimmerz INKLINGZ. 
It has colored very finely.!


I will use the cardboard 
of the series of this sea well from now on!


<Blue Fern Studios Products>
 papers:       Ombre Dream(Susan's Deream)
 chipboards: By the sea /Sarside Treasuresl/This moment


Thank you for looking♥
 

Yuko

Tuesday, May 13, 2014

Two layouts with the Blue Fern panels by Marie-Josee

Hello all!

I hope you are all doing fine! Spring is finally here in Canada and the weather is great. Flowers are blooming everywhere, so I was inspired to create these two colorful layouts with the Blue Fern panels.

If you have been reading the blog for a while, you know that I am a huge fan of those panels and that I don't really like to cut them: I like to use them as a background on my layouts. Without further ado, here are my two projects! :)

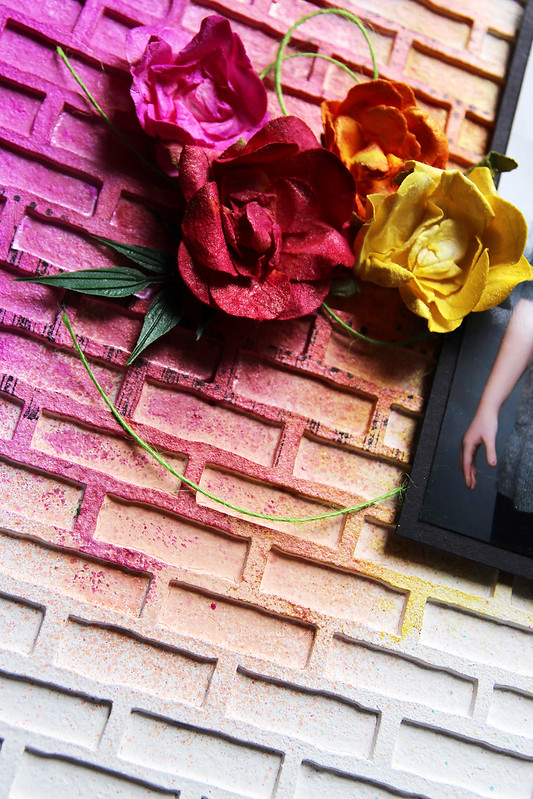
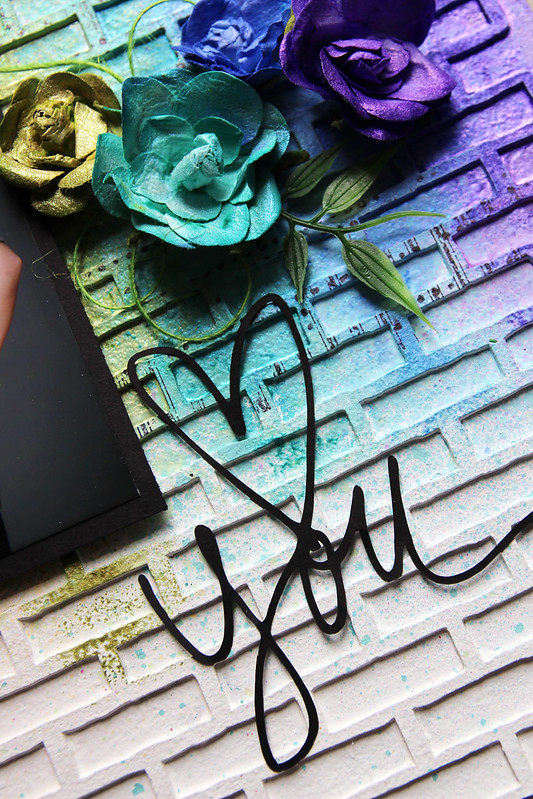
"Heart You" layout
To create this layout, I used the Shabby Brick panel. I glued it to my background (I used a piece of 12 x 12 chipboard) and applied gesso with a sponge.


Once dry, I applied all the colors of the rainbow, plus pink, using various mediums: Twinkling H2Os, Silks and various sprays. Here are some close-up views:


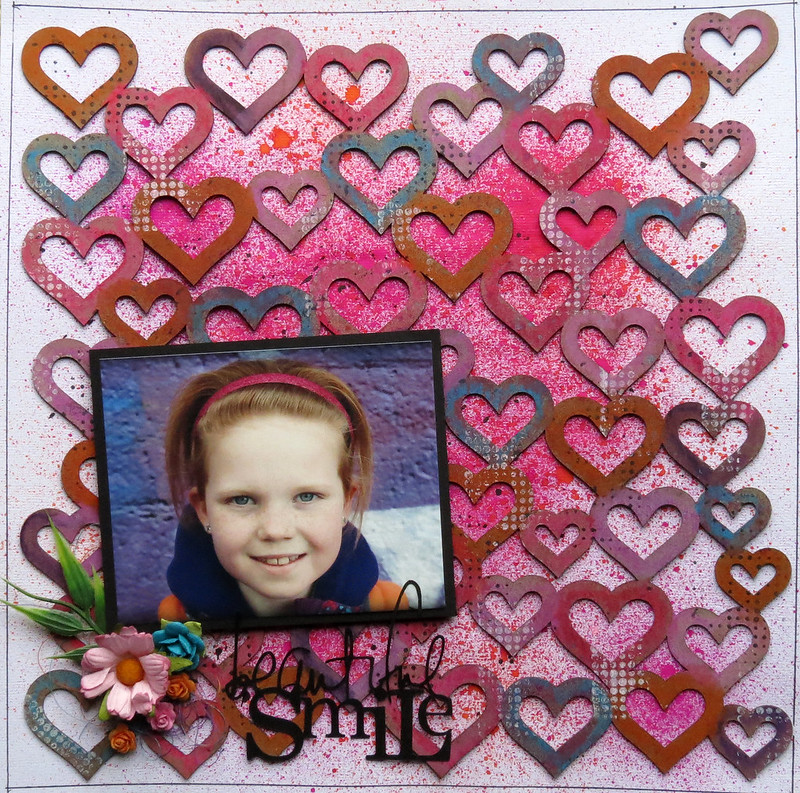
"Beautiful smile" layout:

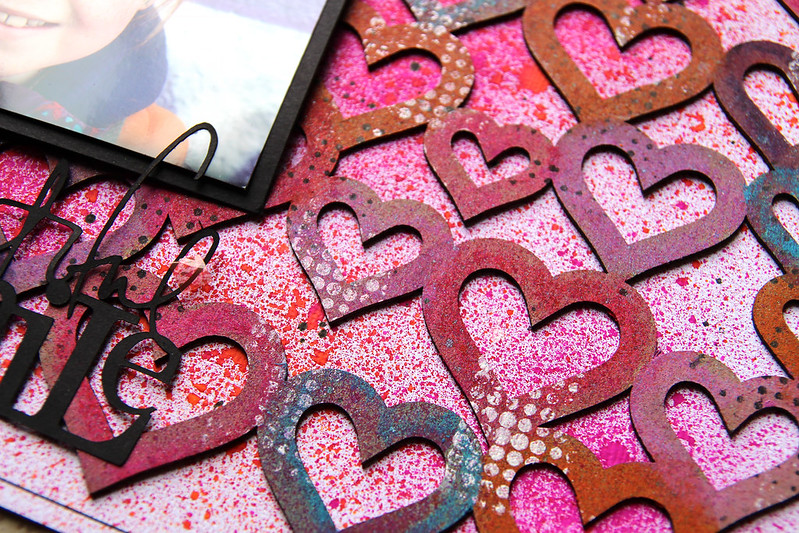
For this layout, I used the Chunky Heart panel. I altered it with various colors of Gelatos. 


Then, I glued the panel to my white cardstock and sprayed some mists on top. I also added patterns with stamps and black and white ink.

Here are some close-up views:


Saturday, February 22, 2014

3 New Projects by Lisa Griffith

Hello everyone! It's my turn to share my February projects today. I'm sure you've all
seen by now the gorgeous new line of papers by Blue Fern Studios. I love the soft 
colors and the sweet girly feel, I was inspired to create this...

"Flowers for Lily"


This is a photo of my niece Lily. My sister told me that last Valentine's Day her Daddy
brought her her very first bouquet of flowers, Lily just loved them and thought they were so special.
So, so sweet. I used the paper "In Bloom" as the background, and then cut up some pieces
of the "Calling Card"paper as layers underneath my photo. I have taken a piece from the
Manor Hinges and a piece of the Ironwork accents and painted them with cream colored paint
and then stamped them with Ranger Distress ink in Vintage Photo. For the
word 'Delightful' from the Optimist Word Set, I painted with the cream colored paint,
added a touch of pink mist and then a coat of Glossy Accents. 
Here is a close up:


Blue Fern Studio products used:
Blue Fern Studios "In Bloom"
Blue Fern Studios "Calling Card"
Ironwork Accents
Manor Hinges
Optimist Word Set

Next is a tag I created using Blue Fern Studios paper and several chipboard pieces, which I embossed 
in white and then splashed with a bit of blue and orange mist to match the flowers. I cut out 
some of the diagonal pieces of the Love Letters paper so that it would highlight the pattern.


And a close up:


Blue Fern Studios products used:

Blue Fern Studios "Love Letters"
Tattered Diamond Bits
Hearts from the Chunky Heart panel
Ever After Frame Set

And lastly I have a card to share. I really enjoyed making this. I am madly in love with
Blue Fern Studios panels! I love to give them a really distressed look by cutting them up
in jagged pieces and then adding different mediums, they add such a great textural element to any
project.  I painted both the Turkish panel pieces and the butterfly  with Ranger Antique Linen Distress 
paint, did just a touch of embossing with Ranger Antique Linen embossing powder and then 
once that was all dry, painted them with some Silks paint in Emperor's Gold.


I have to admit I haven't made many cards, but after seeing how adding a few
pieces of altered chipboard to a card makes it so pretty, I will definitely
be making more! It's so nice to send someone special something hand made 
and from the heart.

Here is that beautiful butterfly:


Blue Fern Studios products used:

Butterfly Grid Panel 
Turkish Panel

Thanks so much for stopping by today!

Hugs, Lisa xo

Monday, November 25, 2013

LO's and Project life by Kotlyarova

Hi there!
Olga is here today to show few layouts and Project Life spread.

I've decorated shipboards with different ways, hope you like it :)
For this Clean&Simple lo I've used two Blue Fern pieces. I've made ombre effect with acrylic paind and glossy accent. Looks great, isn't it?

BFS Chipboard Used:
All natural set 
Valentine's Word Set 

 I've made this lo with 7dots paper and two Blue Fern Studios pieces I painted with acrylic paint
  BFS Chipboard Used:
Brigitte Butterfly Set
Petite Boutique Frames

And the third lo is with my little cutie too:)
I wanted to add a little brown color here, so I didn't paint chipbord and just covered it glossy accent.

BFS Chipboard Used:
Quatrefoil Panel 
 All Natural Set 


And one week from my Project life album. I like use simple color cheapboards for making accents in it.


 BFS Chipboard Used:
Mini Ring Things 
Chunky Heart Panel 
 Picture Perfect

Have a nice week :)
Olya