Showing posts with label Charmed Page Dangles. Show all posts

Sunday, August 24, 2014

Summertime Layouts

Hello !

Today I have for you 3 layouts to the end of summer.  We still have some sunshine days but they become much shorter and I see falling leafs - signs of incoming Autumn. So I'm making some works to keep summer for longer :)

                        First work Is with my' son. I made this photo during one of our trips.  I use bits of ups and downs panel and scraps of different blue fern Papers to create background. . I really love this one. I mean I'm totally in love in panels from BFS at all they are so universal and give you so many ways of use  but this one I really like . My next video for BFS will be with this one ! . Mini number gird is base of composition . I used also piece of mini ring panel and chunky words as title of my work. The main paper in this work is Timeless from Blue fern Garden collection with scraps and leftovers from Ombre dreams :)


This LO i made with photo of me and my mummy. It was made during her visit , we where sightseeing city and making selfies like crazy :) It was fun ! . I use my absolutely favorite papers - Ombre dreams and delicate feminal chipies wild field steam and Eastern Lantern and as the title Charmed page dandles.


And one more with my son. This photo was one of first photos I made after moving. On our first trip to know the city . To frame it I use Grunge Shooting stars as a Title I use Arrow words, and Backyard Boy title ( I cut backyard part and save it for another work ) . Base of my project is Susan's Dream I use gesso to light it up little bit .

Friday, July 25, 2014

July colours with Jelissa

Hello friends!

I'm in today to share two projects I've created for Blue Fern Studios, using the Ombre Dreams paper collection, as well as their beautiful chipboard pieces.

Lucky

My first project is a layout of my two boys. 


I've used Charlotte's Dream from the Ombre Dreams collection as my background paper and added some misting, masking with texture paste and random stamping to further highlight the beautiful watercolor effects already printed on the paper itself. I also used a cut out from Dream Cards as a subtitle.


The "Lucky" chippie from Charmed Page Dangles was cut into two pieces and the word used as my title. I did some heat embossing in black and smeared purple dimensional paint over for highlight. 


The other half of the chipboard was first colored with gelato, followed by some stamping with Versamark and heat-embossing. 


I used only one piece of the Honeycomb bits here, but snipped it into three parts which I layered throughout my page. It was first misted followed by random sprinkling with a mauve-tinted embossing powder.

Blue Fern products used:

Charlotte's Dream
Dream Cards
Charmed Page Dangles
Bits of Honey


All Dressed Up

My second project is a mixed media canvas I made as a birthday gift for a very talented friend who runs her own fashion designing label. 


When I saw the Sweetheart dress form, I knew it was meant for her and there is also a similar mannequin on display in her office reception. 


The chipboard was covered with gesso and I made a dress out of some organza curtain fabric, which I decorated with some tulle and organza roses, aqua sequins and mini paper roses. I also snipped the Majestic Frame in half and covered it with gold glitter.


My little cluster here is full of bits from the Miss Tailor set. I covered the spool with a fine layer of gold shimmer. The buttons I used Liquid Pearls and for the scissors I used my gold textured paste. The other half of the majestic frame is tucked beneath the flowers and also dipped in gold glitter.

Blue Fern products used:

Sweetheart Dressform
Miss Tailor Set
Majestic Frame


That's all I have for today. Do check back soon for more inspiration from the rest of the lovely DT!

love,
Jelissa

Friday, April 25, 2014

April inspirations with Jelissa

Hi there Blue Fern fans, so happy to be back here to share some creations with you. 

"She Wanted to Fly"


I wanted to make something with the chippies from "Spread Your Wings" so that was how this layout came about. 


I used a piece from Manor Hinges and sprinkled embossing powder in both bronze and turquoise randomly. The turquoise gave a very nice burnished metal effect. 


For the wings, I applied some texture paste using a peacock feather mask which I had used throughout in my background. This was followed by some shimmery paint and I used turquoise glitter on the edges of the feathers for an oomph. For the Page Chains, I did some simple heat embossing. 

Blue Fern products used:

Spread Your Wings
Manor Hinges
Page Chains


My second page is a bright one where I experimented with watercolor paper and distress stains.

"Best of Times"


I altered the chipboard to match the overall colours and mood of the layout.


A frame from the Memory Frame set, which I inked with distress ink and doubled up as a title.


The Shabby Brick bits, which is perfect for background and layering. I patted three different coloured Texturez from Shimmerz on it randomly.


The Berry Stems which I left bare, only to accent the berries with some Texturez.

Blue Fern products used:
Shabby Brick Bits
Berry Stems
Memory Frame Set


My last share is the sketch created for Blue Fern Studios' April challenge, using the Blue Fern Garden collection.


I have a video tutorial as well showing how I put together this page and how I altered the chipboards.


Blue Fern products used:
Blue Fern Garden "In Bloom"
Charmed Page Dangle
Bits of Honey

That's all I have for now. Hope you've enjoyed my work and the video. See you all next month!

love,
Jelissa


Tuesday, March 18, 2014

Different Ideas by Keren Tamir


Hi Blue Fern Studio Fans.

 I have a fun and diverse post for you today. 
This month, I've created three different kinds of projects all very different from each other yet original on their own.
The first one is a layout. I know its just a layout, not so original lol, but continue scrolling down I made two more projects that you might think are more unique.

"Timeless Me"


The picture above is a picture of me when I was a kid. I think I'm probably 4 years old here. I created this layout using the green toned papers from the Blue Fern Garden collection.


I used the inside part of the Helen's Doily. It was a leftover piece from a previous layout. I also used one of the Jeweled Page baubles. Both these pieces were covered in green chalk edger ink and then stamped and edged in brown ink.


 The title Me from the Valentine word set was simply coloured in brown ink,


<<<<<<>>>>>>>

"Love & Thanks Journal"

My second project today is a journal that I created for a friend. I only altered the cover and left the inside blank for her to fill in.


The background was altered using crackle paint, ink and stamping. Once dry, I added a few of the Blue Fern Studio chipboard pieces on top.
I used the Shabby Brick bits, Two of the Veranda Cages, one little bird and the "&" sign from the Valentine Word set.


<<<<<<<<<>>>>>>>>


"Bookmarks"

For my third and final project for March I thought of a great idea on how to use some of the new Blue Fern Studio dangles to create bookmarks. I just thought they were the perfect size to fit inside a book and still have the bottom dangle through the pages.

I believe this would be a perfect gift for a friend's birthday or a teacher's end of the year gift.

I created a step by step  tutorial on how I made these bookmarks:

Step 1: Prime both dangles with Gesso on both sides. Let each side dry before applying it on the other side.


Step 2: Cover the chipboard with crackle paint. I only covered the top side. Let it dry overnight.


Step 3: Cover one of the dangles in brown and yellow chalk ink and the other with green and yellow ink. Do this on both sides. (of course you may choose any colours you like)


Step 4: Seal both sides of the chipboard using Glossy Accents, Diamond glaze or equivalent transparent gel. Let one side dry first before applying it on the other side.


Step 5: Punch a hole through the chipboard at the top of a dangle if it doesn't have one. Then insert a tassel and a fancy brad for decoration.


well I hope you enjoyed my fun and diverse post today!!
Enjoy the rest of March!!!!
Have a wonderful day!!

Keren

Monday, March 10, 2014

Jackie's March Creations and Multi-Colour Embossing

Hi there! Jackie with you here today to share my March Blue Fern Studios layouts. This month I've been having a lot of fun playing with the thick, sumptuous Blue Fern Garden papers. What a fantastic accompaniment to Blue Fern Studios chippies!


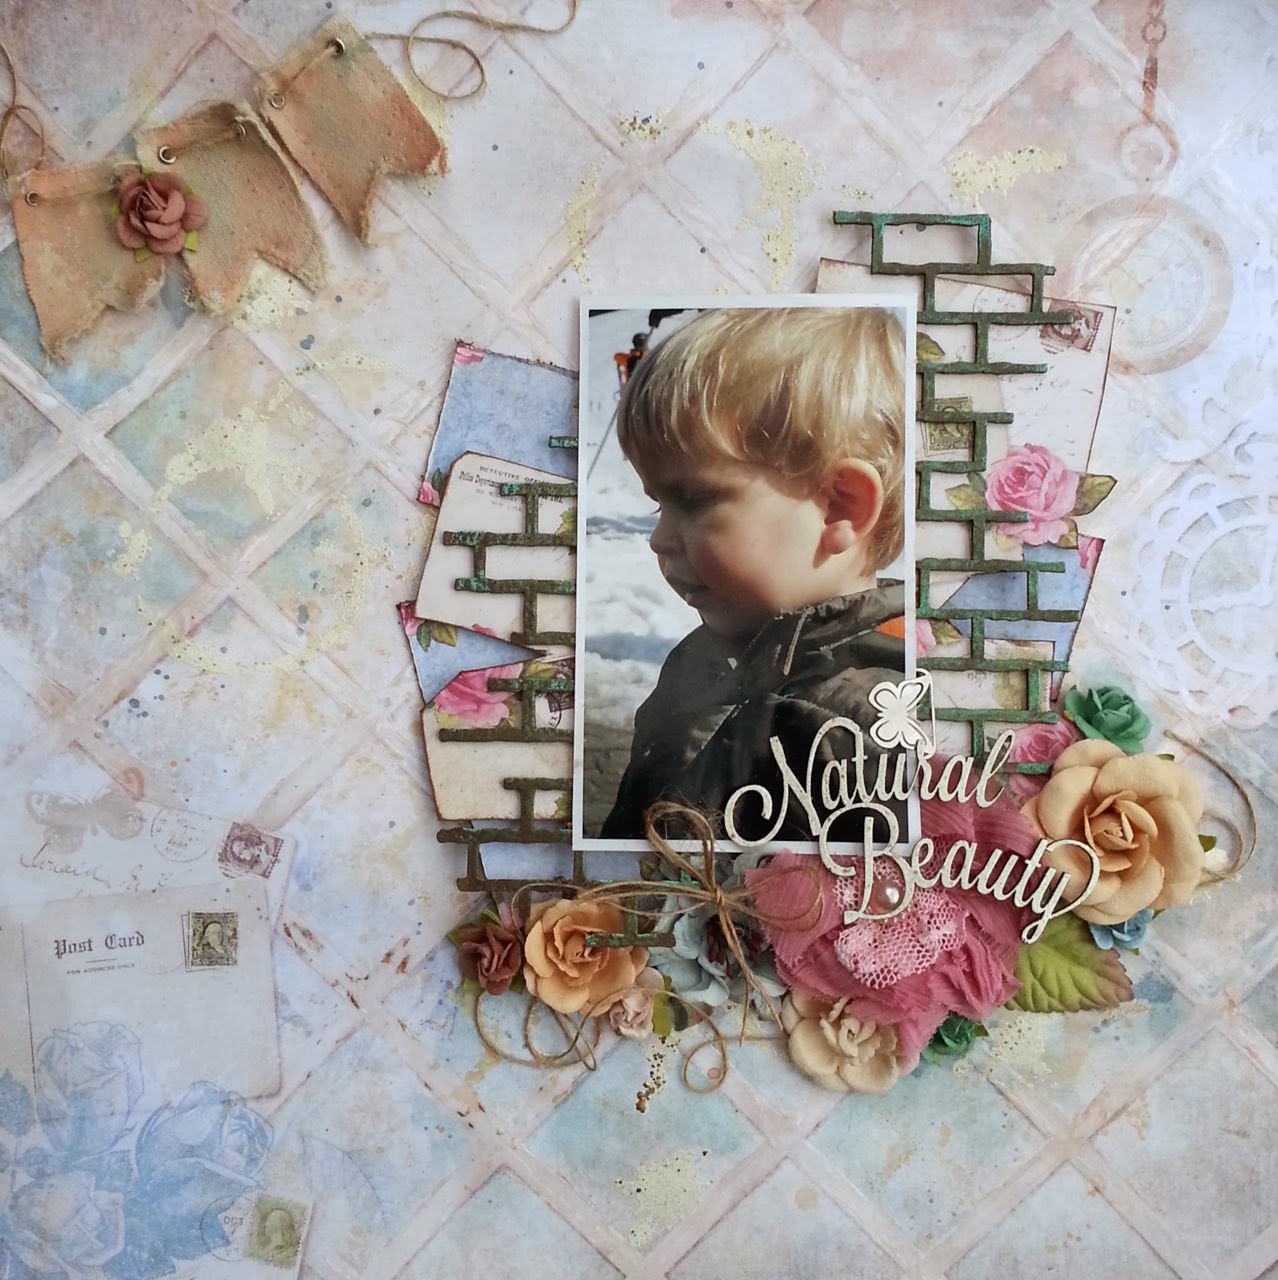
I started with the Love Letters paper for my background. I wanted to add some additional details with mists and inks while preserving the lattice pattern on the paper, so I began by covering the lattice with gel medium on a paintbrush. Once dry, this allowed me to wipe away any misplaced mist.


I painted some of the grid pattern with blue mists and splattered some gold and brown mist around to further emphasize the white of the grid.


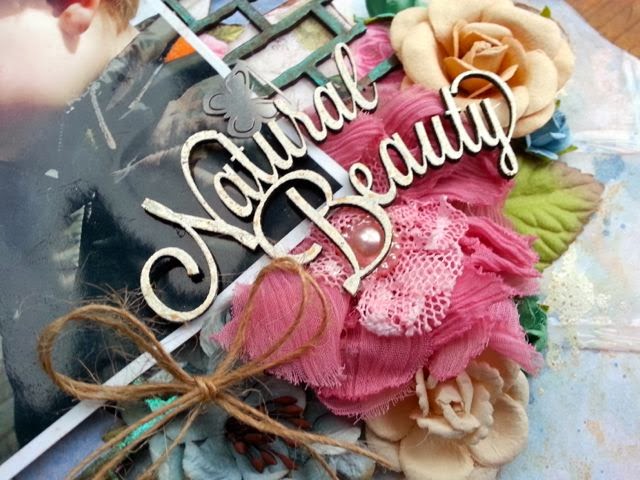
I wanted the "Natural Beauty" title from the All Natural set to have a curve to it. Because the chipboard is nice and pliable I was able to do so easily; I started by adhering the N with a bead of hot glue, then added the curve, adhering as I went. A nice easy way to add movement to your layout and to further integrate your chippy into your cluster.


For the Shabby Brick Bits, I started by inking them a dark brown, but decided it was too strong for the layout, and added some Lindy's Stamp Gang embossing powder, which is very iridescent. To tone down the green I inked over it with some brown. Don't be afraid to keep playing with your chippies until you are absolutely happy with them - they can take it!

Blue Fern Studios Products Used

Blue Fern Garden Paper:
- Love Letters (2 sheets)

Chipboard:
- Shabby Brick Bits
- All Natural Set


When the Design Team first received our Blue Fern Garden papers, we were all reluctant to add media to the papers - not because they couldn't withstand them, but because they are so gorgeous we were loathe to cover them up. I have since gotten over my fear, but you will notice on most of my projects with these gorgeous papers I have everything strategically placed so that you can still see the beautiful background detail.

For this next layout, I loaded on the wet media and water, layering the tear strips from the bottom of the papers (have you noticed each paper has a pretty little banner printed on the tear strip?) with squares and grids I had cut from the Love Letters paper on another project. Because of the thickness of the Blue Fern Garden papers, they withstand media better than most other papers I have worked with. To combat the slight warping, I gripped the background paper in between my hands after it was dry, and ran it fairly aggressively over the edge of the counter to smooth it out, leaving me with a layout that lays nearly flat at the end of the day. I love that this paper can take that kind of abuse!


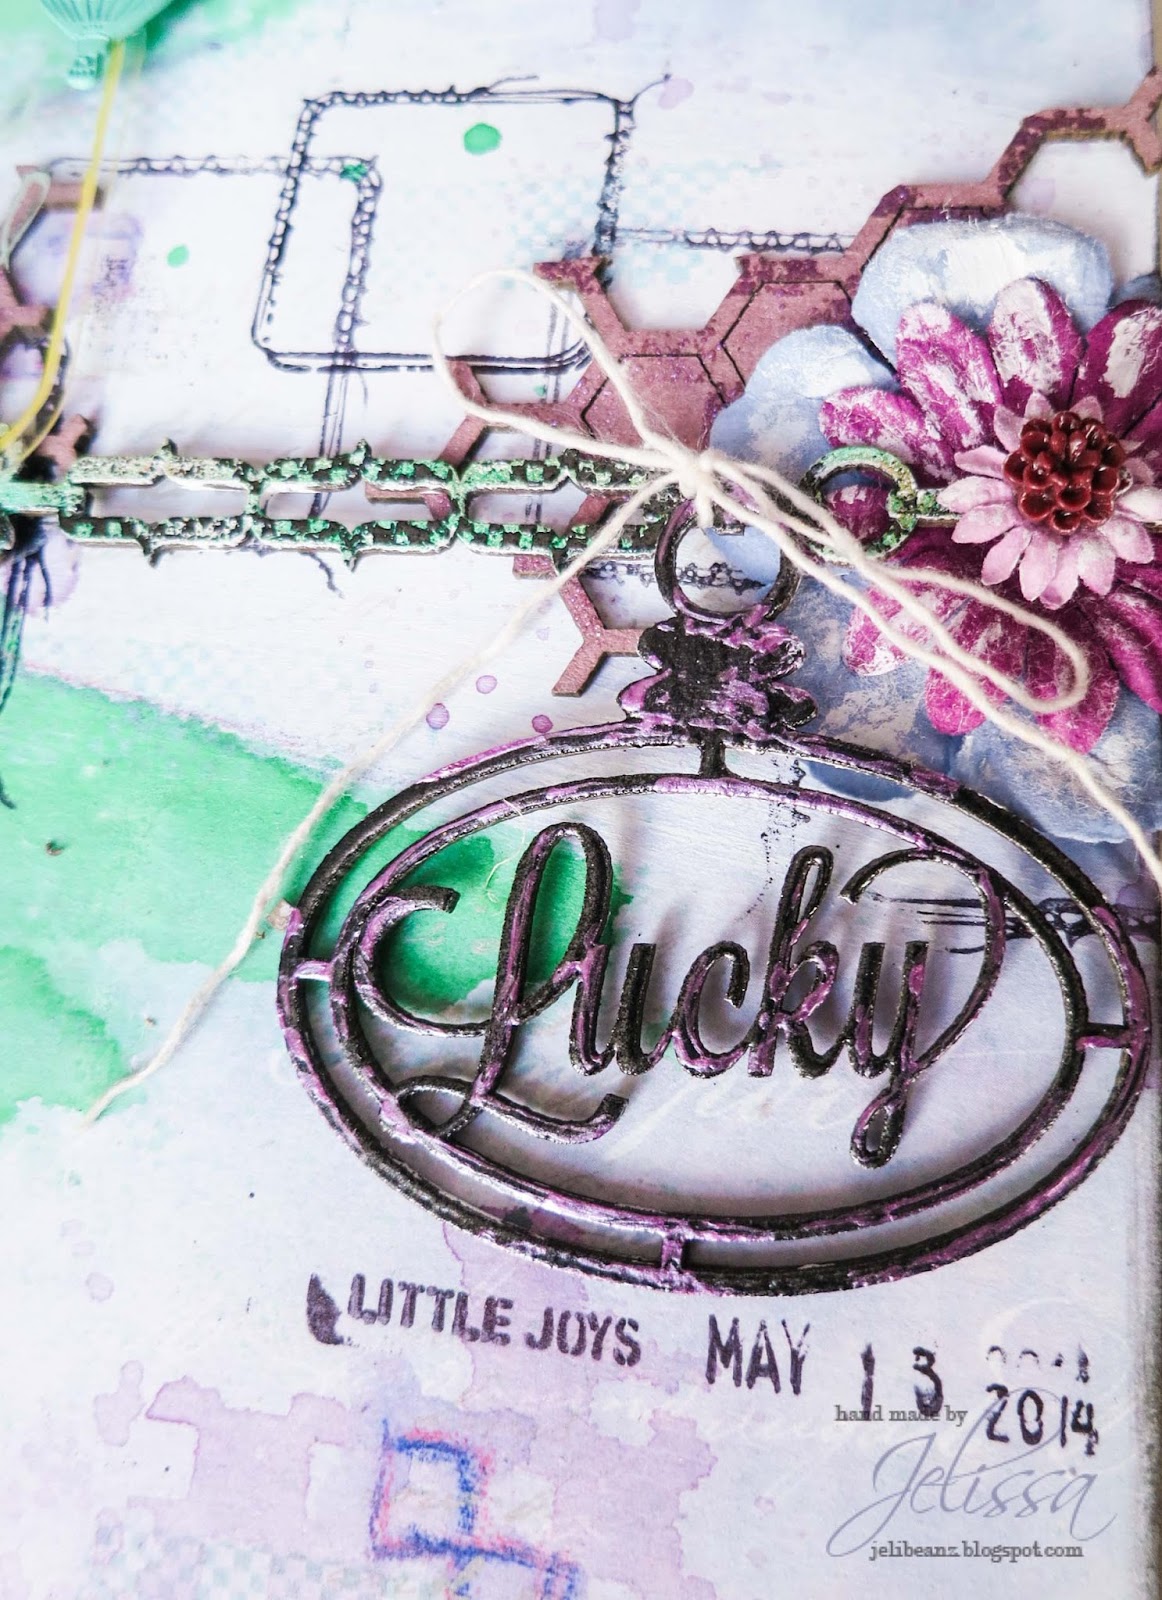
Because this picture of my middle son was taken at the stable where he took horseback riding, the "Charmed" dangle from the Charmed Page Dangles set, with its upward facing horseshoe, was perfect.


I wanted the dangle to stand out from the background and for the details to stand out rather than just colouring it in a single colour. I started by painting the whole thing with a sparkly dark brown paint, then added my embossing powders for dramatic effect.


Using several different colours of embossing powder on the same piece is easier than you might think if you just have the right tools. My embossing ink comes in a dauber rather than an ink pad, so it was simply a matter of unscrewing the cap and painting it on with a paintbrush. I embossed each colour separately to avoid mixing the colours. Doesn't it make the word Charmed pop?


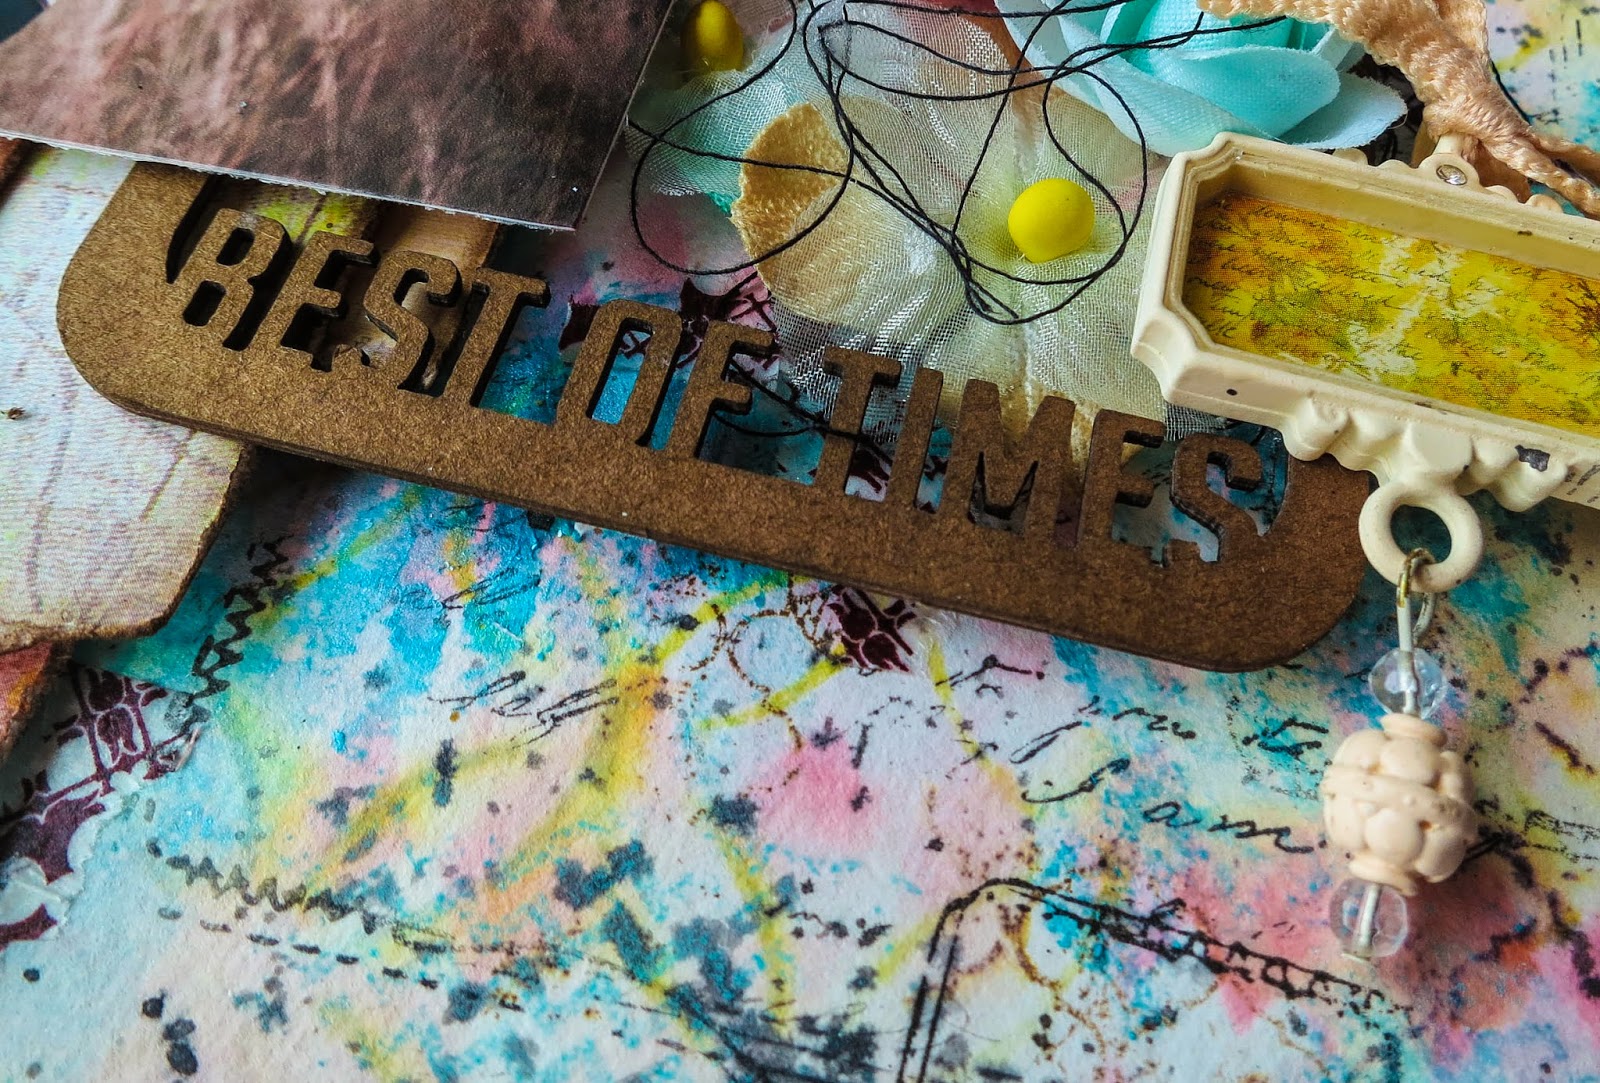
The Bits of Honey pieces were heat embossed with the same gold embossing powder I used on the dangle, but to roughen them up I stamped them with a texture stamp while the embossing powder was still hot. 


Blue Fern Studios Products Used

Blue Fern Garden Papers:
In Bloom
Love Letters
Calling Cards
& the tear strips from each sheet of the collection

Blue Fern Studios Chipboard:
Bits of Honey
Charmed Page Dangles