Showing posts with label Blue Fern Garden. Show all posts

Monday, November 10, 2014

2 Cards and A Multicolour Technique for Detailed Chipboard

Hi there! Jackie with you today, sharing my November projects.

Christmas season is fast approaching - can you believe it? Every year I promise myself I will be better organized and start my Christmas cards early, and nearly every year I end up re-using gift tags I made in previous years - but not this year! This year I'm getting an early start on my Christmas cards, using some gorgeous holiday-themed chipboard. And in the process I came up with a technique for easily adding lots of colour to detailed chipboard - don't you just love when creative inspiration strikes?

I found the idea for a shadow box card on Pinterest and couldn't wait to try it out for myself. Because Blue Fern papers are so thick, I didn't need to use a cardstock base, I built the card directly from my background paper. Though not a Christmas paper in and of itself, the Picnic paper from the Blue Fern Garden collection easily lends itself to Christmas projects.

Here is a side view of the card showing the dimension of the shadow box.


I love the Holiday Wreath set, and was loath to discard the punch out pieces, but that left me with a dilemma - how could I colour the insets and outer portions in different colours? My end solution was a combination of poster pen, glitter, leafing pen and alcohol markers, covered with embossing powder to prevent the colour looking flat.


I mounted the Christmas Tree from the Let It Snow set on Blue Fern Studios' signature chipboard packaging, punched out the wavy bits and treated those with a snow medium, and while that dried heat embossed the tree with two colours of embossing powder. The stump is made from a punch out piece from another piece of chipboard (I always save these because you never know when they'll come in handy).


Blue Fern Studios Products Used:

Blue Fern Garden paper: Picnic
Blue Fern Studios chipboard packaging
Chipboard: Holiday Wreath Set
Let It Snow Set

I was so pleased with the way the wreath turned out I created a second card with a photo tutorial to show the process.


I began by adding my highlights - for this piece I used a white poster pen to fill in the whorls in the wreath. There are a couple punch outs missing - don't worry, it won't be noticeable unless you're looking for them.


I then began adding colour using alcohol markers. The brush tip allows for precision, and the alcohol ink is not water soluble so it will stay where you put it. For this wreath I chose to only use one colour of ink, however as you can see from the first card, you can use as many colours as you'd like to achieve the look you're after.


I covered the piece with embossing ink, and then with a silverizing embossing powder, tapping the piece off so that the coverage was heavier in some areas than others.


Here is the finished piece ready for my card. The embossing powder gives the piece beautiful sheen and lots of texture.

And here is the finished card:

The mittens from the Cozy Christmas set made a perfect accent piece for the wreath, heat embossed with three different colours of embossing powder (I used a paintbrush to paint on the embossing ink to keep the colours from mixing).


Some red glitter glue completed my holiday wreath.


Blue Fern Studios Products Used:

Blue Fern Garden paper: Signature
Ombre Dreams paper: Susan's Dream
Chipboard: Holiday Wreath Set
Cozy Christmas

Thank you for your visit today!

Wednesday, October 22, 2014

'Memories' by Lisa Griffith

Hello Blue Fern Studios fans! 

I hope this post finds you all well....
I had so much fun creating this layout using some beautiful fall colors and 
pretty Blue Fern Studios chipboards and papers.

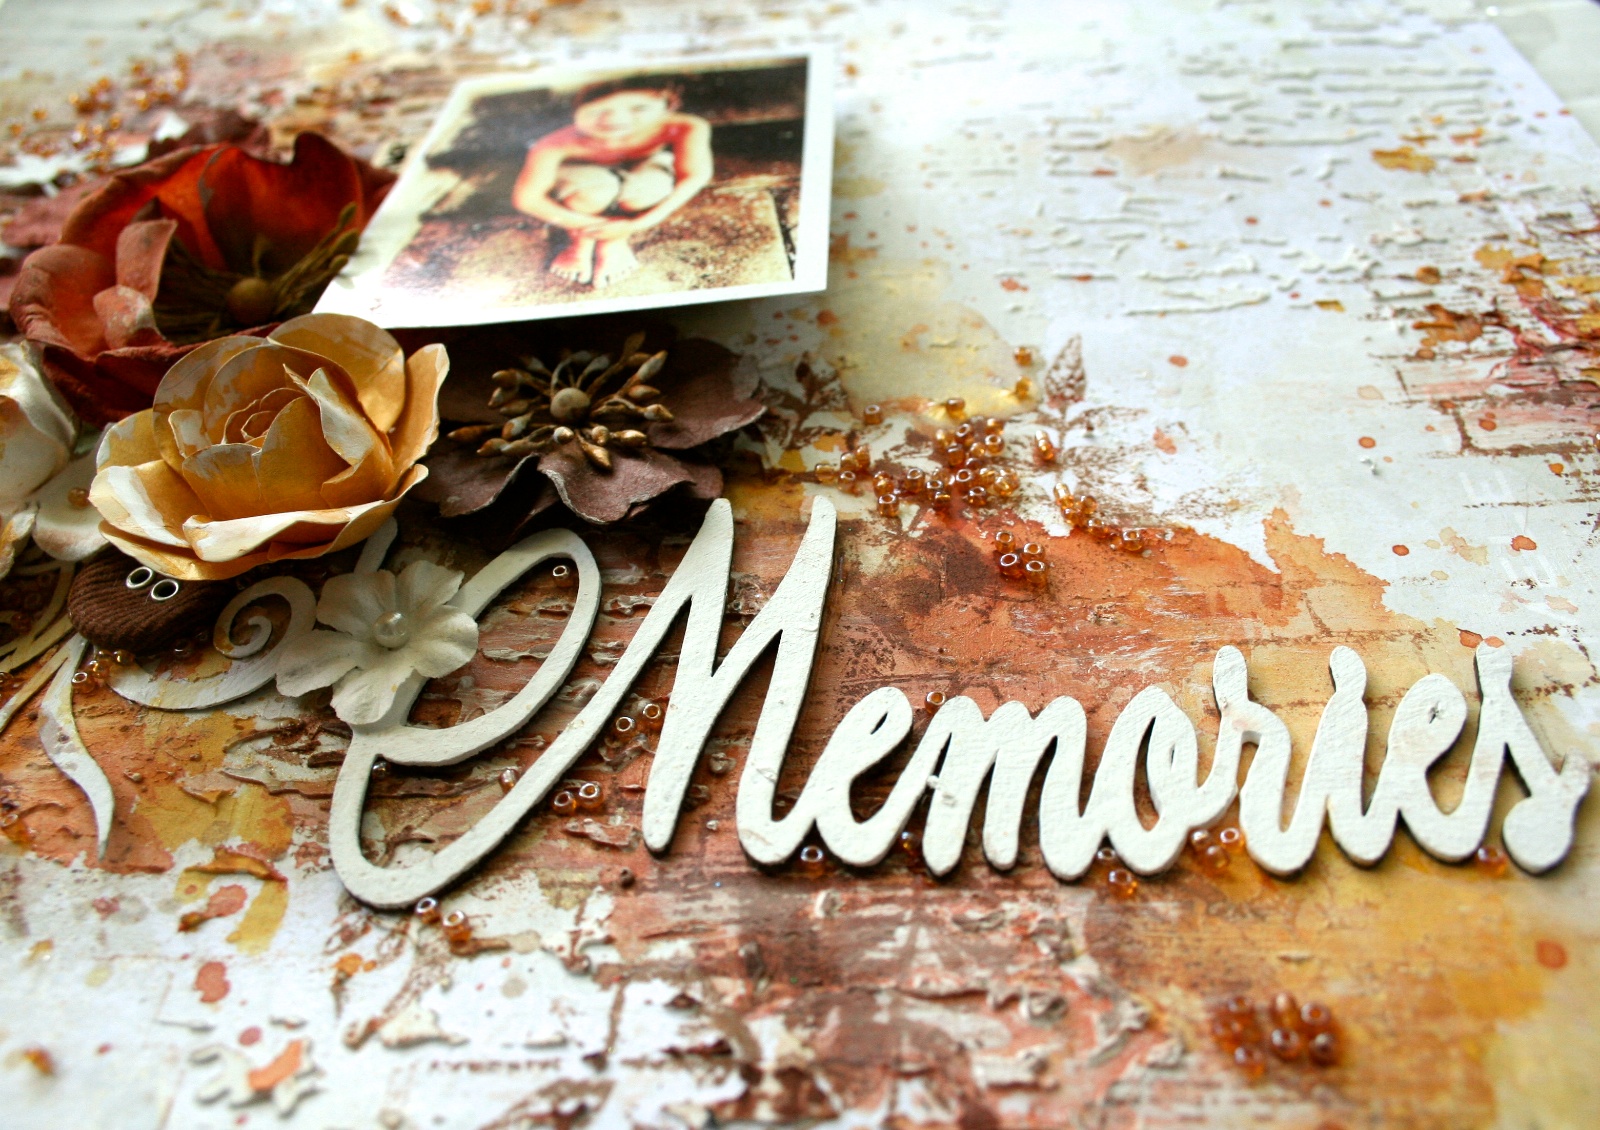
'Memories'


I started with the paper 'Timeless' from the Blue Fern Garden collection. I created the background by  masking with texture paste and then used watercolors to paint some browns, oranges and golds.


I used the title chipboard called 'Memories' and also added pieces of the 'Wild Flourish Bundle'.


My second project is a card I made for a friend.


Here I started with the paper 'Leslie's Dream' from the 'Ombre Dreams' collection as my base and glued some pieces of the chipboard 'Turkish Panel'. Then I added my flowers and did some painting on the background with yellow and pink watercolors.


My third project for this month was a layout using the October sketch 
designed by Michele Singh for the Blue Fern Studios October sketch challenge.


Here is the sketch for October...you still have time to enter! There is a wonderful prize pack 
of new chipboard to be won!


I hope you have enjoyed my projects this month....
Until next time...
Lisa xo


Sunday, September 14, 2014

Evgenia's projects

Hello dear friends! Its Evgenia Petzer with you today and i have 3 projects that I wanted to share with you.
First, its a soft fabric shabby chic (or provence) journal that I made using one of my favourite colors: lavender hues.


Blue Fern Studios chipboard used: bits of honey, vintage keys, framed trinkets

Some close ups:


then comes a card that I made using blue Fern Garden Collection
Blue Fern Studios chipboard used: Eclectic Hearts, Bits of Honey

the heart is covered with sils and sprinkled with some microbeads on top


and a double-layout spread with which i started my new small album for my youngest son:)
 I used a mixture f both Bue Fern Garden and Ombree dreams paper collections.

Blue Fern Studios chipboard used: Charmed Page Dangles, Mini Flourishes


 Here all the chipboards are colored with inlinkz


Have  a great Sunday!

Wednesday, September 10, 2014

Jackie's September Projects - A Layout and An Upcycled Box

Hello there Blue Fern Studios fans! I have two new projects to share with you today - one shabby layout and an upcycled project.

For my first project, I wanted to create a bit of whimsy for this photo of my youngest wearing a crown of daisies (vey begrudgingly!). Blue Fern Studios papers are so thick that they are gorgeous for tearing and distressing.


I began by tearing a diagonal strip out of the In Bloom sheet, then tore additional pieces off and layered them between the Love Letters and In Bloom papers, along with some lace. I also distressed and inked the edges, tucking in some lace and pieces of Bohemian Flowers chippies painted white.


I tucked additional Bohemian Flowers into the flower cluster - the stark white helps them to stand out against the busy mixed media background.


I cut the word Dream and the layers for my photo from the Calling Cards paper.


I love using the Mini Ring Things chippies for dimension in my background. Here I've coated them in a light brown chalk ink and then stamped them with a darker ink.


A little close-up of all the layers of media, chipboard, paper and embellies.


Blue Fern Studios Products

Blue Fern Garden papers:
- Love Letters
- Timeless
- In Bloom
- Calling Cards
- Parlour

Blue Fern Studios Chipboard:
- Bohemian Flowers
- Mini Ring Things

Are you a crafty hoarder? I am, which is how my second project came about. I have problems throwing out alterable items that might be able to be repurposed as something else, even if I have no idea what that might be. Such was the case with this little blue plastic box. Originally it housed a science experiment from the kids. Since it was a one-time-use experiment, the little box was destined for the recycling box. But I loved the size and the way it closed so snugly, so I salvaged it and tucked it away in a corner of my scraproom. This month I've given it new life - to store my resin pieces - with some gorgeous Blue Fern Studios products.


The Joyce's Dream paper from the Ombre Dreams collection is full of beautiful, subtle details. I added a little modelling paste through a script stencil and tinted it slightly with grey chalk ink, then added some splatters of purple to the background before adding my chipboard and other elements.


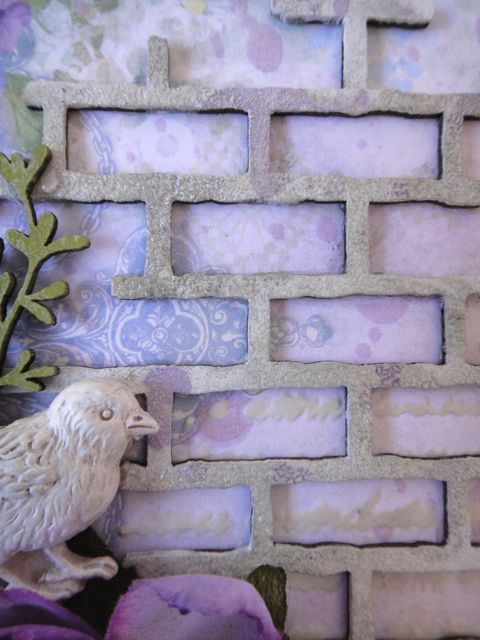
For the top of the container I used some of the Shabby Brick Bits coated with paint, embossing powder and chalk ink for a textured appearance.


To round out the cluster of embellishments I tucked in one of the Layering Stems coloured with chalk ink and then touched with gesso for a weathered appearance. I love these pieces of chipboard for tucking in here and there!


I finished the front of the box with one of the Spring Trinkets, coloured with various chalk inks and weathered with gesso.


Blue Fern Studios Products

Paper:

- Ombre Dreams: Joyce's Dream

Chipboard:

- Shabby Brick Bits
- Spring Trinkets
- Layering Stems

Thank you so much for joining me today! Remember, there is still plenty of time to play along with our September Sketch Challenge for your chance to win some gorgeous Blue Fern Studios products!

Tuesday, August 26, 2014

Layout&2 cards Yuko


Hello! It's Yuko.
Although I have been very excited for the new paper series,"Montage!
I also love the previous”Blue Fern Garden ""Ombre dreams"!


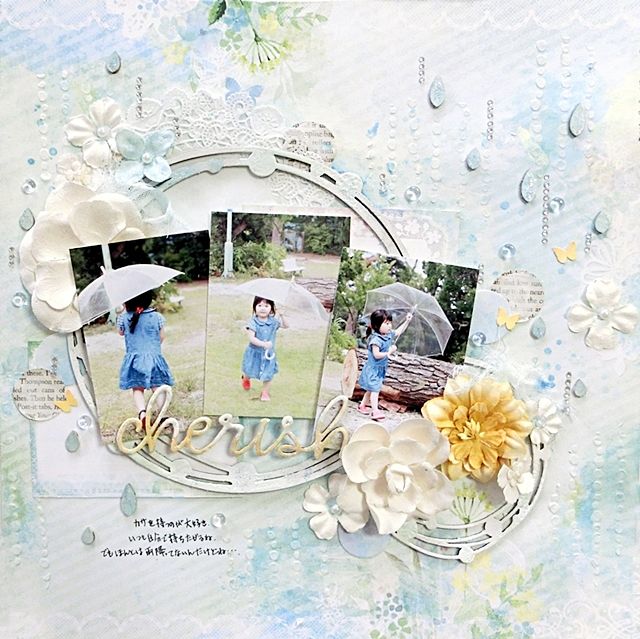
【cherisih】
 photo BFS_zpsbb708857.jpg
My 2-year-old daughter is very much pleased with the umbrella these days.
A figure with the umbrella for adults is lovely!

I expressed the atmosphere that it rained with modeling paste and a rhinestone.
The pasteboard paper is also colored by watercolor.


 Chipboard circle  are embossed.(white and blue)


<Blue Fern Studios Products>
paper  Ombre dreams  Susan's dream
chipboard Beaded Strings/Adore,Love,Cherish


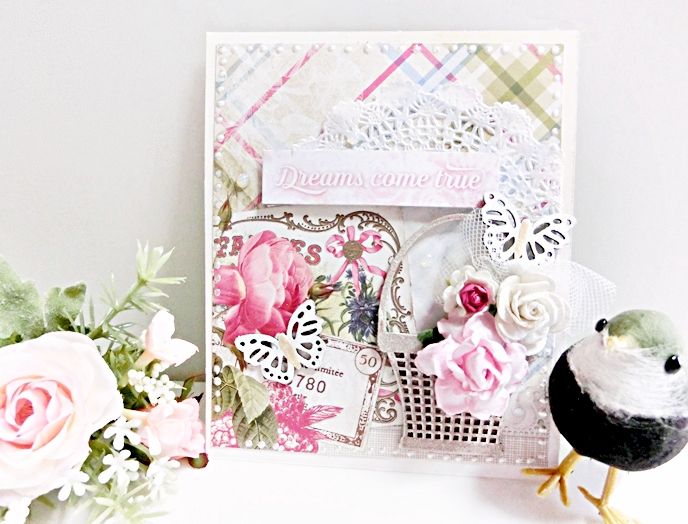
【Dreams come true】
 photo CIMG8132_zpsb98910ea.jpg
I will introduce two cards.
These were made from the paper of one sheet.


Chip board of this basket is very favorite!


<Blue Fern Studios Products>
Paper   Blue fern Garden   Picnic/Ombre dreams dream cards
Chipboard   Spring Page Baubles/Little Baskets


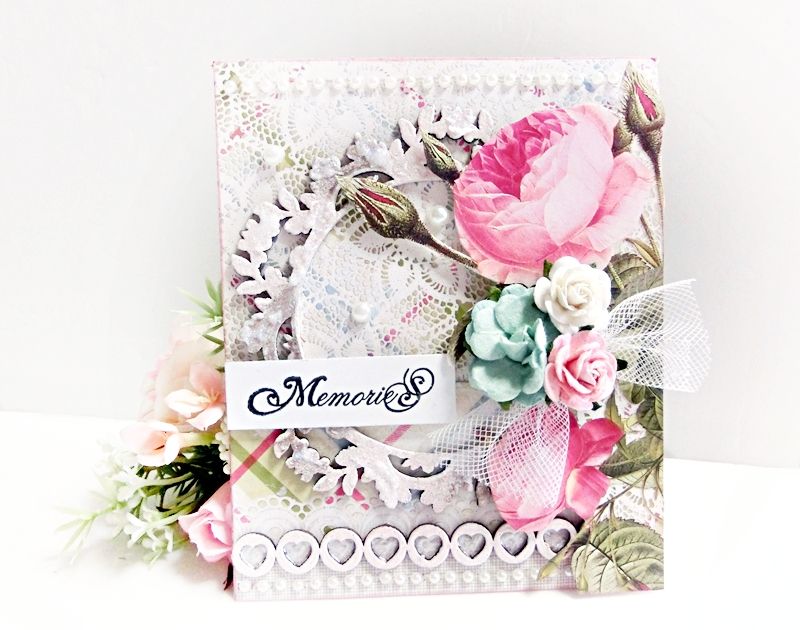
【memories】
  photo rwer_zps4d1a2ba0.jpg

It made by the remaining papers that made the 1st card.


Glitter is applied after embossing to this chipboard. 


<Blue Fern Studios Products>
Paper   Blue fern Garden   Picnic
Chipboard  Lace Rounds/Heart Borders

Thank you for looking!