Hello Blue Fern fans!
I'm so glad to be back here to share two layouts with you, created with gorgeous BFS papers and chipboards.
I'm so glad to be back here to share two layouts with you, created with gorgeous BFS papers and chipboards.
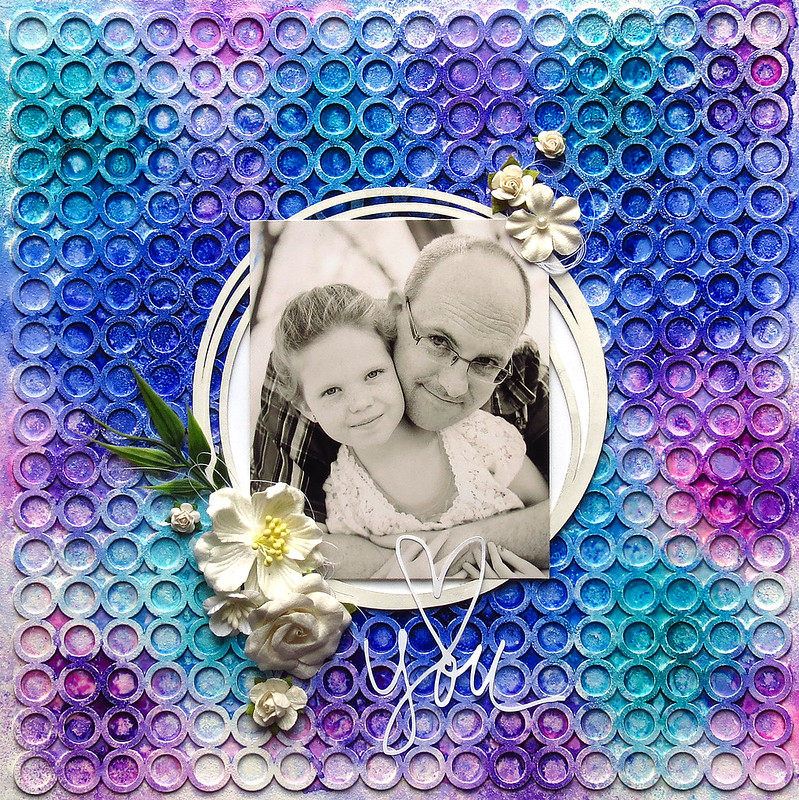
"Blessings"

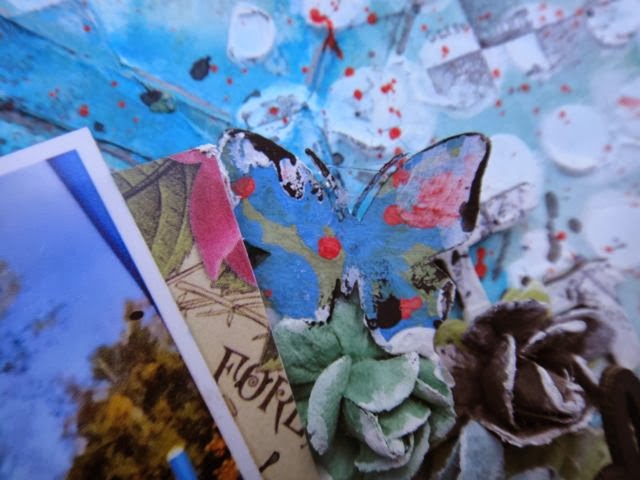
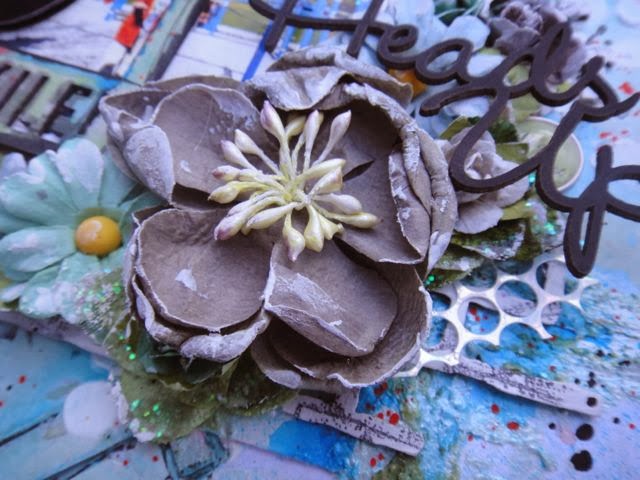
I wanted a light white-washed look for this layout and treated my Blue Fern Studios chipboards accordingly.

I used the "Blessings" word from "Spiritually Speaking" word set as my title and kept it very simple with a coat of gesso, some dabbing with grey chalk ink and distressed the edges with some black ink.
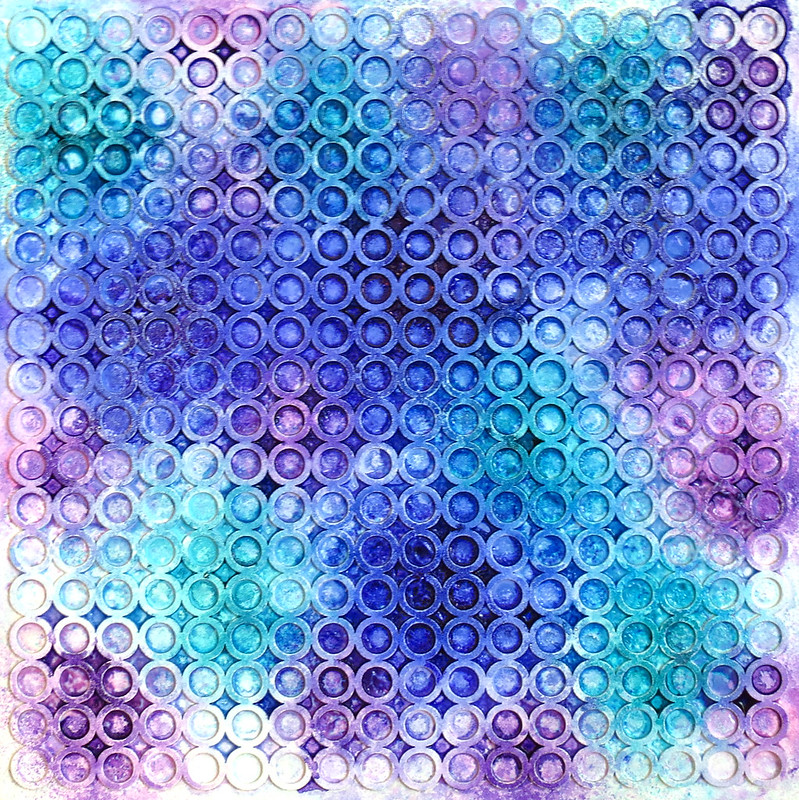
And layered in between my patterned papers are pieces from "Mini Ring Things". I covered with a coat of gesso and painted with watercolours to match my background. This was followed by colored texture pastes to give more dimension.
And layered in between my patterned papers are pieces from "Mini Ring Things". I covered with a coat of gesso and painted with watercolours to match my background. This was followed by colored texture pastes to give more dimension.
Blue Fern products used:
Spiritually Speaking word set
Mini Ring Things
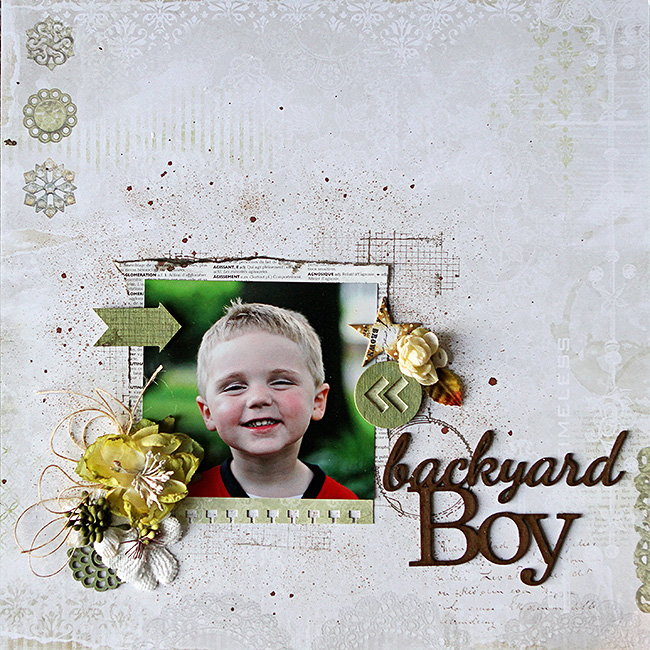
"Moments"
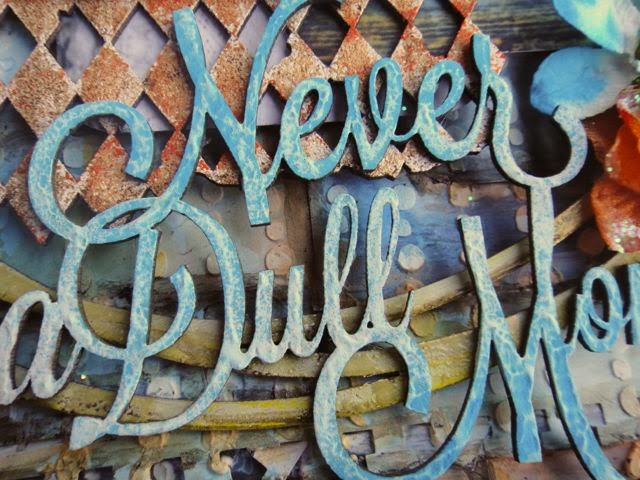
My second layout uses the gorgeous Blue Fern Garden collection papers. I have very few 12x12 sheets left for my background, but am really fortunate to have one last sheet of "Parlour" left! I love the light blue and green with just a tinge of brown in the wood grain design, which matches my photo perfectly.

I have several scrap pieces of Blue Fern Garden left as well and those are just ideal for layering.

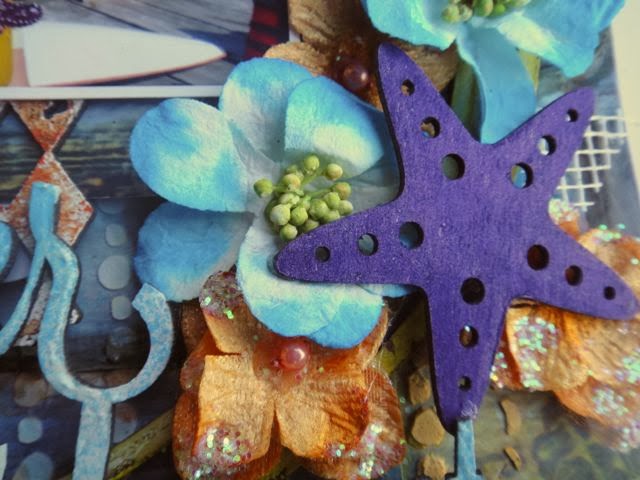
I used the Wildflower Flourish Bundle chipboard here.

A word cut out from "Calling Cards" which I used as my title.

Tucking in Checker Bits and the Graduated circles chipboard pieces into the main cluster.
Just in case you're wondering how I put this page together, below is a start-to-finish video tutorial I put together. Hope you enjoy watching it and find the techniques for altering the chippies useful!
Blue Fern products used:
Blue Fern Garden "Parlour"
Blue Fern Garden "Calling Card"
Checker Bits
Graduated Circles
Wildflower Flourish Bundle
Wildflower Flourish Bundle
Thank you again for dropping by. Do check back on our blog regularly for more wonderful inspiration from the rest of the design team.
love,
Jelissa
Jelissa