The colors of pinks, roses and greens from the Blue Fern
Garden (“BFG”) paper collection inspired me to create this collection of a layout,
a 6 x 6 card, and an artist trading card collection. A lot of fussy cutting took place to capture
all those glorious colors, prints and patterns and assemble them onto the
collection.
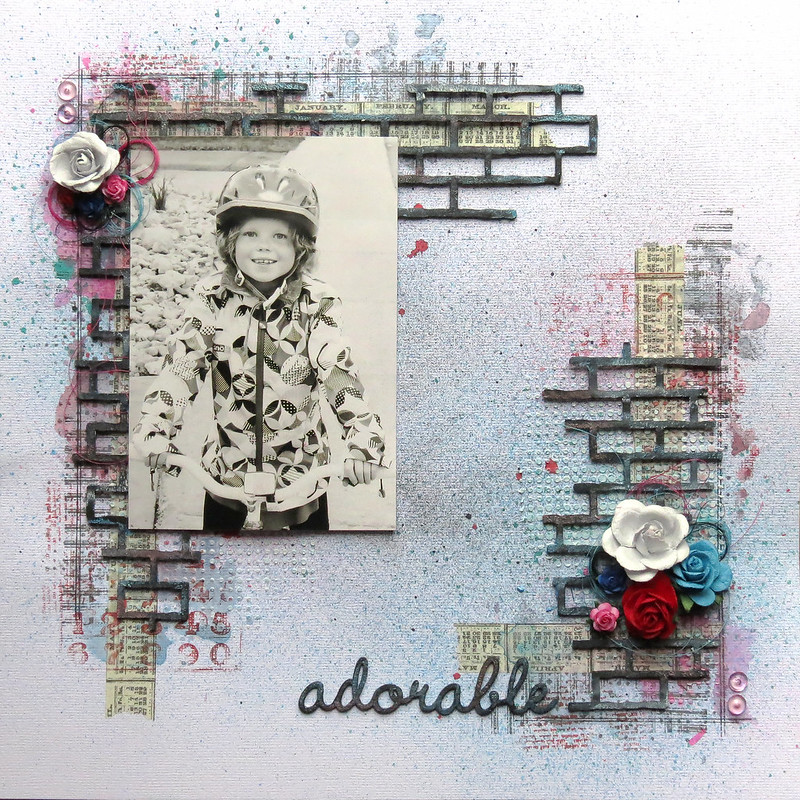
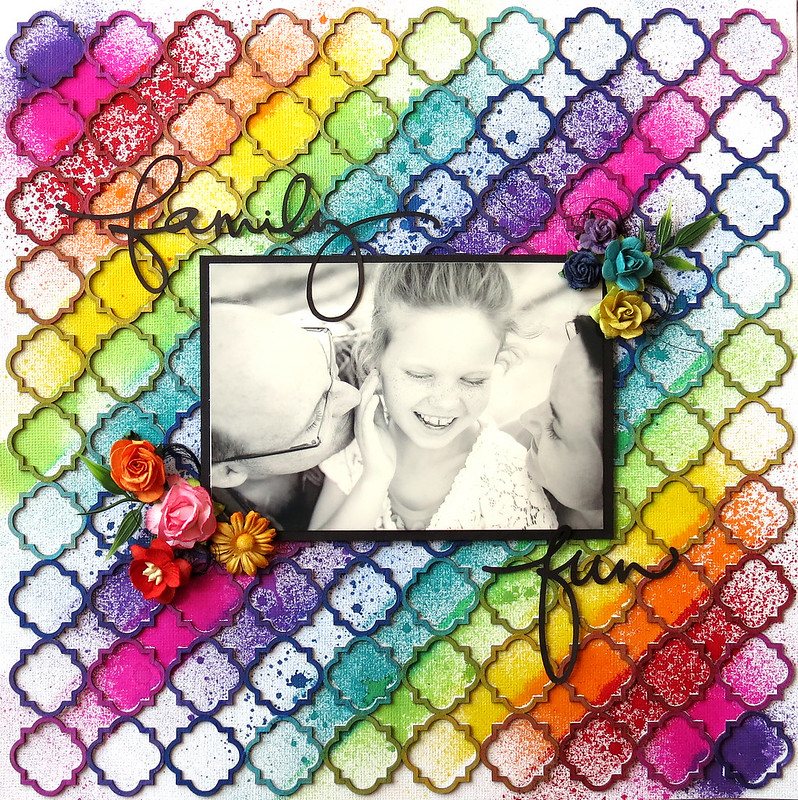
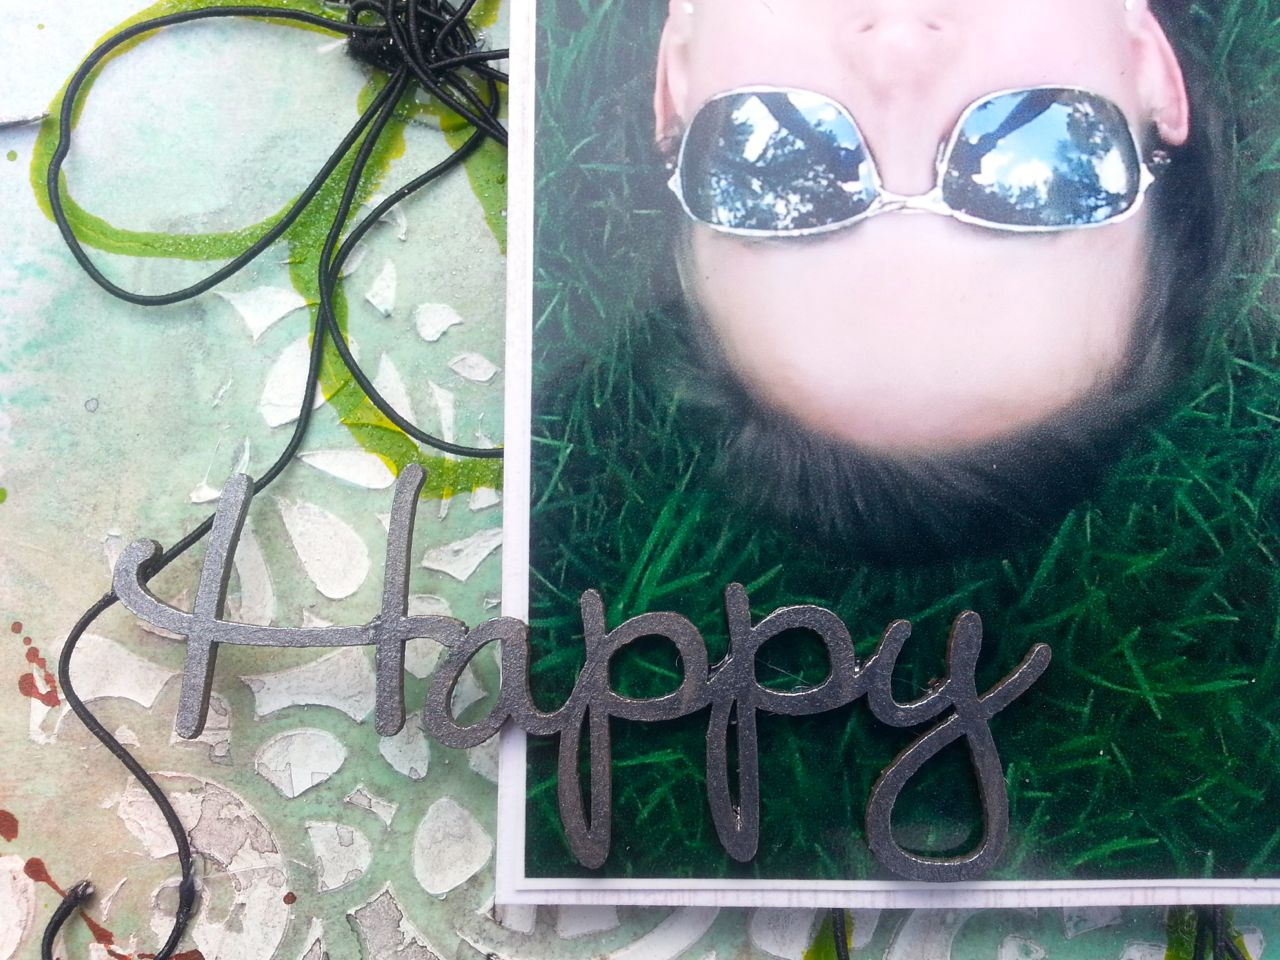
Layout:


I used the pretty rose pattern from the BFG Signature paper
to create the basis of the composition of the layout. No, your monitor is not blurry, that photo of
the kids is blurry, a defect from the camera or the photographer in those
days. Sadly, the shoes are more in
focus, and unfortunately, a lot of these old pics I inherited are blurry. But on to the best part… those chipboard dangles!
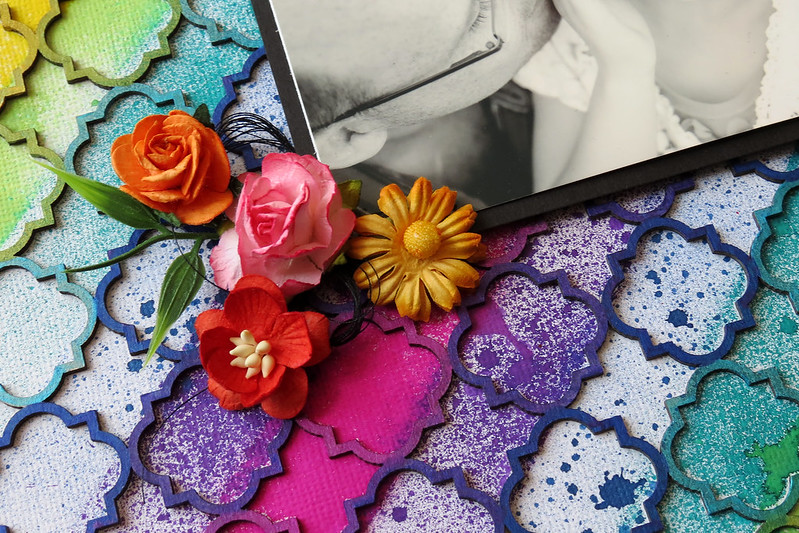
This one is the Flutter Page Dangle. I
cut off the butterfly portion of the dangle and placed it on the other side of
the layout on top of the rose pattern paper.
It looks more like a “flutter fly” than a “butterfly” because I applied mists
of water to separate the cardboard to make the wings look like they are in
motion. I love the dangle chipboard pieces because they are so versatile and
you can cut them up too.
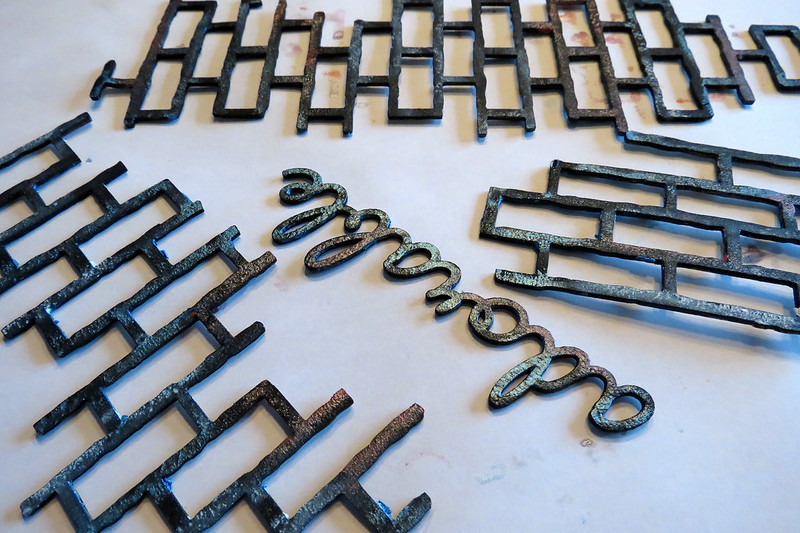
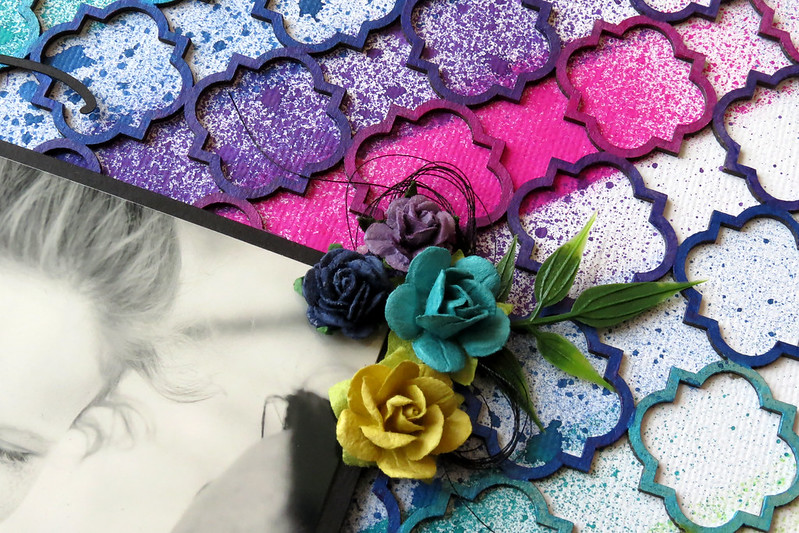
Treatment of the Dangle: The dangle was created by first
applying white dauber, light green mist, and a darker mist. To add depth, you sporadically cover the
chipboard with the two mists (allow to dry between applications) and carefully
allow some overlapping but not too much or you’ll only create one color. After
the applications of mists dry, add some detail with a black marker, or water
color pencil around various areas. Try
to create larger sweeps of the application of the marker, or watercolor pencil,
in some areas and go over them with a white gel pen to add little dots to
create further detail. A simple treatment
with lovely results.


Artist Trading Card Collection:
It was time for another artist trading card
collection, and I quickly set about
creating this collection with my left over scraps of the “Signature” page to BFG
paper collection. I thought the rose
pattern on the paper would add a lovely base layer on the cards. More,
BFG papers were used to create the torn textured layers on top of the
base paper. I strategically placed the
torn textured papers so they would not cover up the rose pattern on the base
layer. The BFG papers are really sturdy
and can stand mixed media applications very well. The little flowers are the result of using a
flower punch over the rose pattern areas on the BFG Signature paper, and the
centers were filled with beads, and a specially formulated glitter mixture from
my forensic scrapping buddy which consists of red glitter and various sized
micro beads. The glitter mixture looks like candy and is so pretty on chipboard
too.


On the cards, you’ll find the window frames from the “petite
window” chipboard collection. 

Treatment of the Petite Windows: Each petite window was treated with a coat of white dauber, one light sporadic application of a light green colored chalk ink, one light sporadic application of a medium green colored chalk ink, and a light spray of a darker green glimmer mist in which I let the liquid of the mist run in various places making sure not to let it cover the entire frame. Applying the inks and mist sporadically over the frames creates interest and depth. Some gold pen, black and white markers were used to highlight certain areas on the frame too.
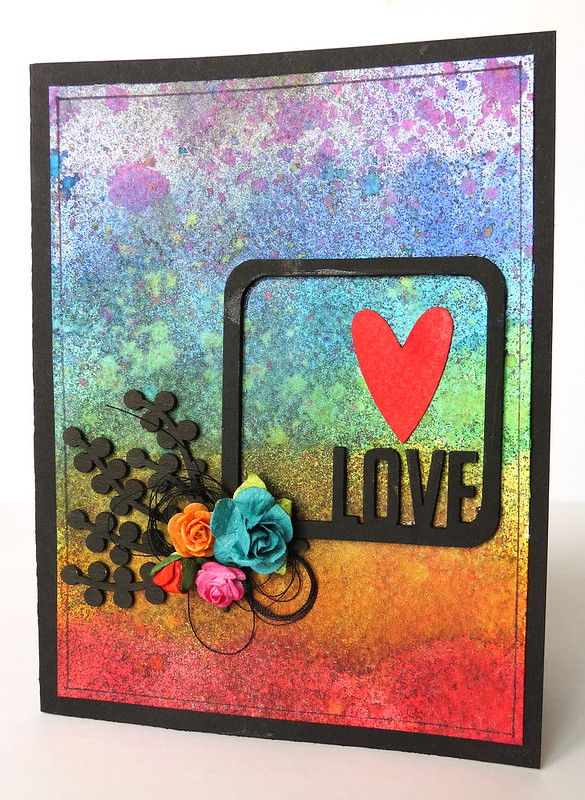
6x6 Card:

This is the second of my “Women of Substance” card series. I used the BFS April sketch for the basis of the card. The card series is dedicated to the women before me from my maternal line of the family. I’m introducing these women to my 20 year old niece and future generations. Each of the 6 x 6 cards will have a picture of the woman, and inside the card, I will write a biography for the women I knew. And, for those few photos I have of women from the 1800’s, I’ll incorporate some historical facts to enlighten my niece of what life must have been like living during that period so that she will know what it was like living before the Smartphone and her Twitter account. J Each card will be mailed to my niece in intervals, and I hope she thinks of them as gifts when she receives them in her mailbox. Hmm…I foresee in he near future, a decorate box using BFS chipboard to store these cards.
Here’s Ginger from the 1950’s, I’m certain her
hairstyle gave that a way. All the
papers on this card are from the Blue Fern Garden paper collection, including
the fussy cutting papers. Some of the
papers were stamped, gesso’d, torn, and stamped some more to add texture and
interest
to the front of the card.
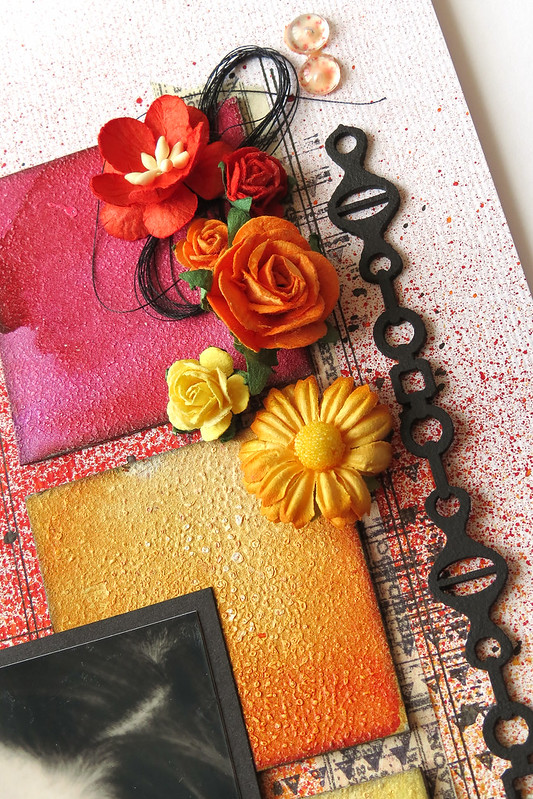
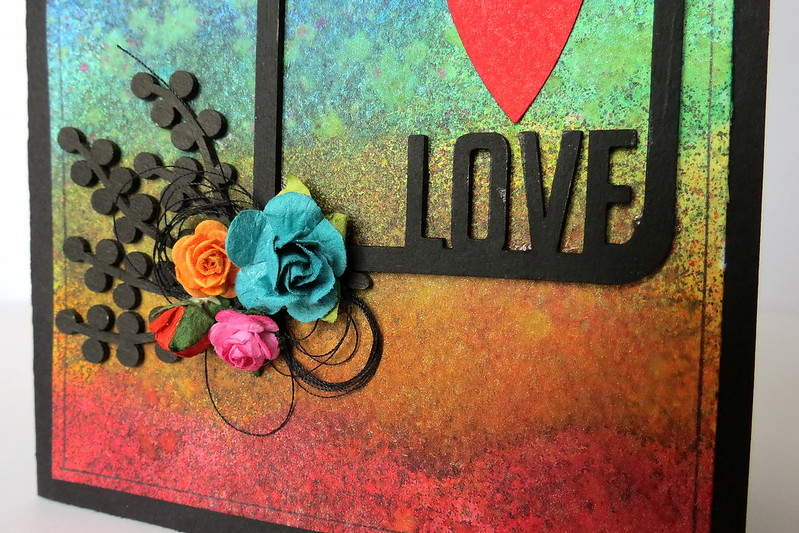
I have used the “Ever After” frame, and Turkish bits chipboard pieces
from “BFS”. The size of the chipboard frame is just perfect for the 6 x 6
card. The frame was treated very
similarly to the Petite Windows except a stencil and molding pasted was used to
create the raised circles. The card was
pasted on another piece of Blue Fern Studio’s paper. I don’t normally leave a piece of chipboard
undressed, but the Turkish bits added some balance in the composition lighted
painted with a white dauber, and a pretty bead.
Thank you for stopping by, and I hope I have inspired you
to do something similar for those women who came before you and to share some
of your family history with your future family.
And, of course, add some beauty by using some BFS chipboard to your
creations.