Thursday, August 14, 2014

3 cards with Ombre Dreams by Evgenia Petzer

Hello dear friends! Its Evgenia Petzer with you, with three cards that all use Blue Fern Studios Ombre Dreams collection, I just cant get enough of it:)
THis time I colored all my chipboards with thick coat of white gesso and then colored them with different colors of inklinkz by Shimmerz, I love that you can get close effect to the background of Ombre Dreams, that watercolor effect is just so pretty.
 Blue Fern Studios Chipboard used: Frilly Hearts, Jeweled Trinkets

 little bits and pieces make me happy:)

My second card:

Blue Fern Studios Chipboard used:
Grande Cages, Bits of Honey

and last one, very simple but with the doily effect that all the embellishments provide together you dont need a lot, it just comes together easily...


Blue Fern Studios Chipboard used: Spring Trinkets, Magical Monarchs

Have a great day! and be sure to take part in our new collection giveaway!

Wednesday, August 13, 2014

Two off-the-page projects and a layout by Marie-Josee

Hello all!

I hope you are having a great summer so far. Here, it's been wonderful. I spent most of my time outside, but still managed to create a few projects for Blue Fern Studios. Here they are! :)

Angel canvas

To create this canvas, I used a chipboard from the Turkish Bits set. I glued it to my canvas, applied gesso on top with a sponge and added color with Silks Acrylic Glazes and three different colors of spray.


Once dry, I stamped words with black ink on top of my chipboard.

I also cut circles out of the Shannon's Dream paper from the Ombre Dreams collection and colored each circle with Silks Acrylic Glazes. You can still see the pattern, because the Silks are translucent.


Birdhouse

I used my Silhouette Portrait to create this tiny birdhouse. I bought a file from the Silhouette Online Store and used the Parlour paper from the Blue Fern Garden collection as a base.


Then, I tore pieces of the Charlotte's Dream paper from the Ombre Dreams collection to add texture to the roof.


I put the house on a chipboard from the Lace Rounds set and added gesso here and there. I then sprayed the whole thing with brown and teal mists.


August sketch

And here's my take at the August sketch, which was featured on the blog on August 1st. I used the Techno Rings, the word "Sunshine" from The Optimist Word Set and various papers from the Ombre Dreams collection.


Tuesday, August 12, 2014

Introducing "Montage"

We are beyond excited to present our latest paper collection, Montage.  We created this line of eight double-sided, heavy weight papers to have both a classic and stylish look. You will find this paper to be the perfect start to your next scrapbook page, mini album, card, or mixed media project. 


  Montage will be available to retailers soon!

I bet you're wondering how you can get your hands on some FAST.
Well, we're offering up some opportunities right now! 

Here's how:

1. For one entry, simply enter below using the Inlinkz Tool. Please make sure you are a follower of our blog and of our Facebook Page (if you have Facebook).

2. For a second entry, share this giveaway on Facebook, Twitter, Pinterest, or in a blog post. Link back to the location at which you shared using the Inlinkz Tool below.

For every 50 entries, another collection pack will be up for grabs! The more you share, the more entries received, the more collections will be available to be won! 

**OPEN INTERNATIONALLY!!!!** 
Contest is open until Saturday, August 30 2014 at midnight, Central Time. The winners will be randomly chosen via Random.org and announced on Sunday August 31st.

So get out there and spread the word! And good luck to you all :)


Monday, August 11, 2014

Designer Inspiration: Inspired by Nature

Today we would like to share some designer inspiration with you, this time focusing on some nature-themed projects!

We hope you enjoy :)

Evgenia Petzer

Lisa Gregory

Marie-Josee Hamel

Patter Cross

Rae Moses

Maja Stokk

Gorgeous, yes?

We have so many nature-themed products if you too want to go au natural with your papercrafting!
Here's just a very small sampling of what we have to get you started...


We hope we've been able to start off your work with a little bit of inspiration!

Have a great day!

Sunday, August 10, 2014

Jackie's August Creations

Hello Blue Fern Fans! Jackie with you today to share my August creations with you.

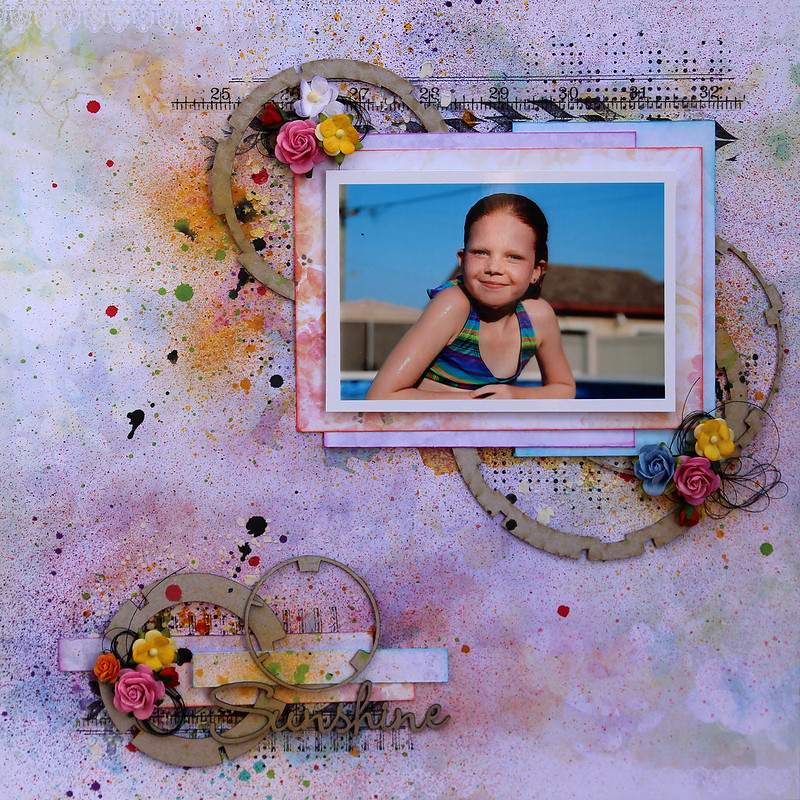
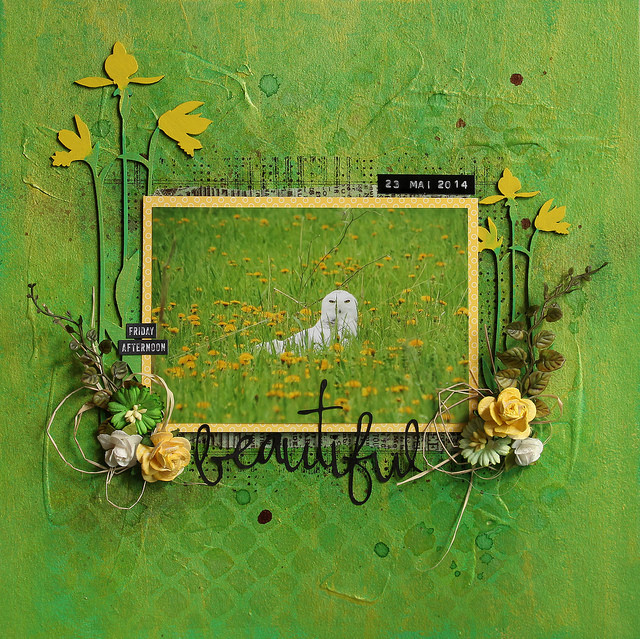
We are experiencing an amazing summer here on the West Coast of Canada, and the long, hot, sunny days, and the sunshine and blue skies inspired the colours for this first layout.


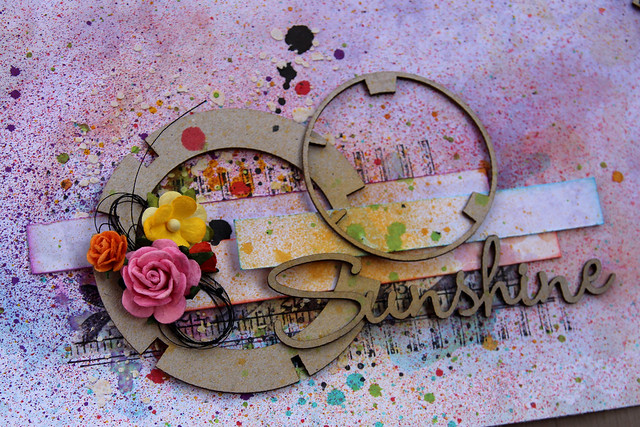
One of the things I love about Blue Fern's panels is the ability to cut them apart into pieces that I can spread throughout my layouts. For this layout I started with the Number Grid Small, which I primed with Gelatos then coloured randomly in blue, yellow and mint green, and cut apart into one big piece to back my photo and two smaller pieces for my corners.


These little bits look good embellished with flowers or just on their own.


On both of my layouts this month I've layered on several layers of chipboard. Because chipboard is so lightweight and can be altered in so many ways, it is easy to make a striking composition using several different pieces. On top of the Number Grid I placed some of the Techno rings. To get the water-stained effect, I first sprayed the rings with a couple colours of brown mists, then stamped overtop with a number stamp.


For my last layer, the title, I cut one of the 3s out of the Number Grid and cut the "Boys" from the Boys Will Be Boys chippy.


Blue Fern Studios Products

Ombre Dreams papers: 
- Ginger's Dream
- Charlotte's Dream
- Susan's Dream
- Shannon's Dream

Blue Fern Studios Chipboard:
- Number Grid Small
- Techno Rings
- Boys Will Be Boys

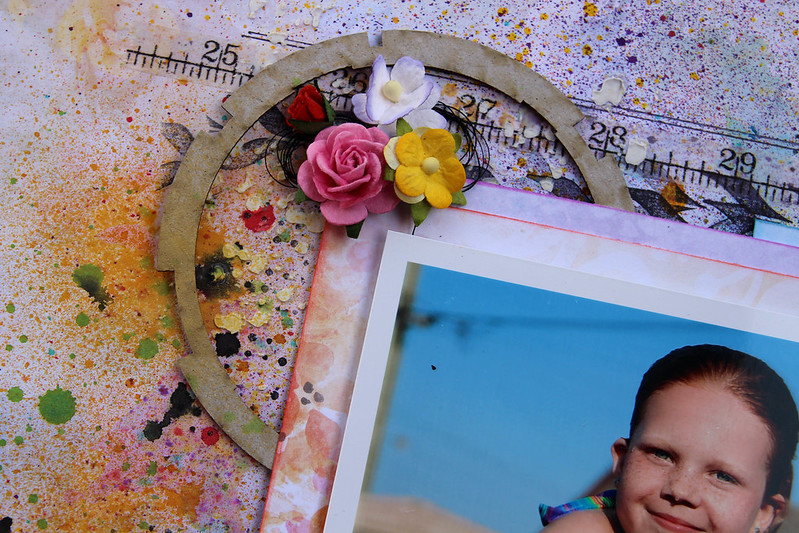
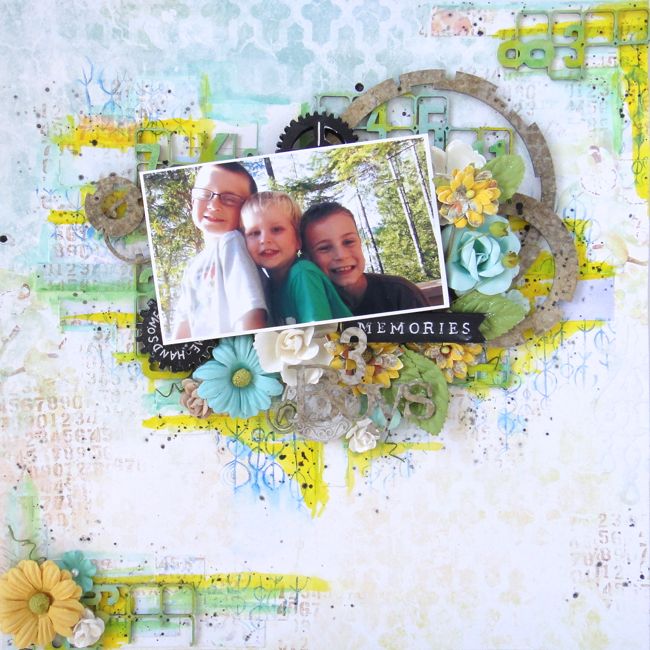
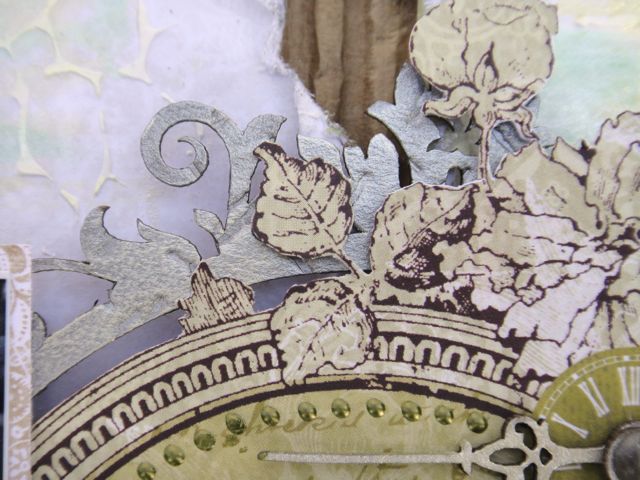
My second layout has a softer palette, inspired by the colours in my photo.


I started by adding some texture to the background inspired by the printed images on the paper with paint, texture paste and stamping. I love how multilayered the images on the papers are - it makes it so easy to add custom background work.


 For this layout I also layered multiple chippies. The top layer is the word "Perky" from The Optimist Words set, which I treated simply with green chalk ink.


 The next layer is the Spring Branch, which I painted with several colours of chalk ink to create dimension for the bark and leaves before adding a couple of flowers.


My last layer is the Floral Clock. I fussy cut the "Timeless Beauty" section from a second sheet of Timeless paper, and used the clock hands from the Floral Clock to top it off. The Floral Clock itself is behind the paper, providing an ornate frame.


 To add a little dimension to the Floral Clock, I first dry embossed it, then painted it with several colours of metallic paint.


Blue Fern Studios Products

Blue Fern Garden papers:
- Timeless x2
- Picnic
- Calling Cards
- Parlour

Blue Fern Studios Chipboard:
- Spring Branch
- Floral Clock
- The Optimist Words set

Thank you so much for stopping in today. Remember to keep sharing your Blue Fern Studios creations with us - we love to see what you create with our products!
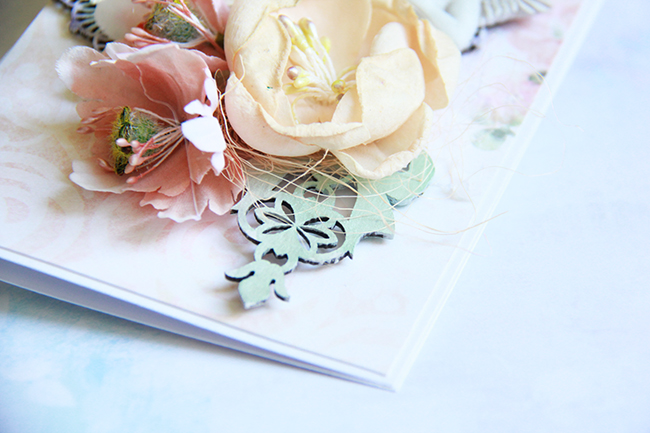
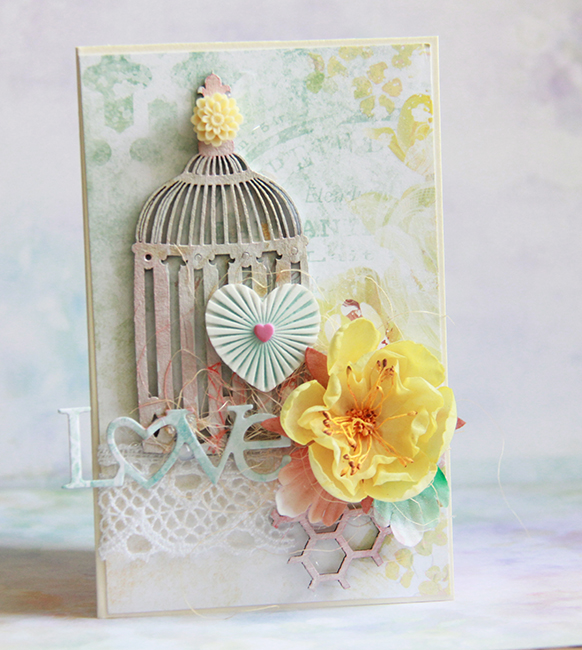
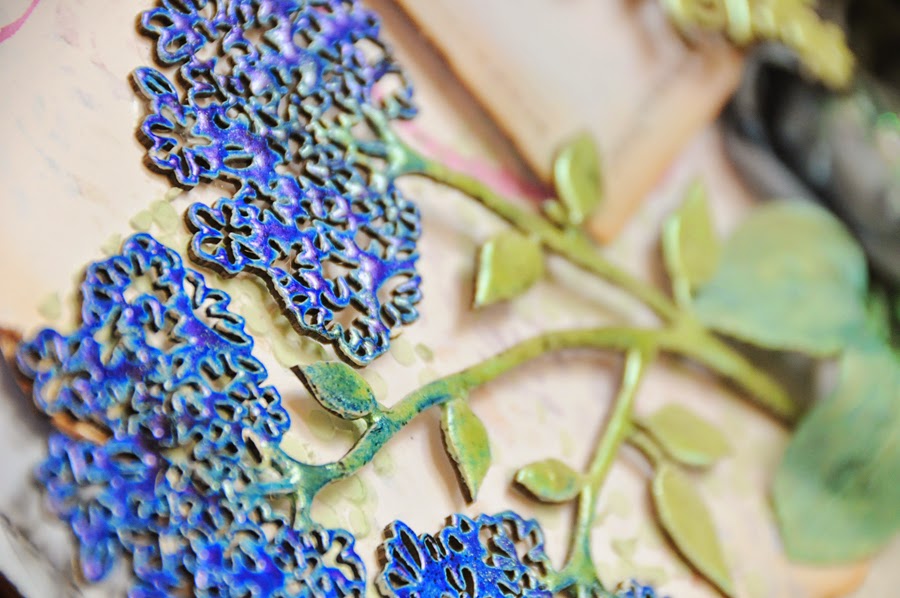
Saturday, August 9, 2014

A layout, a mini album and a tag trio...

Welcome back to another beautiful day at Blue Fern Studios. Today I will share with you a layout, a mini and a trio of tags.
For all 3 projects,  I used Blue Fern Studios Ombre Dreams paper. I did some masking with molding paste and some inking on the background of my layout.


To color the Wild Field Stem, once again, I heat embossed it using a few different colors from Lindys Stamp Gang. I heat embossed it twice to get 2 different colors on the flower part and let some of it bleed into the stem.


For the Majestic Frame, I heat embossed it and added a couple of jewels, then just kissed the edges with some soft charcoal ink.


For the cover of the mini, I used a couple of the Berry Stems and the Memories frame from the Memory Frame Set.


I painted the frame and the Berry Stems with white gesso, then heat embossed it using Lindys Stamp Gang embossing powder.


The Circle Motif was heat embossed straight onto raw chipboard. I gave it  double coat for texture.


 For the tags, I used the Framed Trinkets set which contains all 3 pieces. I used cut out pieces from the Bits Of Honey set.


I coated the chipboard with white gesso and heat embossed them with Lindy's embossing powder.


Once the tags were complete, I gave them an overall spray with Lindys Starburst spray for extra color and shimmer.

I hope you enjoyed my latest creations. Until next time, grab some BFS chipboard. There are new designs being added to the collection all of the time. Enjoy...
Lisa
xoxo