Hello Blue Fern Fans! Jackie with you today to share my August creations with you.
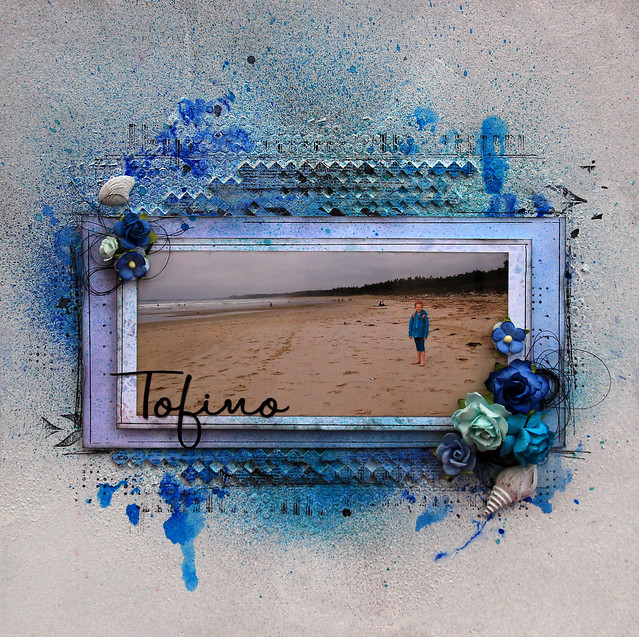
We are experiencing an amazing summer here on the West Coast of Canada, and the long, hot, sunny days, and the sunshine and blue skies inspired the colours for this first layout.
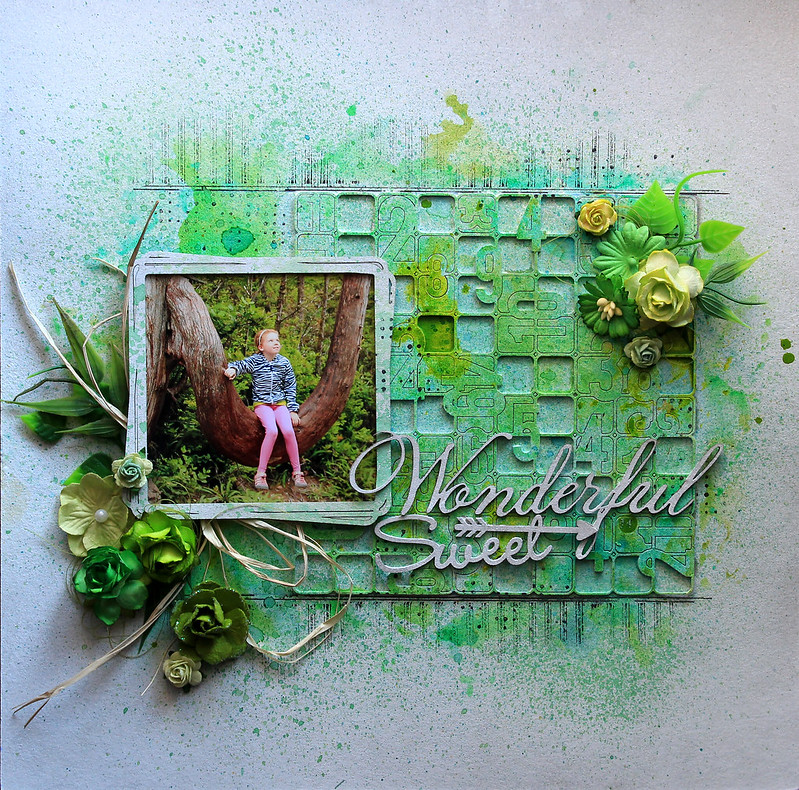
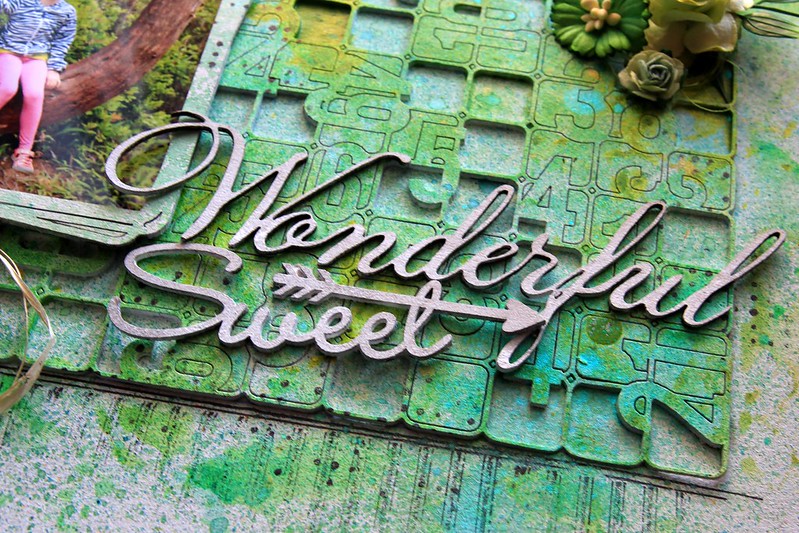
One of the things I love about Blue Fern's panels is the ability to cut them apart into pieces that I can spread throughout my layouts. For this layout I started with the Number Grid Small, which I primed with Gelatos then coloured randomly in blue, yellow and mint green, and cut apart into one big piece to back my photo and two smaller pieces for my corners.
These little bits look good embellished with flowers or just on their own.
On both of my layouts this month I've layered on several layers of chipboard. Because chipboard is so lightweight and can be altered in so many ways, it is easy to make a striking composition using several different pieces. On top of the Number Grid I placed some of the Techno rings. To get the water-stained effect, I first sprayed the rings with a couple colours of brown mists, then stamped overtop with a number stamp.
For my last layer, the title, I cut one of the 3s out of the Number Grid and cut the "Boys" from the Boys Will Be Boys chippy.
Blue Fern Studios Products
Ombre Dreams papers:
- Ginger's Dream
- Charlotte's Dream
- Susan's Dream
- Shannon's Dream
Blue Fern Studios Chipboard:
- Number Grid Small
- Techno Rings
- Boys Will Be Boys
My second layout has a softer palette, inspired by the colours in my photo.
I started by adding some texture to the background inspired by the printed images on the paper with paint, texture paste and stamping. I love how multilayered the images on the papers are - it makes it so easy to add custom background work.
For this layout I also layered multiple chippies. The top layer is the word "Perky" from The Optimist Words set, which I treated simply with green chalk ink.
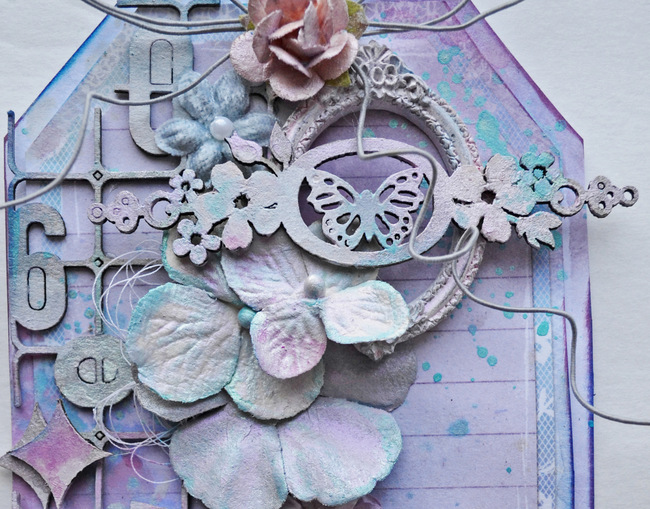
The next layer is the Spring Branch, which I painted with several colours of chalk ink to create dimension for the bark and leaves before adding a couple of flowers.
My last layer is the Floral Clock. I fussy cut the "Timeless Beauty" section from a second sheet of Timeless paper, and used the clock hands from the Floral Clock to top it off. The Floral Clock itself is behind the paper, providing an ornate frame.
To add a little dimension to the Floral Clock, I first dry embossed it, then painted it with several colours of metallic paint.
Blue Fern Studios Products
Blue Fern Garden papers:
- Timeless x2
- Picnic
- Calling Cards
- Parlour
Blue Fern Studios Chipboard:
- Spring Branch
- Floral Clock
- The Optimist Words set
Thank you so much for stopping in today. Remember to keep sharing your Blue Fern Studios creations with us - we love to see what you create with our products!

